Category Archives: repairs

This Gear’s for you!

THE BASE Auto Craft Shop had been closed for a few months due to Corona Virus. Today was the first day back open. I had a really productive day working on the car. I planned to work through my list until I got tired or finished. I got it all done:

  1. Oil Change
  2. Coolant drain and fill
  3. New ignition coils
  4. Grounding strap replacement
  5. Transfer case oil change
  6. Transfer case gear change

The transfer case gear was the biggest “win” of the day, but first a few thoughts/tips about the others…

Foxwell Code Reader
My new toy, a Foxwell scanner, showing codes for misfires in cylinders 2 and 5.

I try to change the oil every 3,000 miles (5,000 km), but I don’t mind if I go over. Maybe every second oil change I’ll use one of the engine flush treatments (Gunk, Wynn’s, or transmission fluid). Not sure what all it does, but I’ve never had a problem. I open the oil fill cap and the oil filter housing before draining the oil so there’s no vacuum slowing things down. Whenever possible I like to have something else to work on so I don’t get bored waiting for the last drops to drain! I usually get Mann filters from eEuroparts.com.

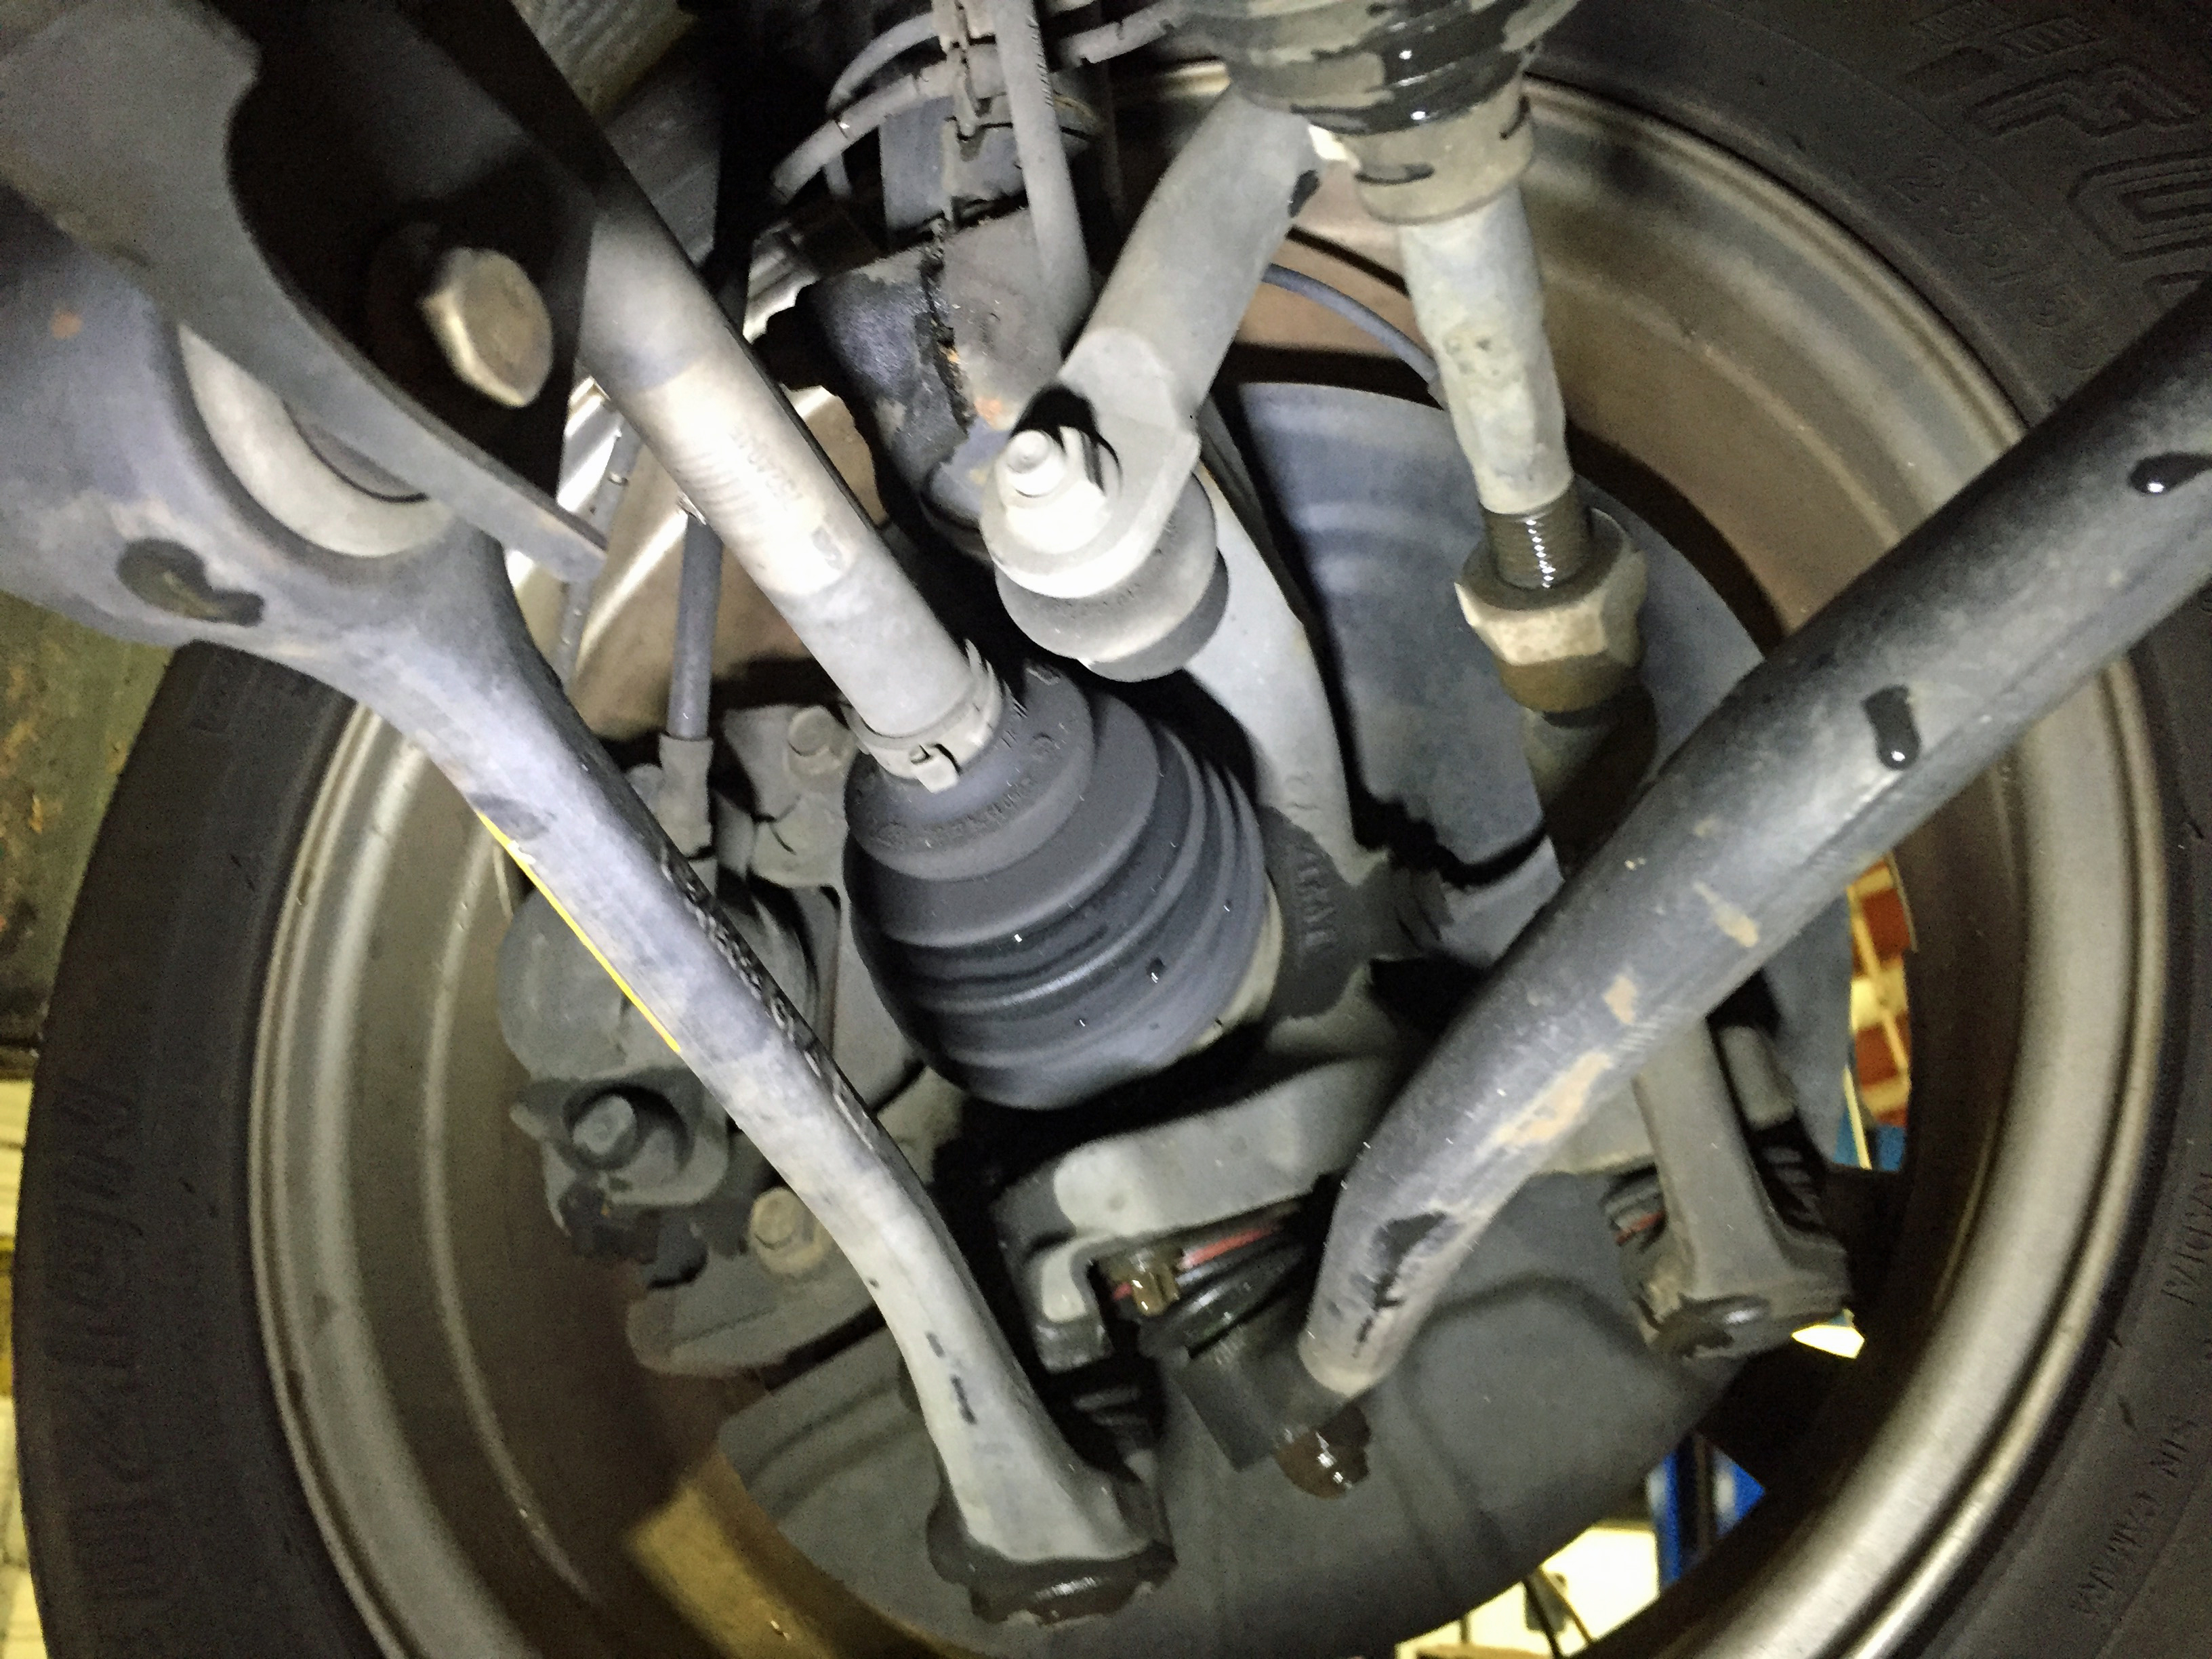
The transfer case uses a specialty lubricant. The first time I did this I bought it from the local dealer because I needed it the next day. I got an aftermarket version on Amazon by planning in advance this time! Two tips for this job. One, remove the fill bolt before the drain. It would stink to have drained the lubricant but not be able to replace it. Two, online you’ll often read “refill until it leaks out of the fill hole.” This is incorrect. The maintenance manual requires 750ml that I put in with a small pump, pump, pump, pump… The oil comes in 1 liter bottles, so 1/4 of your expensive bottle gets wasted. Oh well.

I removed the big blue plastic screw from the lower left corner of the radiator to drain a good bit of coolant. I’ve never removed the block drain, but I found it and will likely do so next year. Be sure to get the right coolant if you don’t buy it from BMW. BMW’s you mix 1:1 with distilled water. Some of the aftermarket ones are used straight from the bottle. Draining from just the radiator only required about a gallon (four liters) to refill; that’s a bit less than half the system. Put the heater temperature and blower on high while you run the car to bleed. Top off as the level drops. Wait for the heater to be blowing hot air. Check the level the next day to see if more air has worked its way out of the system.

The car had been getting harder to start. I’d turn the key and nothing would happen “for a long time” that was probably just a second or two. AutoZone’s free charging system check told me the alternator was OK, but the regulator might not be. These are classic symptoms of a bad grounding strap. To test, connect the negative terminal under the hood to the engine with a jumper cable. If the car fires right up – like mine did – then it’s definitely a grounding problem.

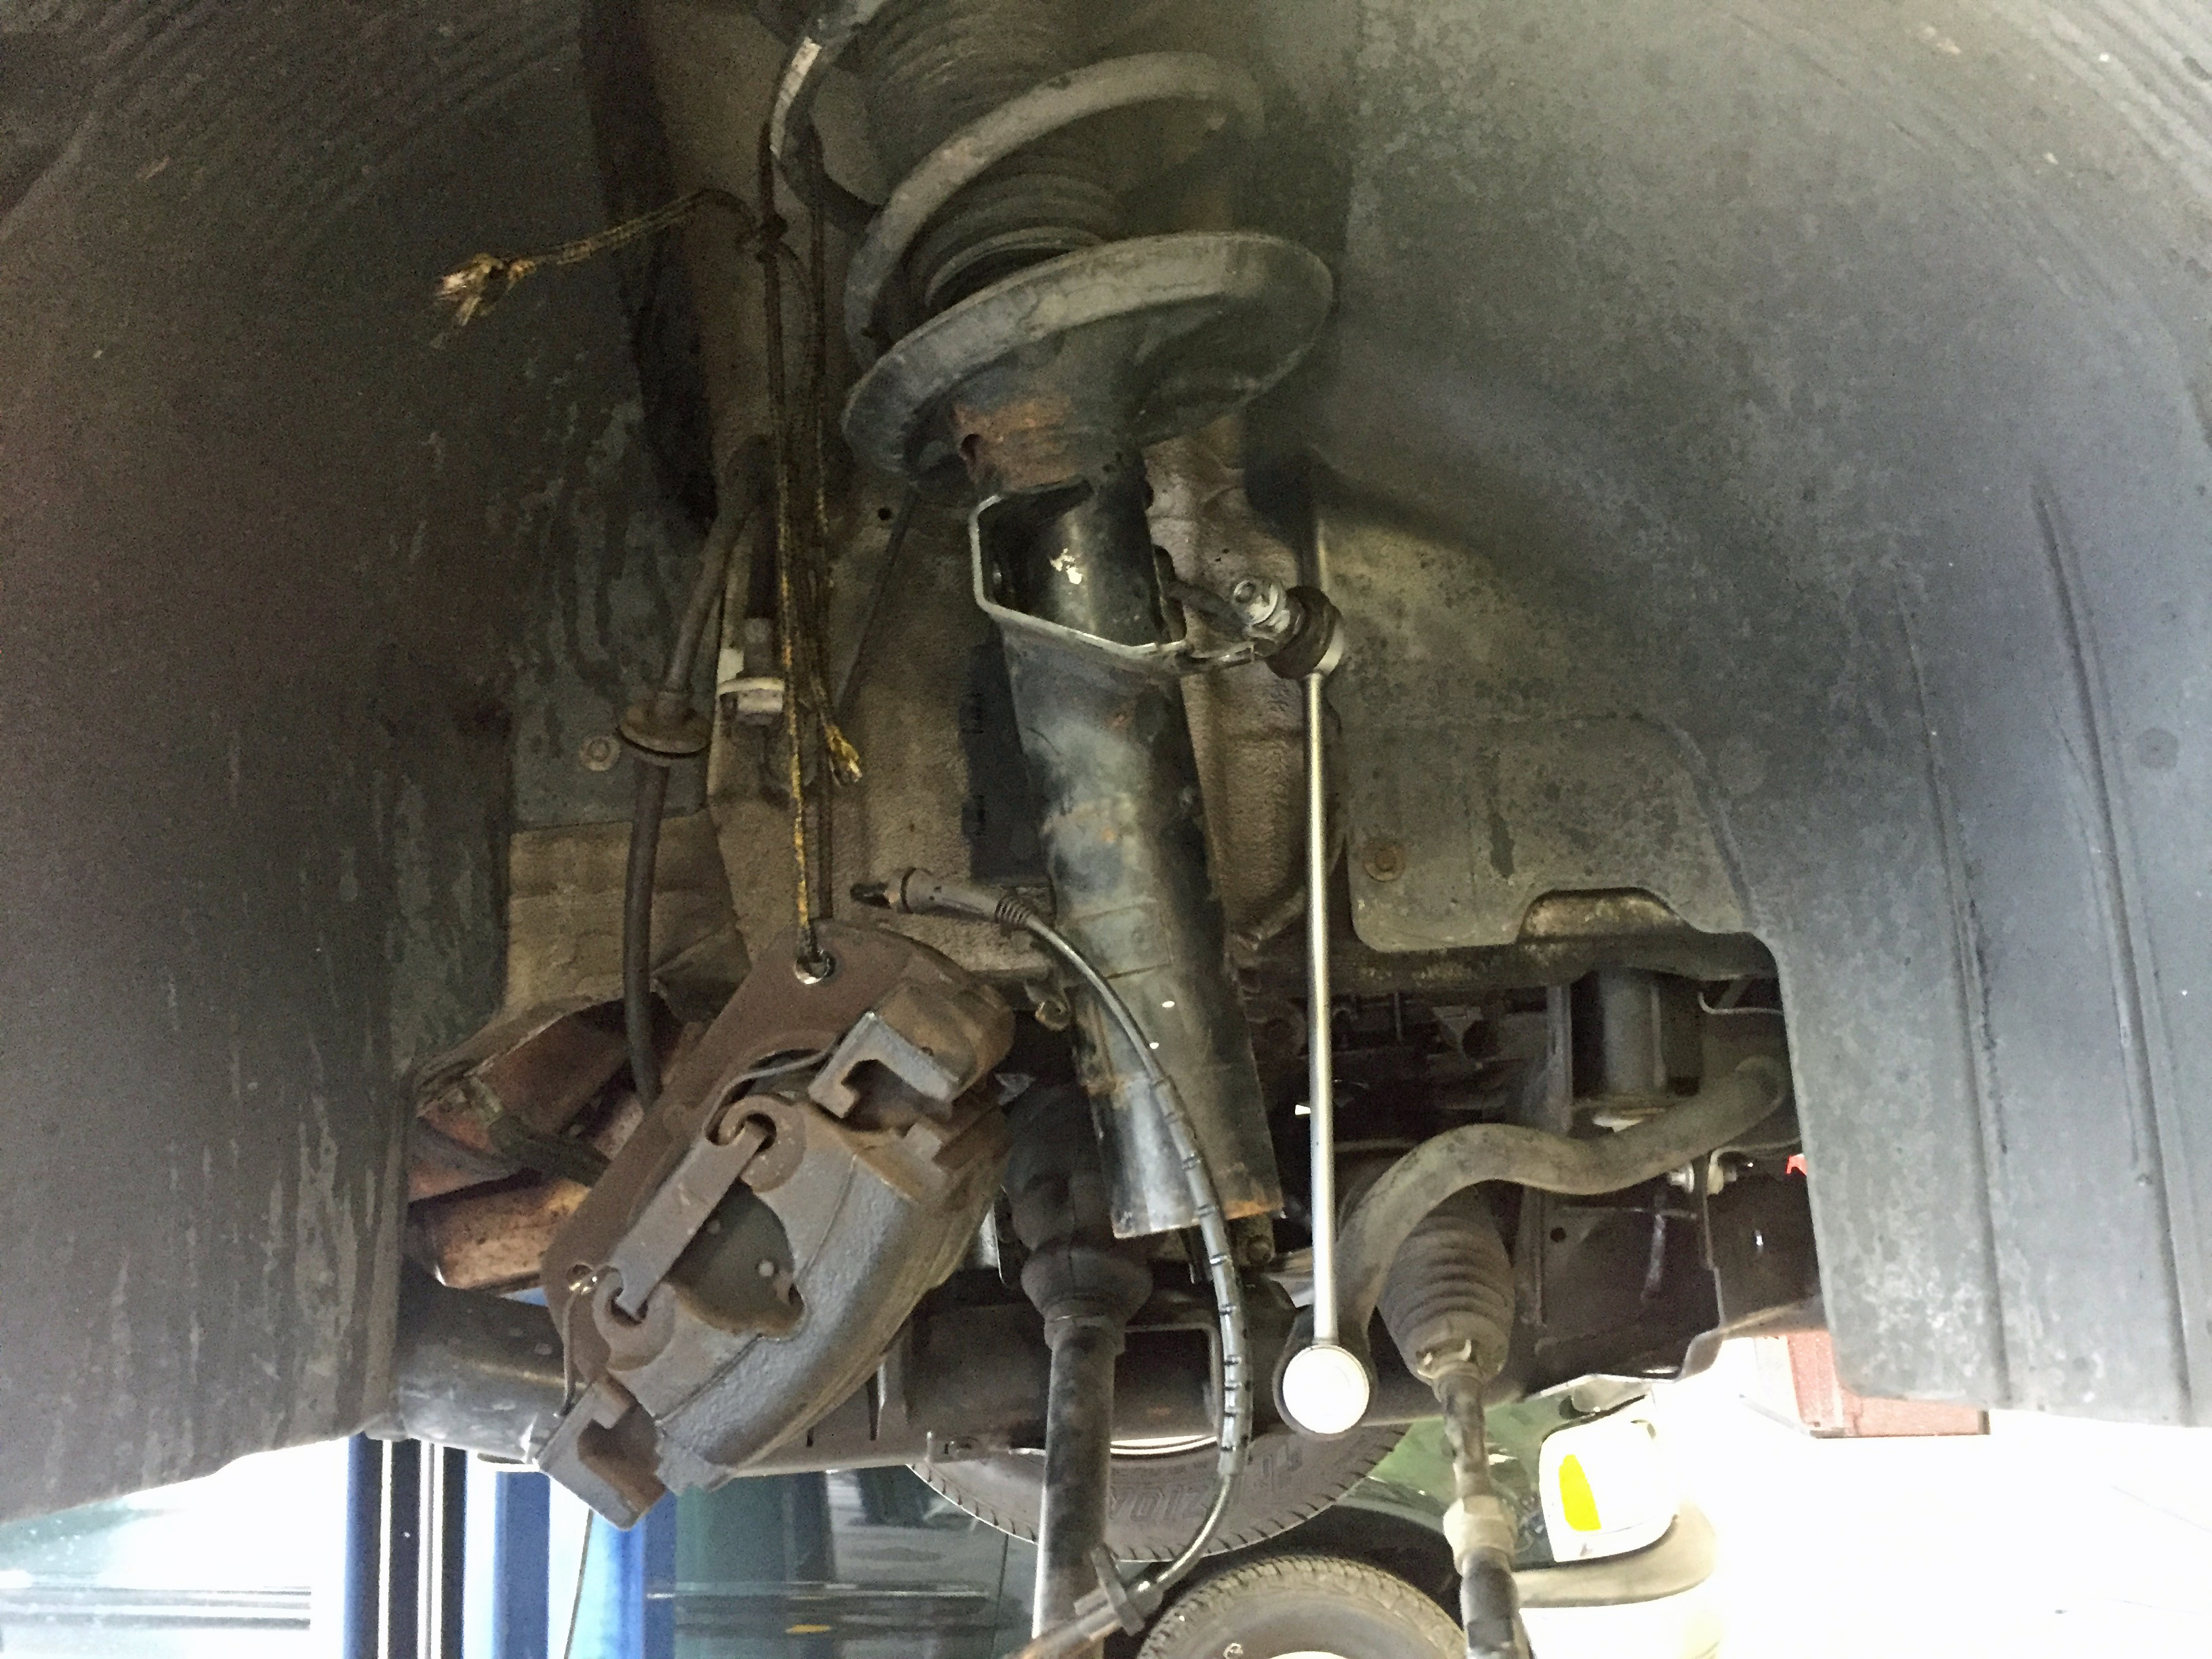
There are two ground cables, one from the engine to a nearby spot on the chassis and one about half way back connecting the chassis to the exhaust. I used AC Delco cables from Amazon rather than a BMW part. My cable was so corroded that it broke in half while removing it! The car now starts so fast it’s scary. The stereo works better with a good ground, too!

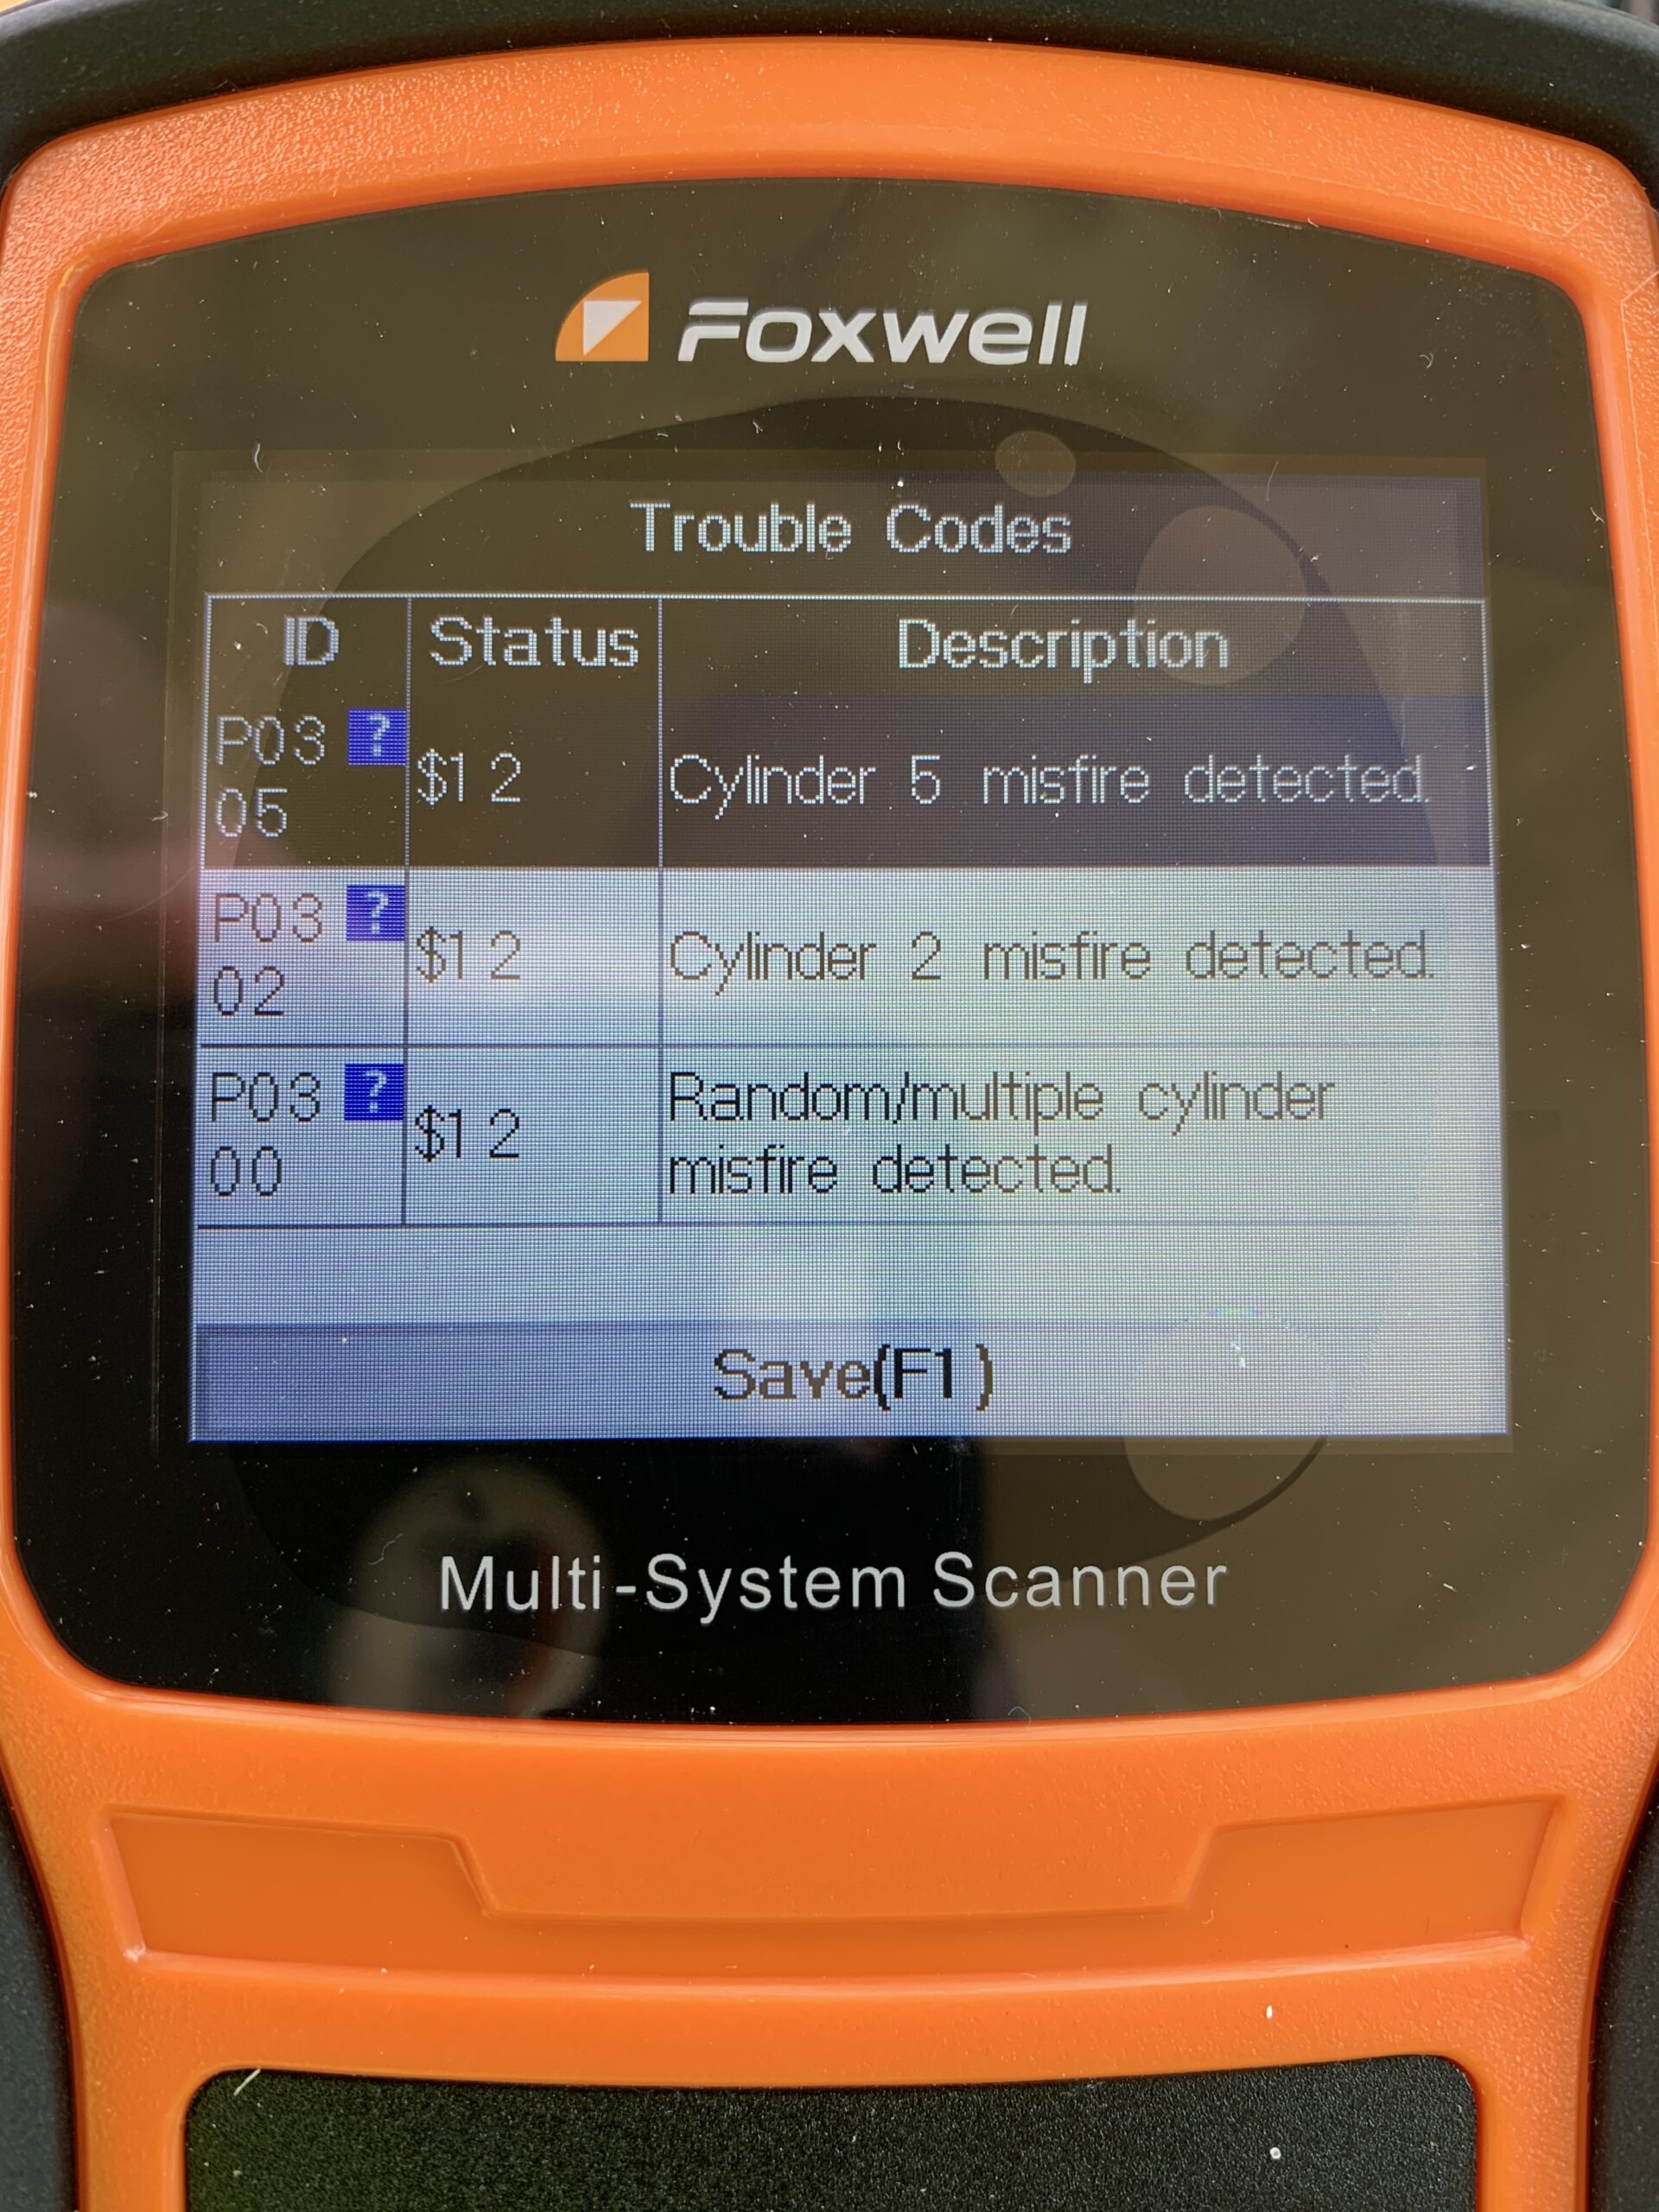
Replacing the coils is pretty straight forward. The boots are shaped to fit into the top of the engine, so take car to align them carefully. I had been having some intermittent misfires on cylinders 2 and 5, and new coils from eEuroparts.com cleared that right up. Nice smooth idle now.

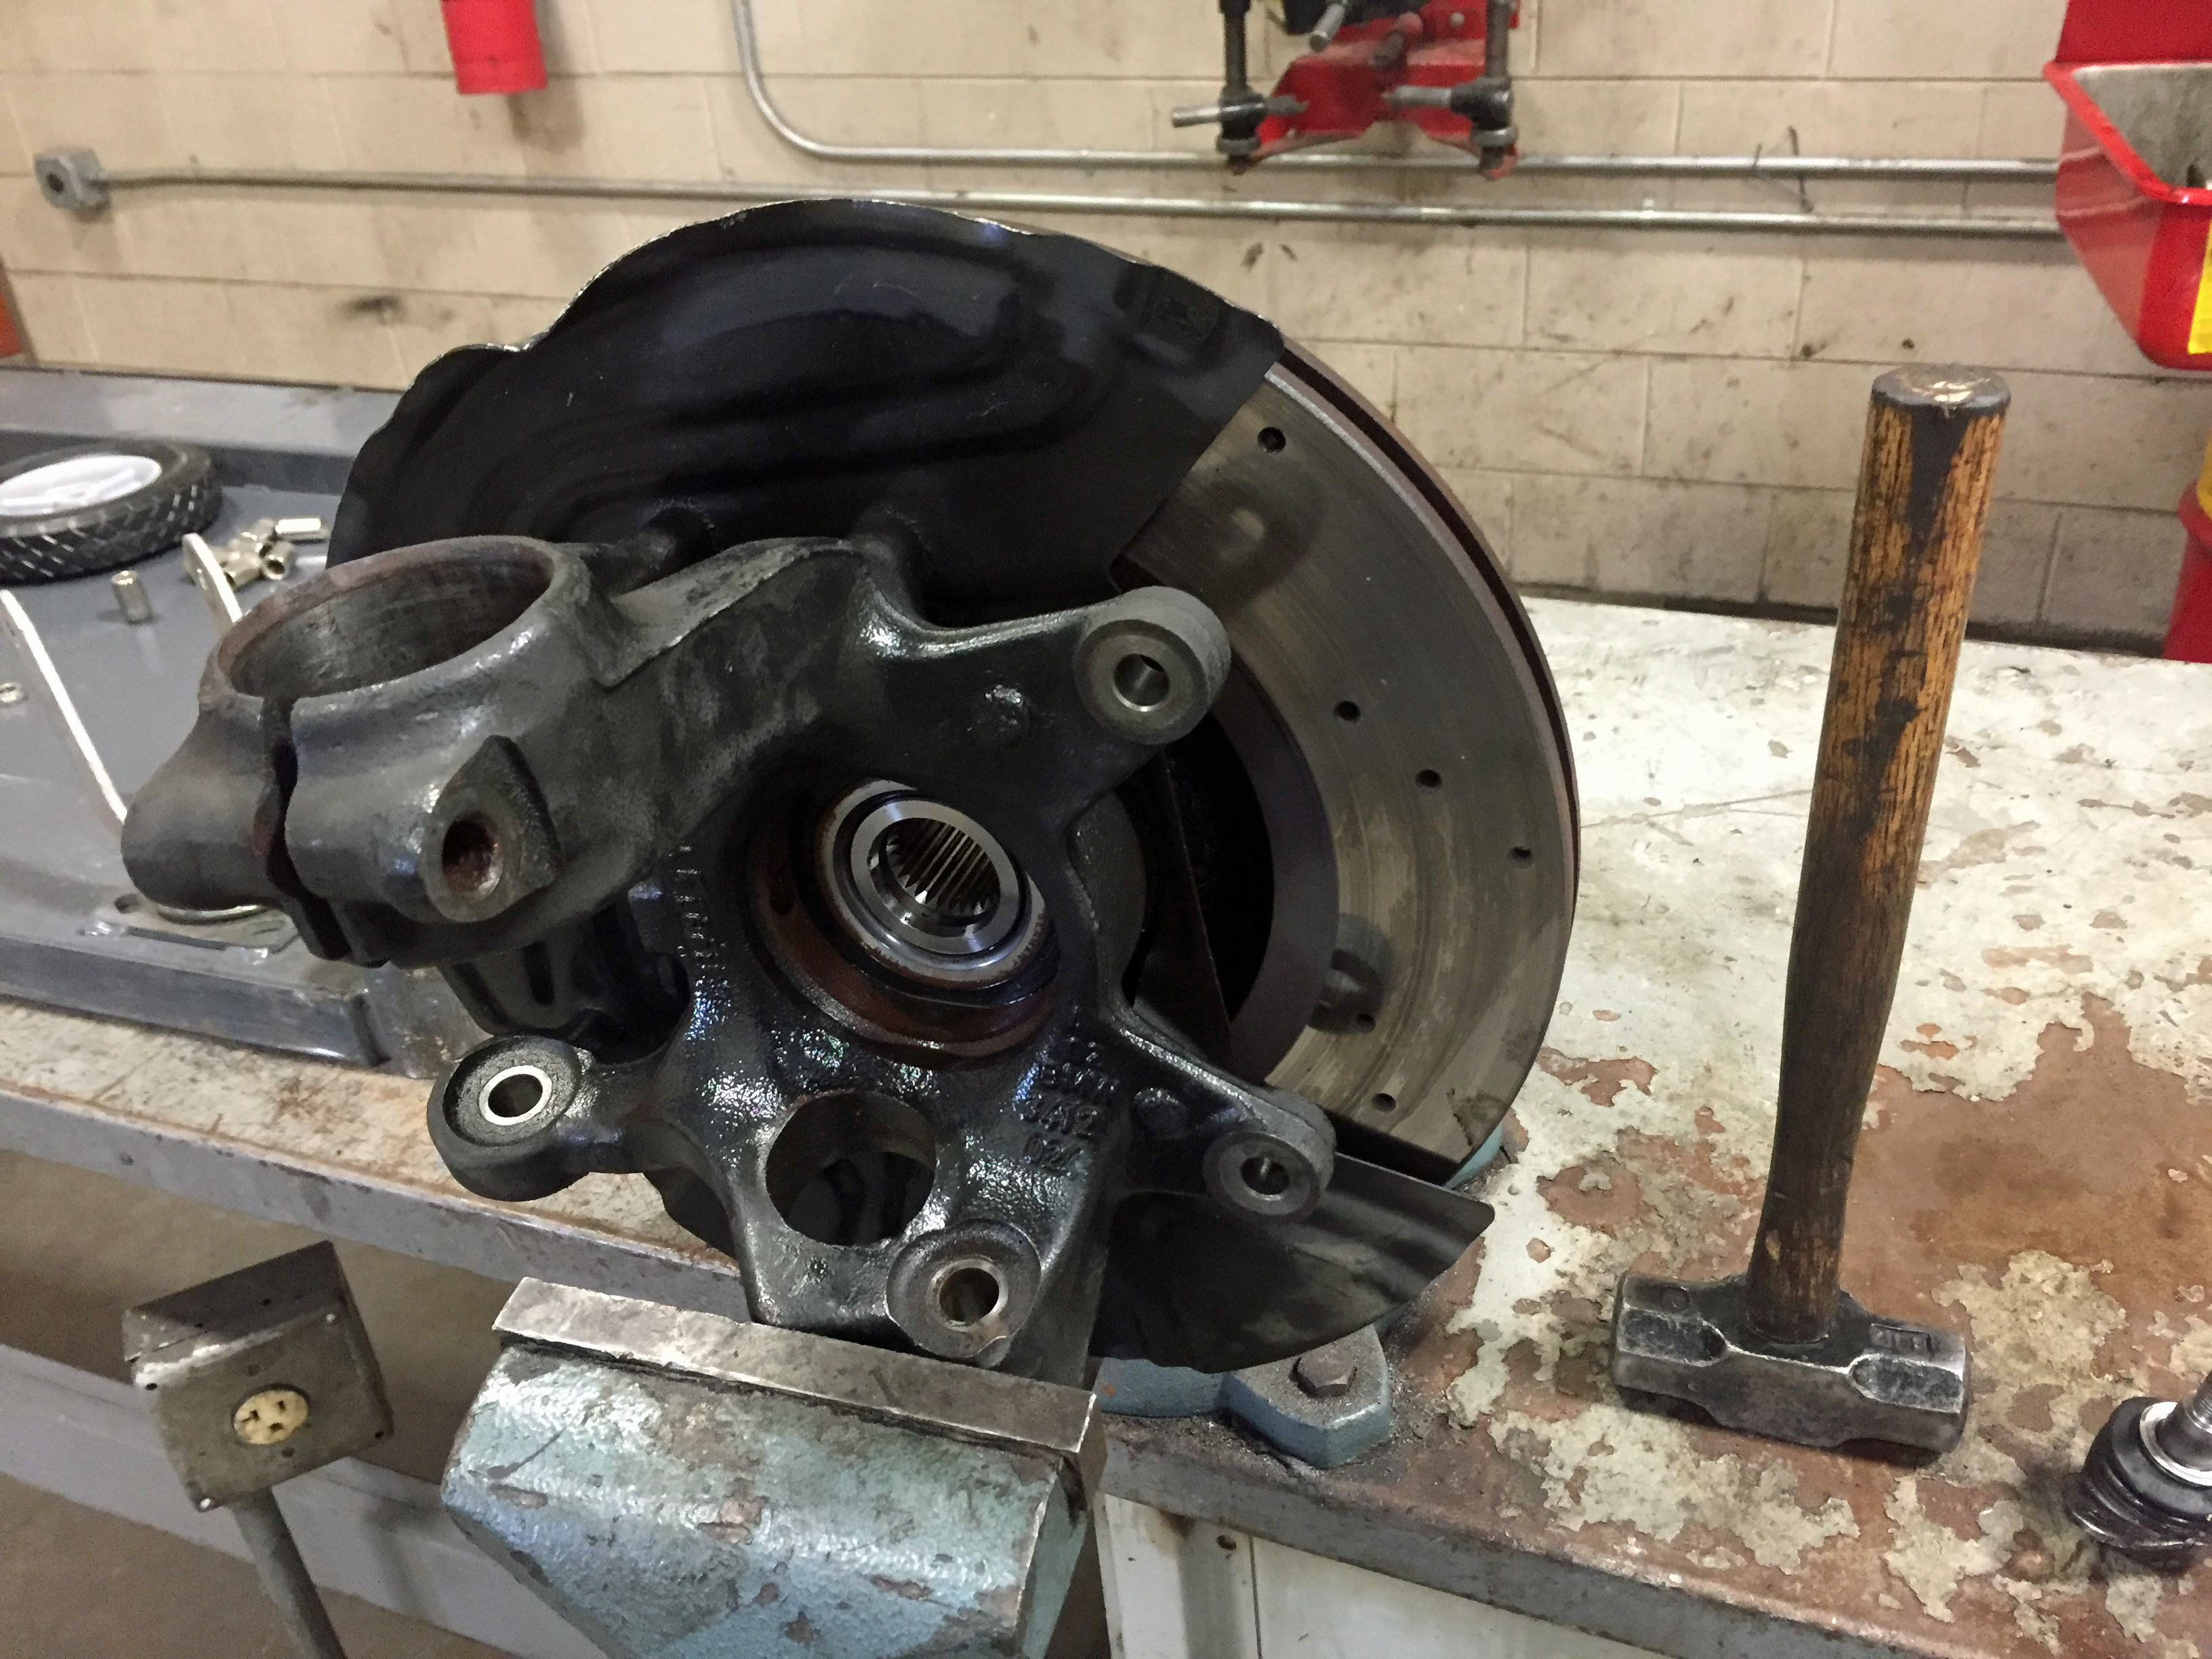
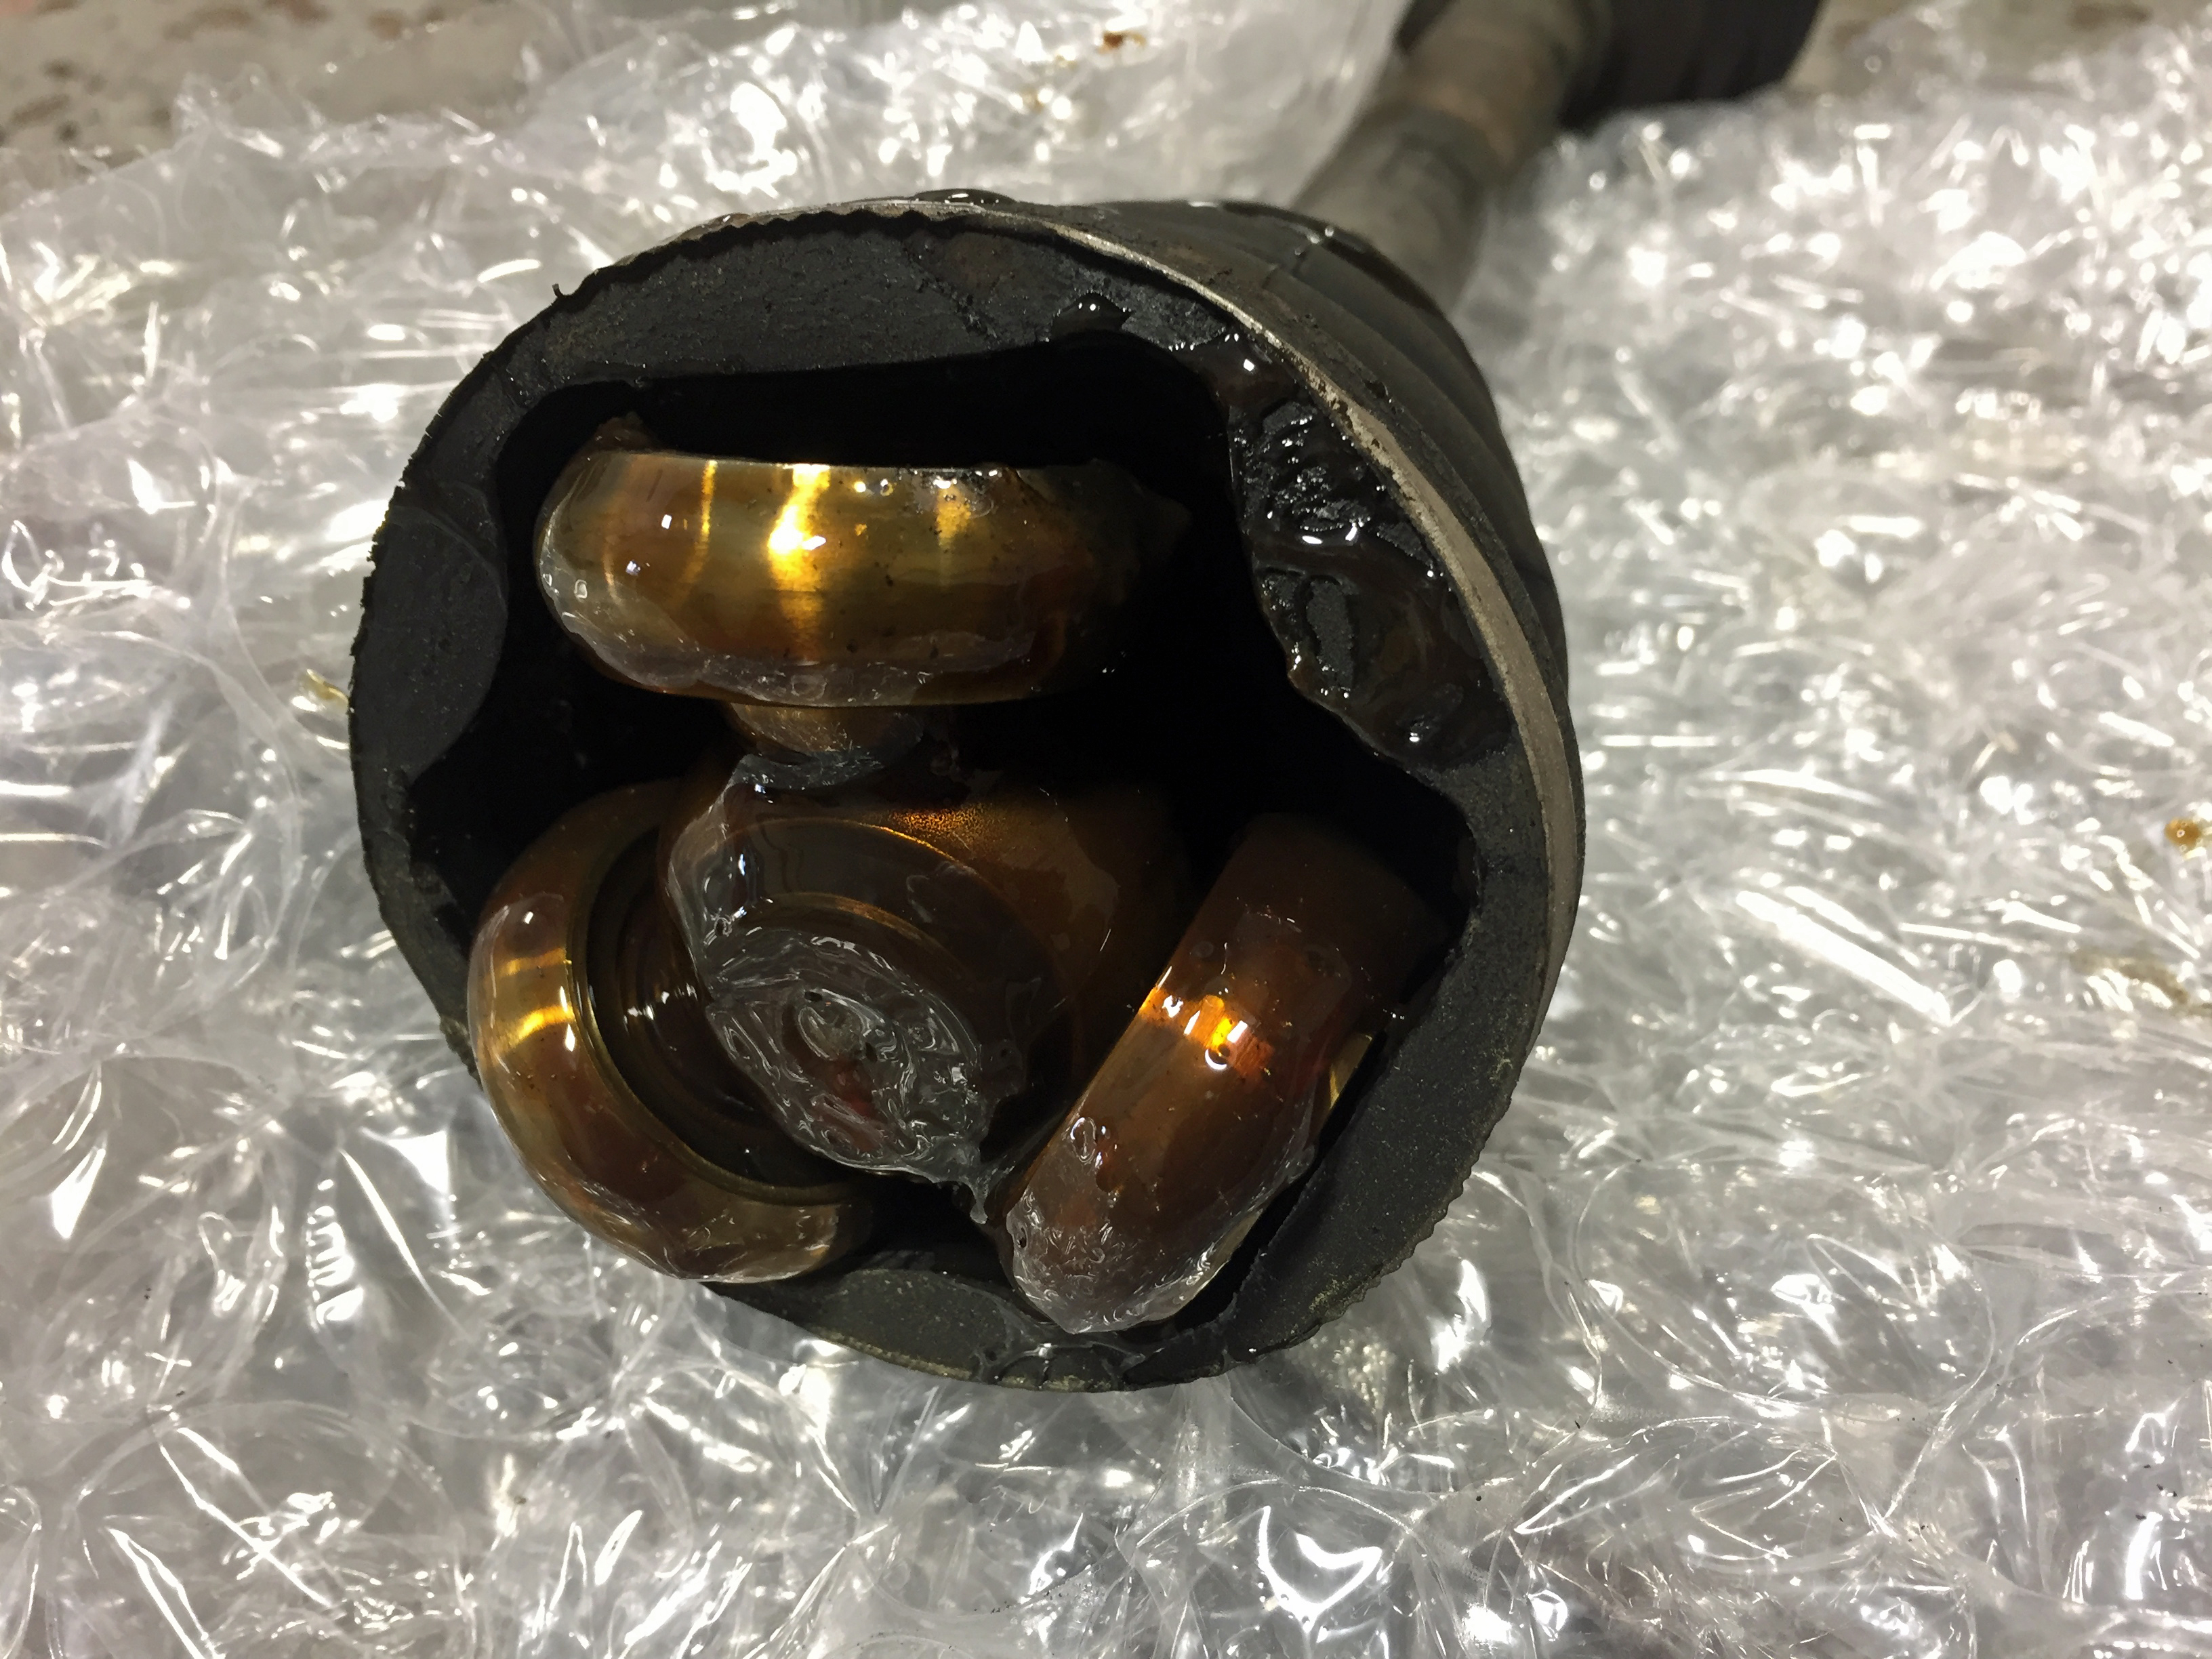
The transfer case gear was an interesting project. A guy on one Facebook group said he spent five hours doing the job, but typically people claim it takes about 90 minutes. There are lots of DIYs online and videos on YouTube. I printed a couple sets of instructions and watched “every” video. Same steps apply to pretty much all the all-wheel drive BMWs as far as I can tell.

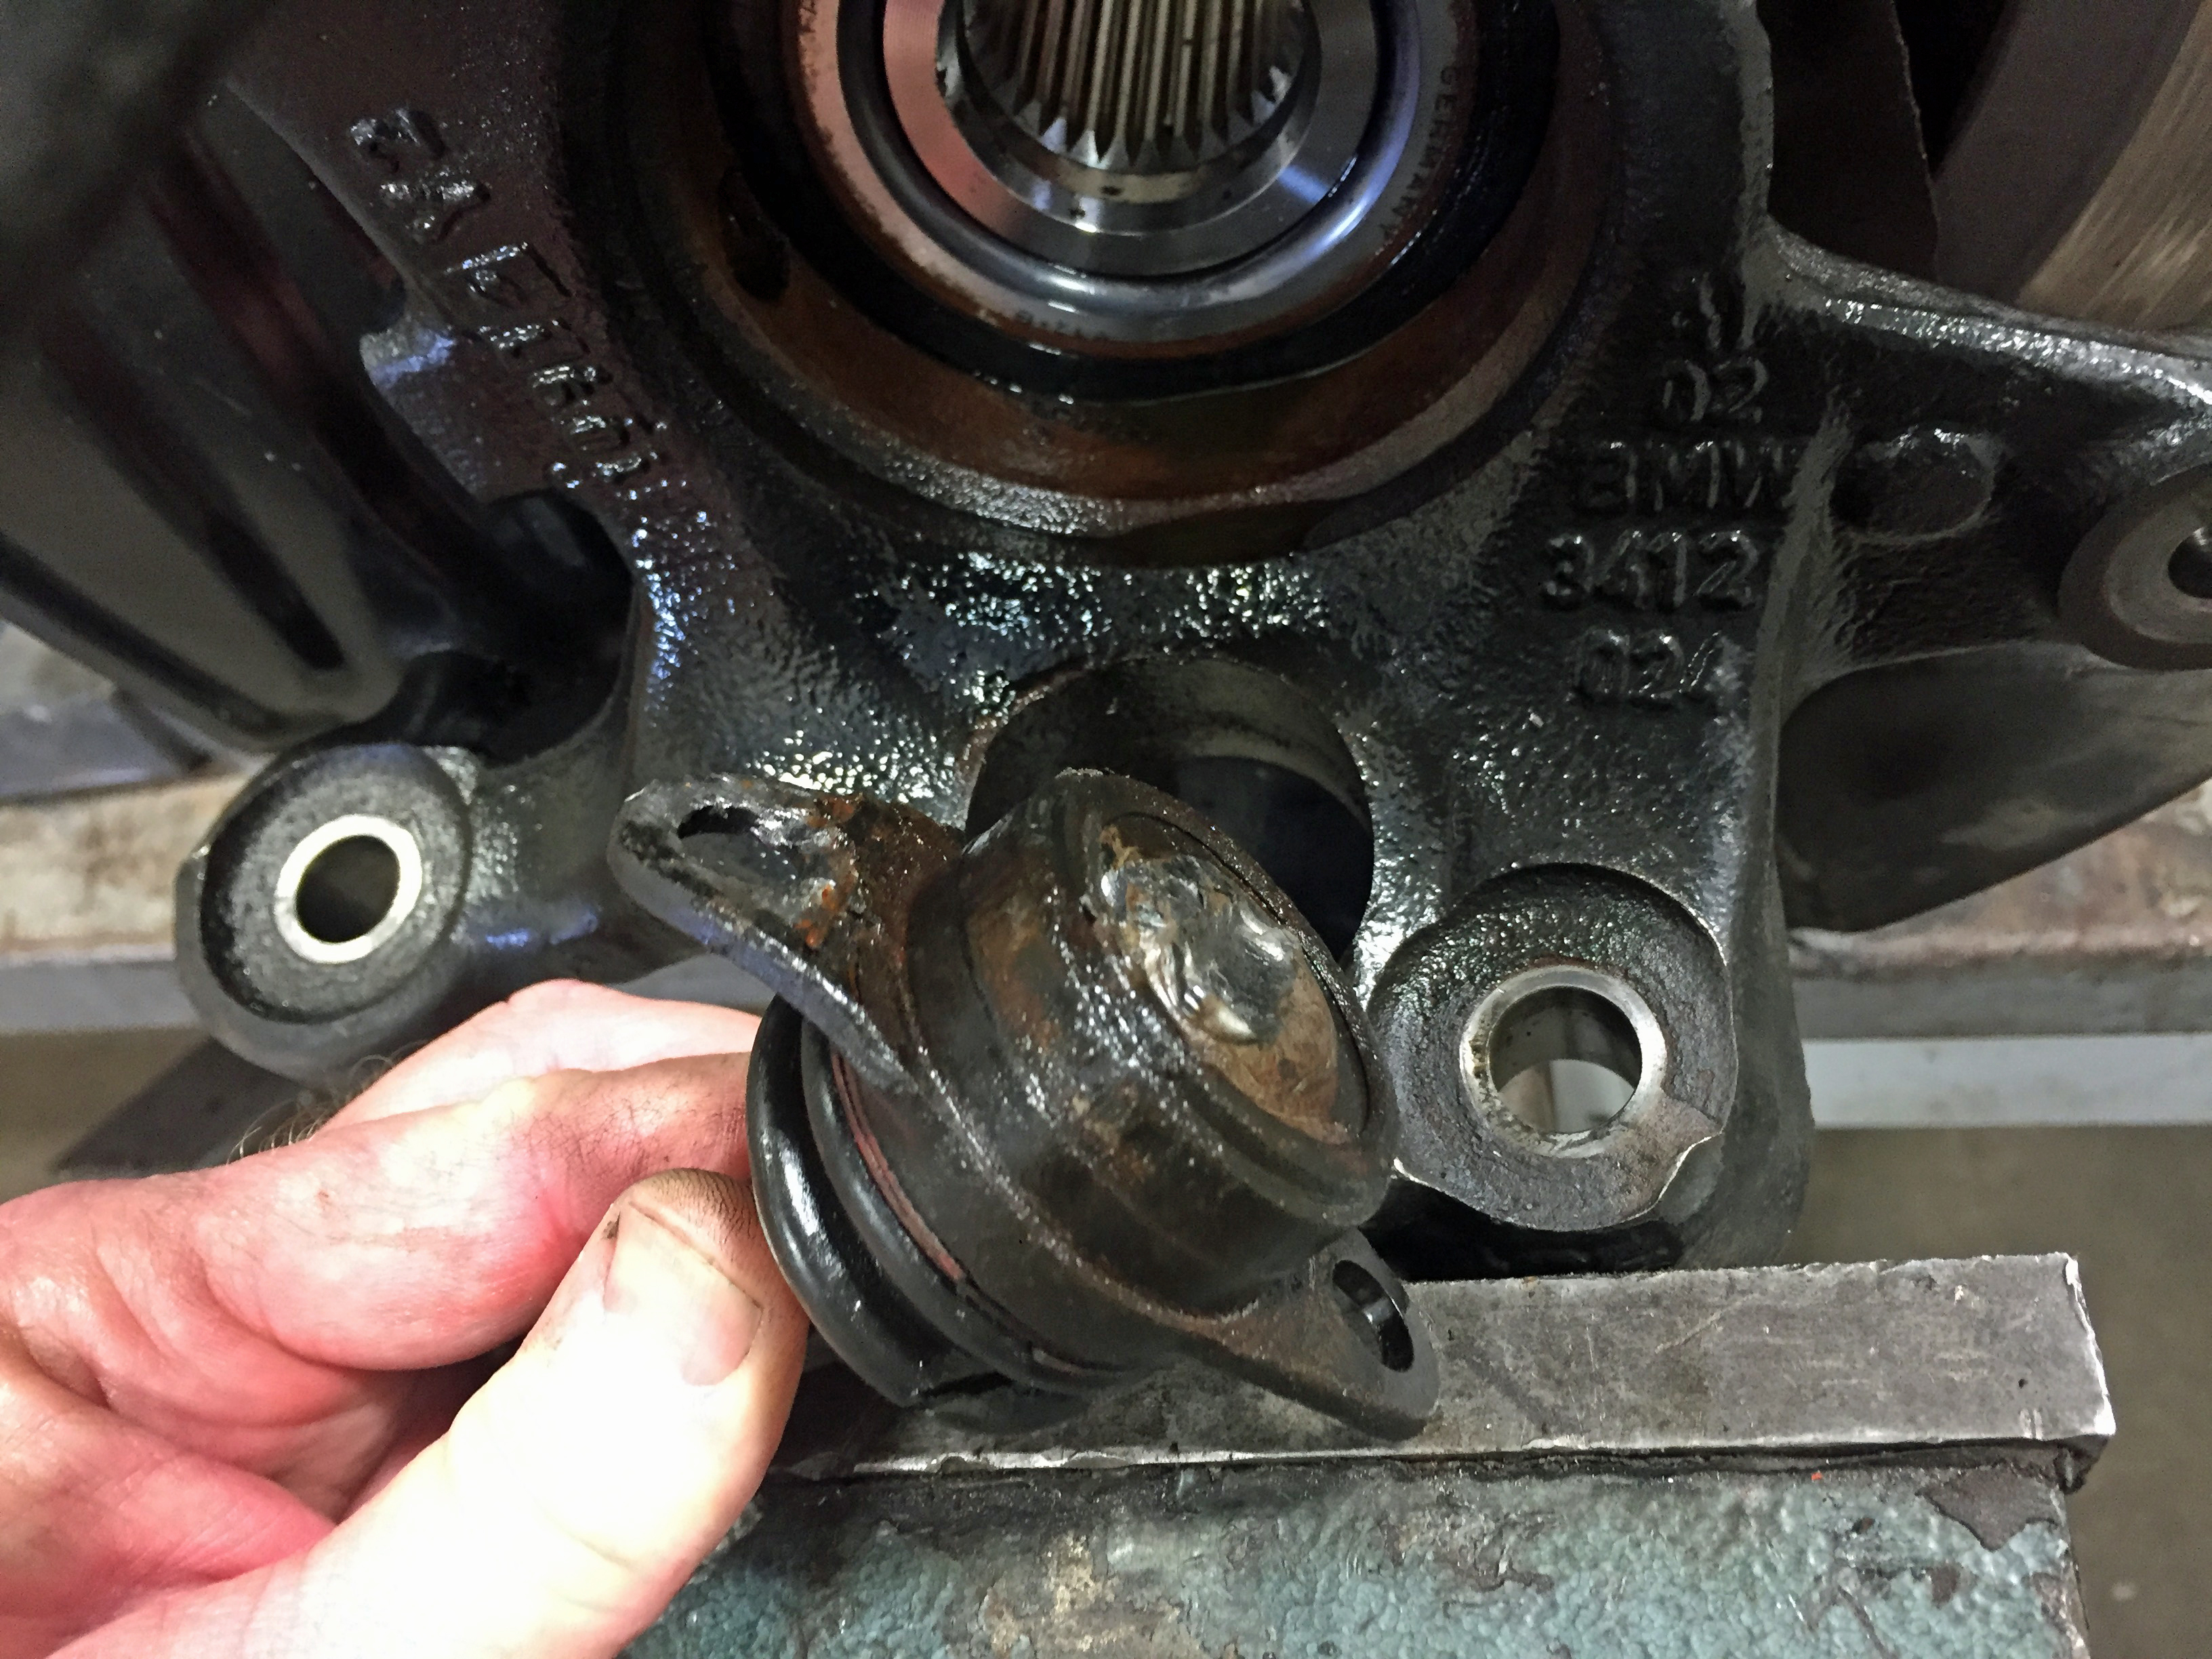
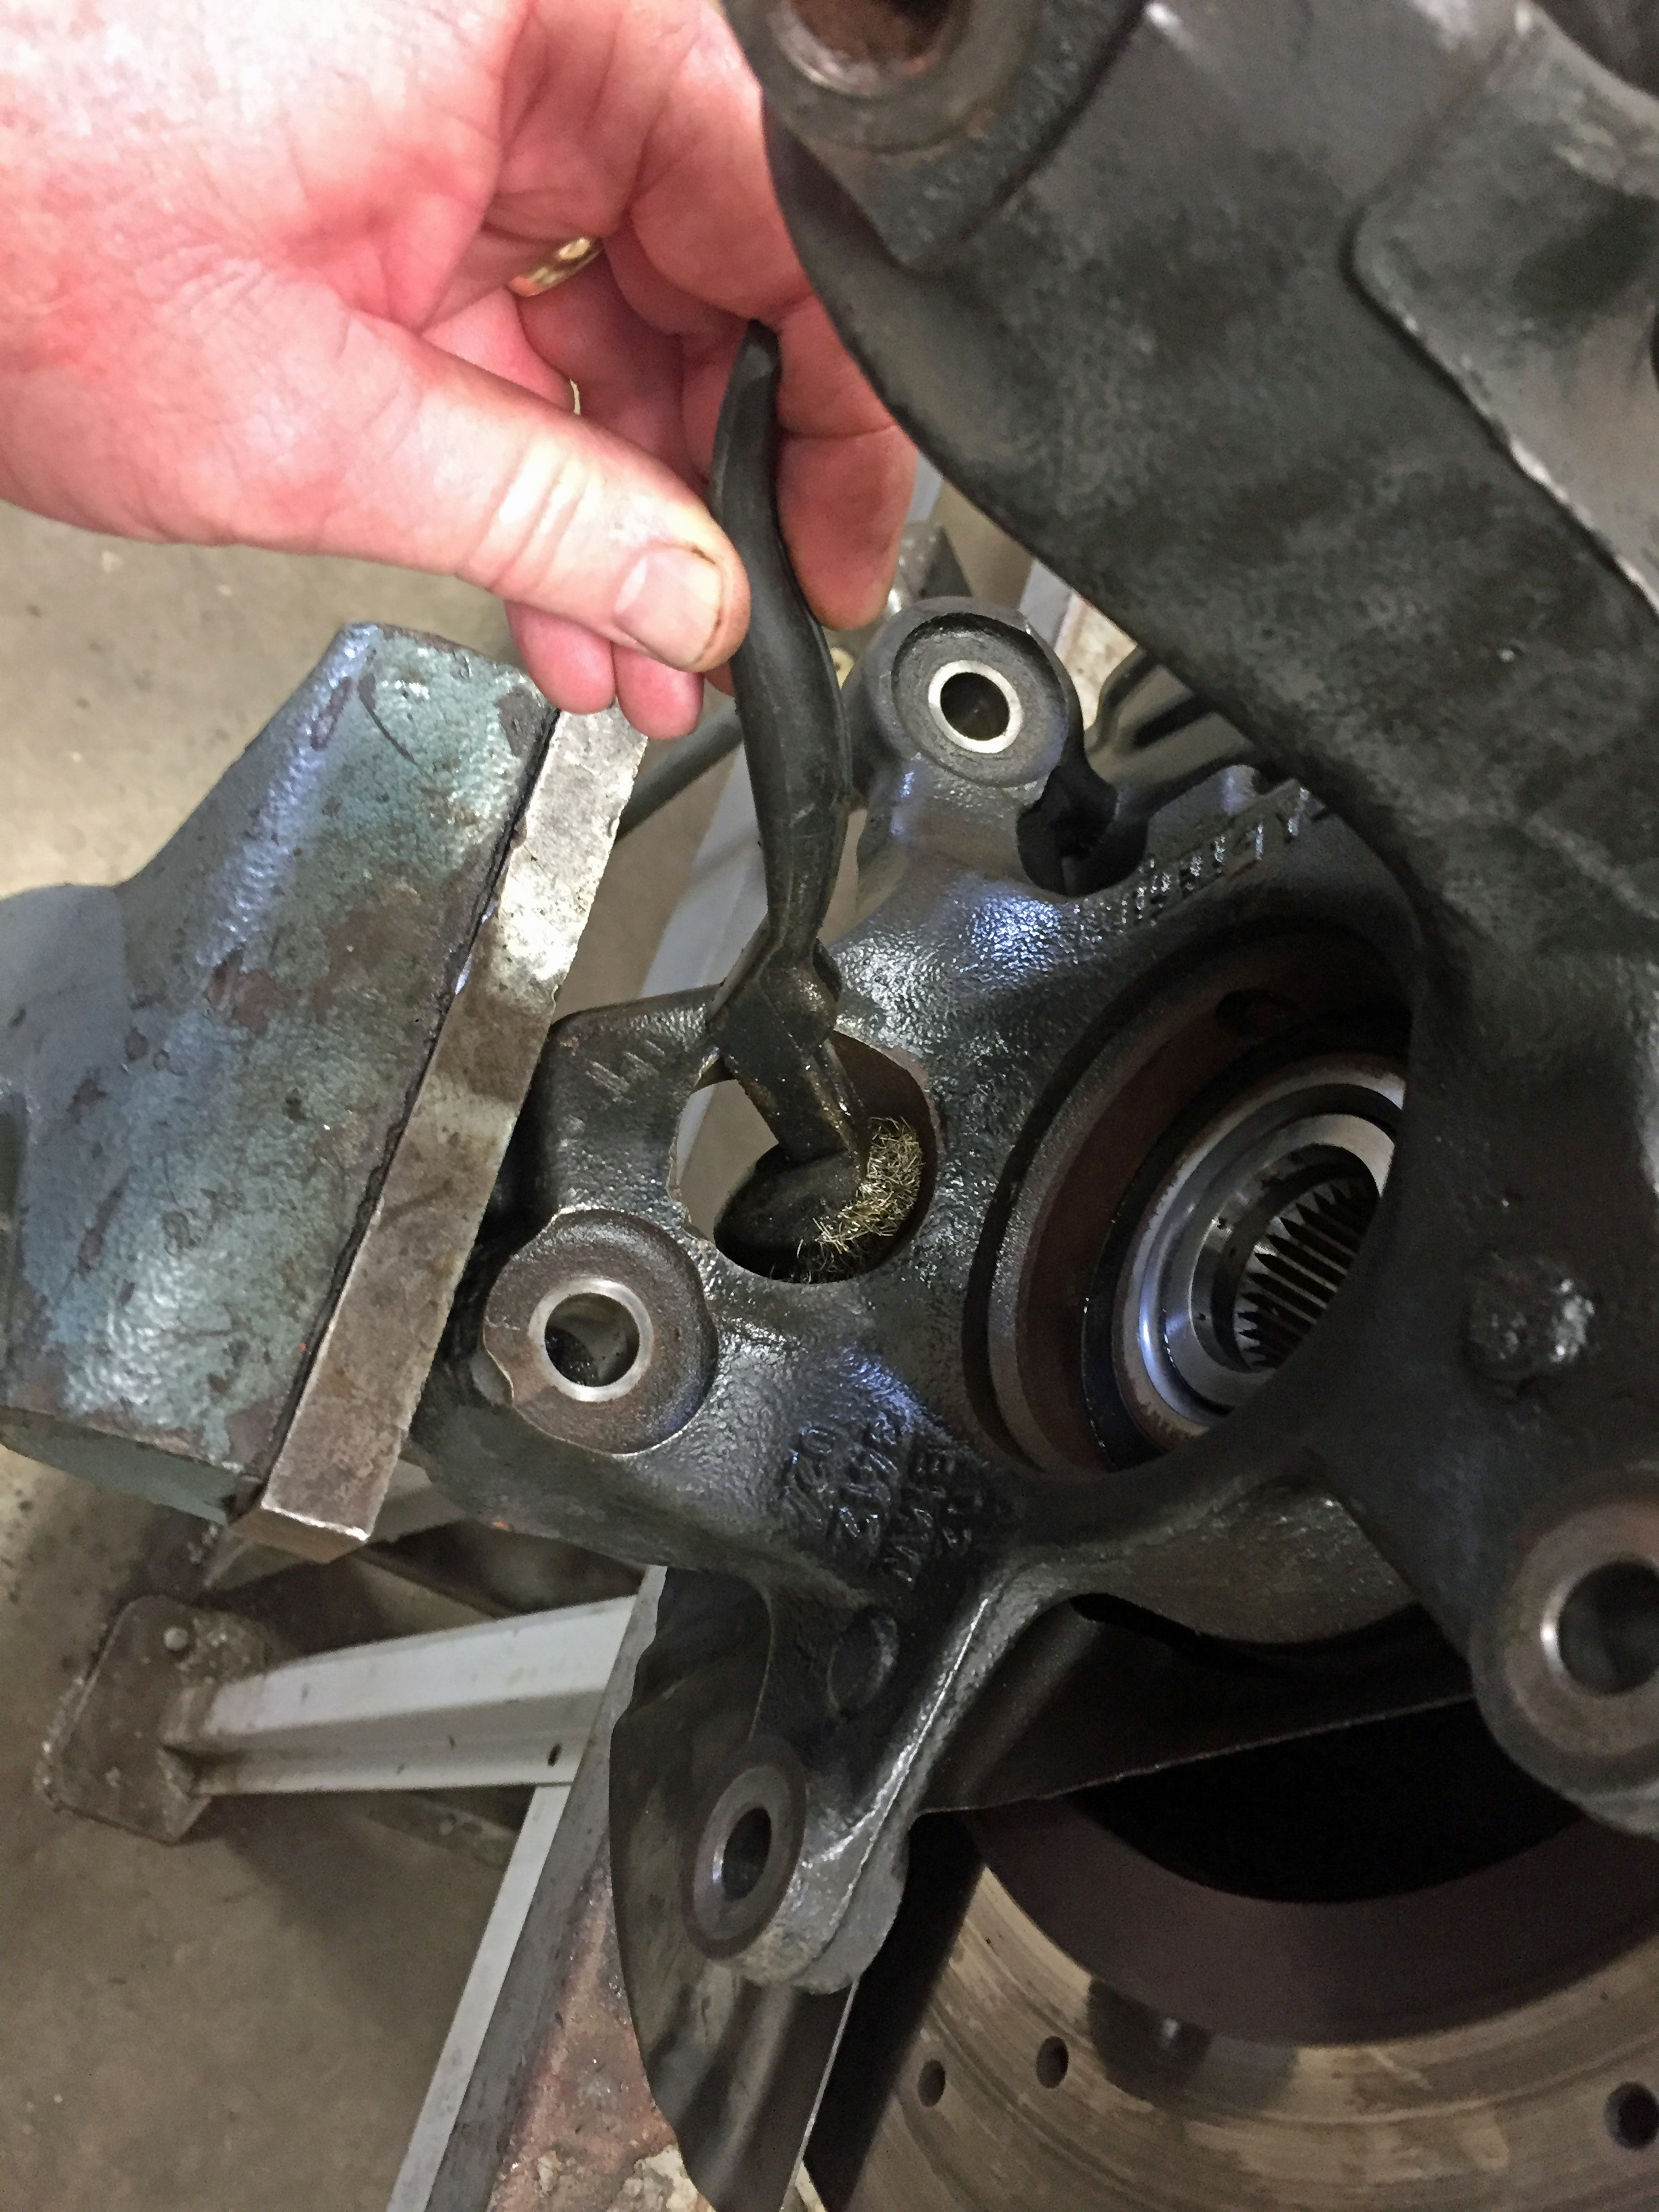
I sprayed around the transfer case control motor with a bunch of brake cleaner before removing it, then again after it was off the car. The four reverse torx bolts are awkwardly accessible if you put a universal swivel adapter between the socket and a long extension. I loosened to transfer case support bracket and used a floor stand to support the weight.

BMW has made millions of cars, so it’s not surprising that I have the same issues as others. Still, it was fascinating/rewarding to see I had the exact same mix of grease and abraded plastic gear that others have had.

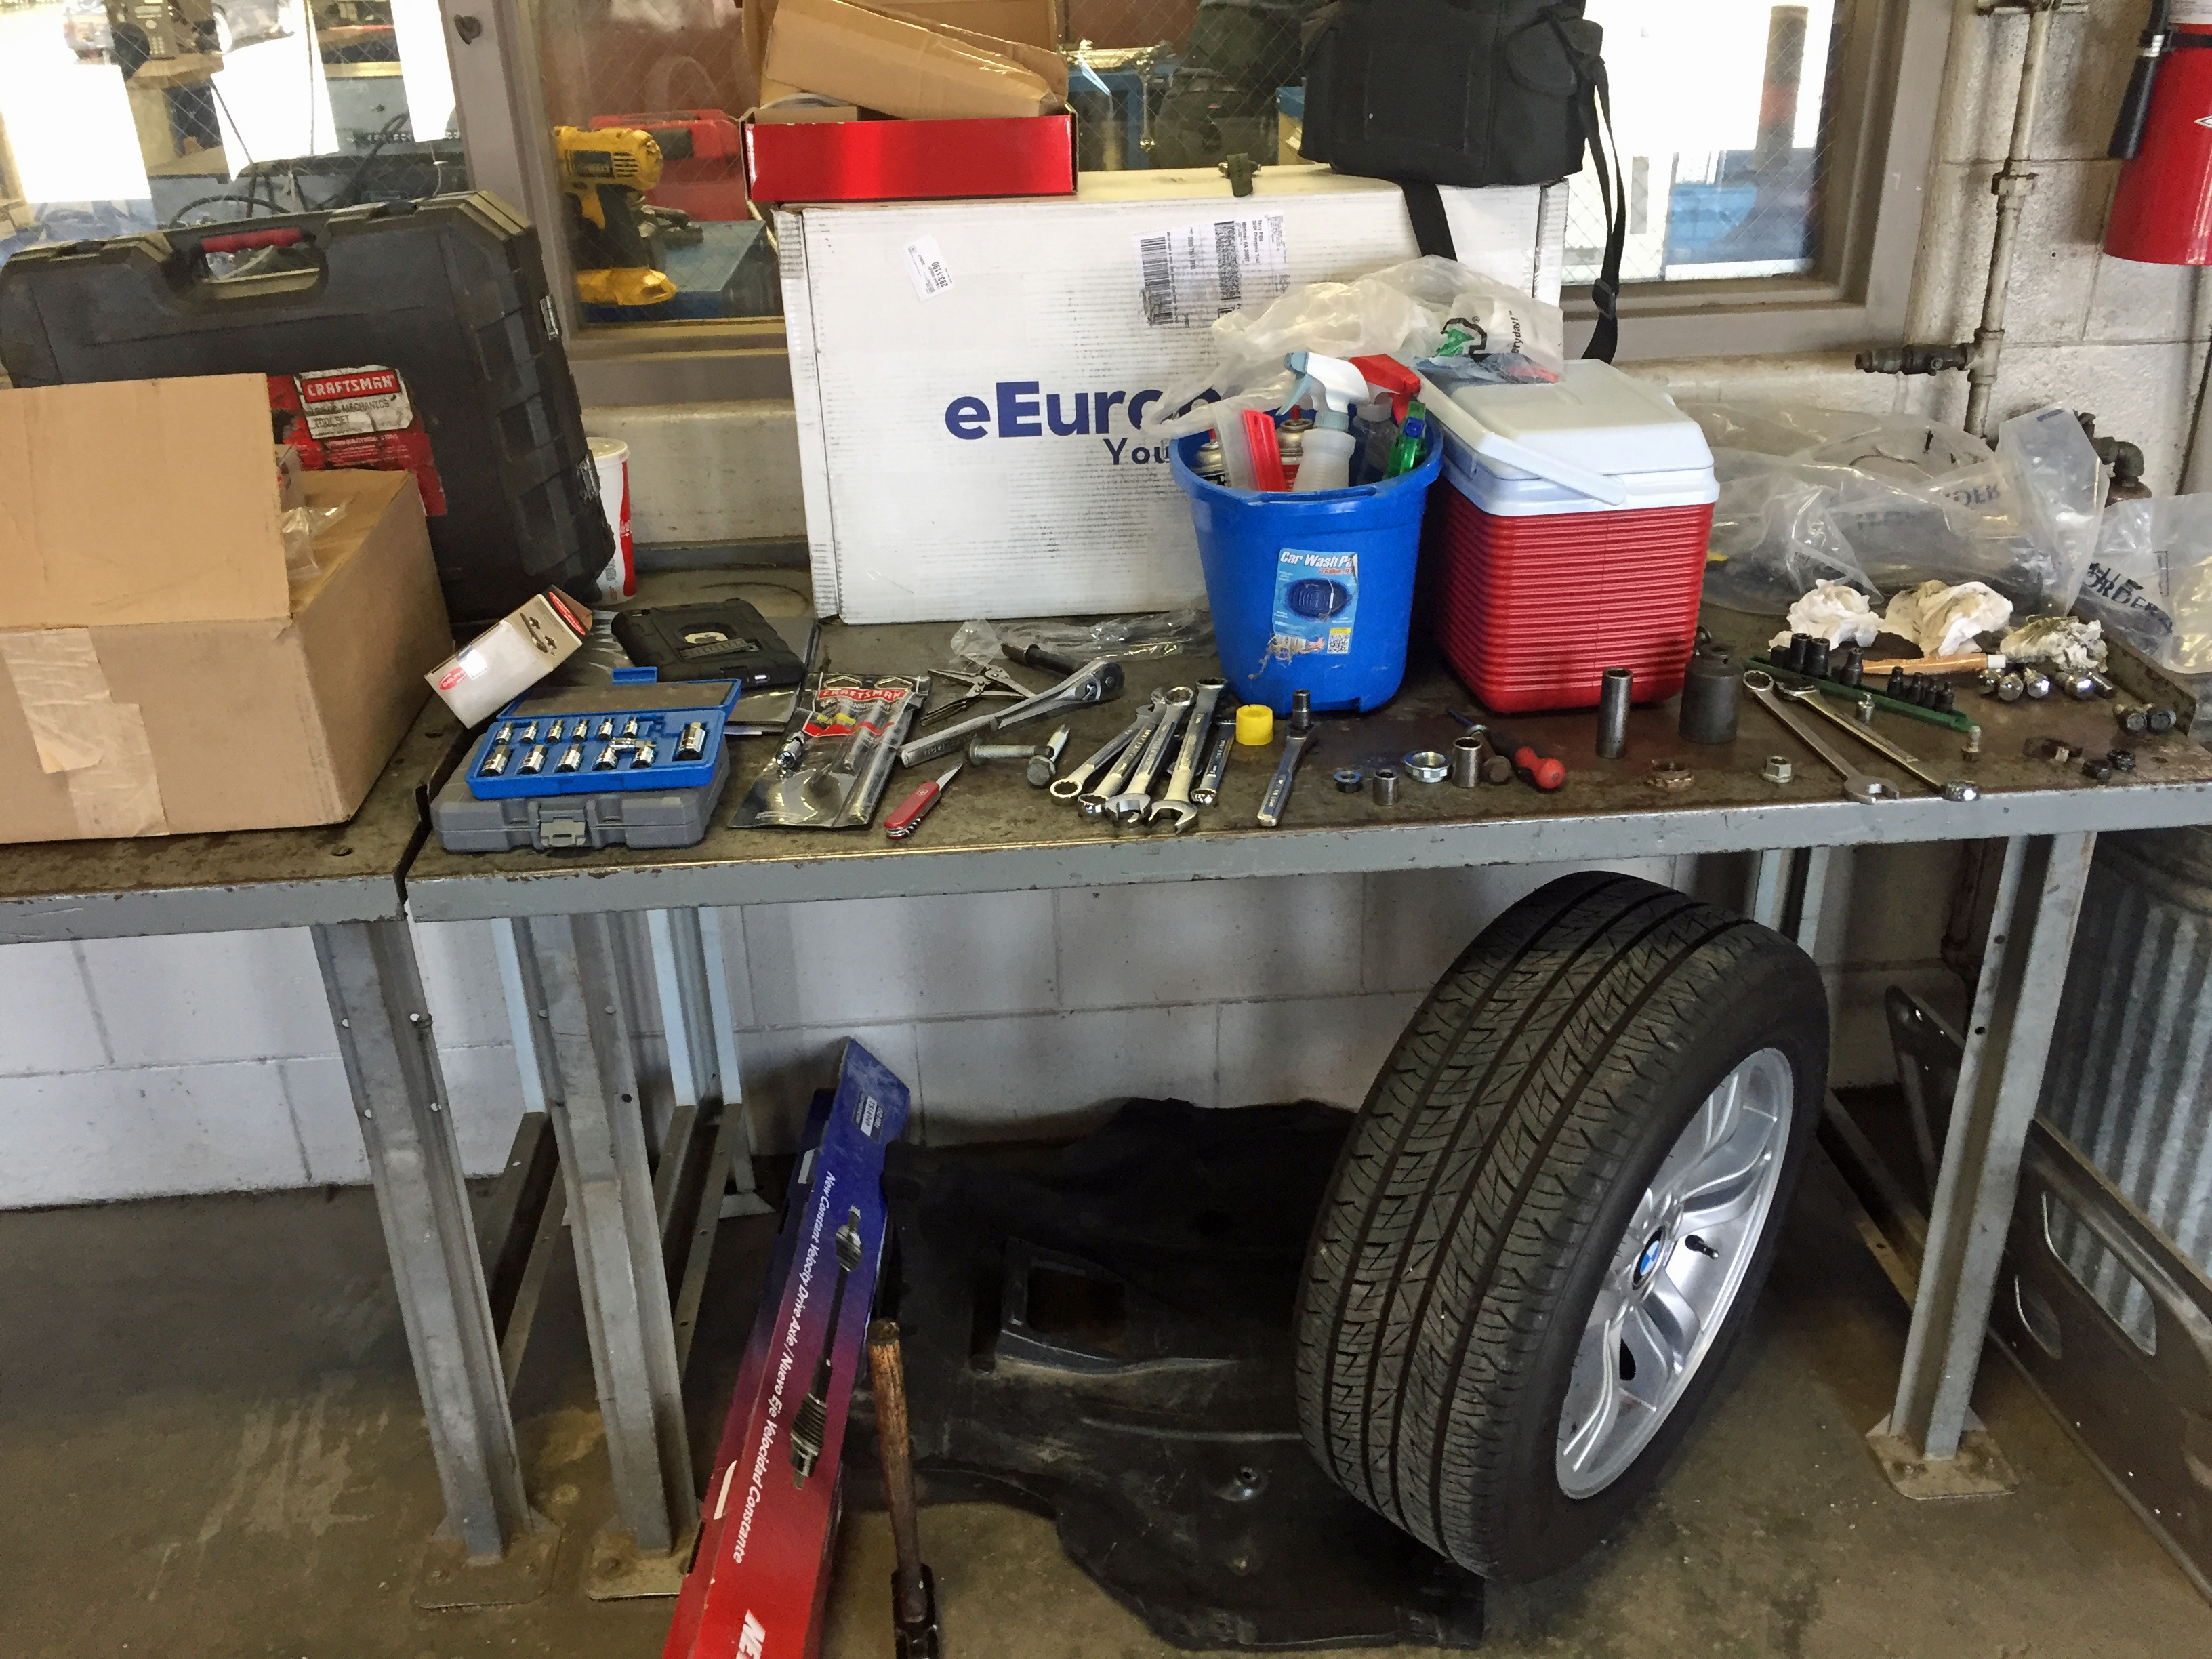
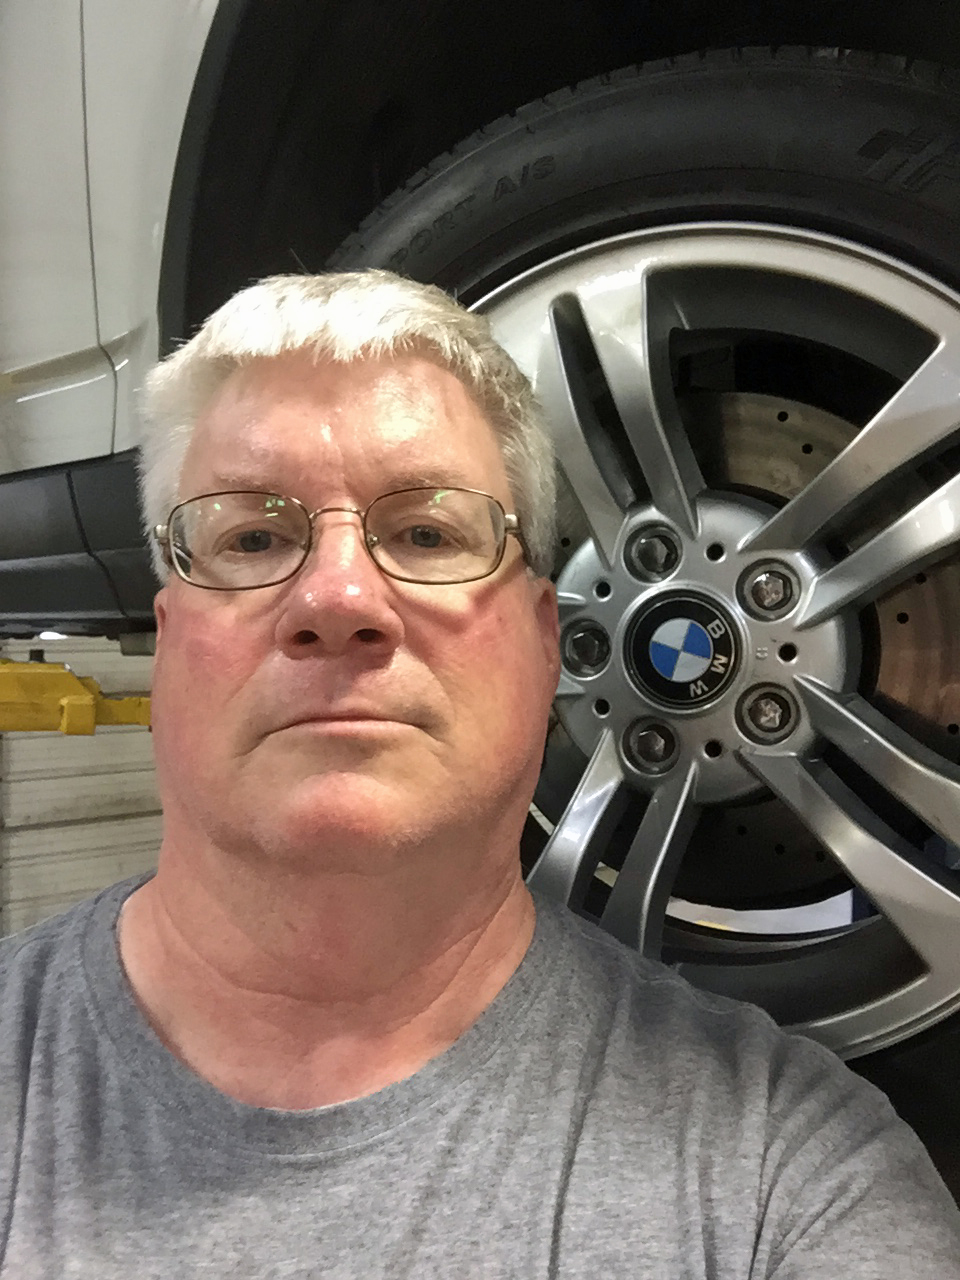
All of the above work took me five hours plus a bit of time to clean up the work area. I’m fortunate to have access to an Army base’s Auto Craft Shop. This let me put the car up on a lift instead of trying to do it on the floor.

I had a Veepeak code reader that I couldn’t find when I recently needed it, so I treated myself to a Foxwell code reader. This is my fourth “project BMW,” and I think I’m worth it! I cleared all the codes and drove really hard to see if it misfired again or gave more codes for the transfer case. Good to go!

The Foxwell code reader shows lots more things to work on, but these jobs are done and working right. What’s next?

Not according to plan…

NOT EVEN SURE where to start. Do I claim victory or admit defeat? Let’s go with “an intermediate success and a victory to come.” Here’s why:

I started this job about three weeks ago. I quickly realized it wasn’t going to be as easy at the online DIY pages and YouTube videos indicated. I put everything I had taken apart back together and went home! When I googled further I found lots of people who gave up and took their car to the dealer (often referred to as the “stealer” in online BMW circles). I’m not going to give up easily.

From behind the wheel: the rear of the left front wheel. You can see the control arm (left), thrust arm (right), ball joint, and the rubber accordion boot on the CV joint. All this has to come out.

What was this daunting task, you might ask? I wanted to replace the control arms, thrust arms, and ball joints on the X3. I’ve not worked on four-wheel drive, so this was different than the two cars I’d done suspension work on before.

Inside the wheel well
From outside: “everything” has been removed. That’s the brake caliper hanging from the string on the left. The thing in the middle is the McPherson strut (aka front shock).

On rear wheel drive BMWs the boomerang-shaped control arm has two ball joints and one bushing. The four-wheel drive cars are different – of course. There is a control arm with a bushing on one end and a ball joint on the other. There is a thrust arm that attaches to a ball joint that is attached as a separate part to the back of the wheel hub (behind the brake). Confused yet? I was; the stuff online isn’t even consistent with the names of parts!

Supposedly you can remove two little bolts and the ball joint drops right out. Right. The ball joint is exposed to the environment with 12 years of rust holding it in place. There was no way to get good leverage. I accidently tore the CV joint boot. I hate creating my own expensive problems. Greasy, messy problems.

I recently helped my daughter’s boyfriend work on his car. We discovered that it’s difficult to change the struts (front shocks) with new control arms in place. So, I delayed my project long enough to order new struts.

Remember, I split the right side CV joint boot trying to get the ball joint out a few weeks ago. What to do about that? A new boot is $20. There’s an outer boot (the one I damaged) and an inner one(“only” $10). I thought it made sense to replace both boots if I had to go to the trouble of taking the whole axle out to fix my mistake. The tool you need is $32. We’re now at $62, plus shipping. I found a new axle with new joints and new boots for $79. Easy math!

I read several different ways people have removed the rusted-in-place ball joint. None looked really good/easy. The damaged CV joint boot led me to my own solution – for the right side of the car. Still have to figure out how to manage the other side.

Yesterday morning I had breakfast with Melissa then went to the base Auto Craft Shop. I thought I could change left and right shocks, control arms, ball joints and thrust arms and the front right half axle in one seven-hour day. Most people know I’m pretty optimistic.

Time for the power tools. Wheel off. Tie rod end loose. Control arm loose. Thrust arm loose. Brake caliper off. All pretty easy. Next came a big hammer to get the strut (front shock) loose. That required a lot of hits. And more. Hard hits. Success. Then I had to use the big hammer to remove the wheel hub. That thing was HEAVY when it came off. All this happened pretty quickly.

This is the wheel hub from the rear. The strut fits in the large open ring at the upper right. The small hole at the bottom is where the ball joint was (See the big hammer?) The stainless steel part in the middle is for the axle. The brake rotor is visible on the right; the part you see is normally covered by the brake caliper.
This is the bad boy – the ball joint after being hammered loose.

Things slowed down quickly at this point. I put the entire wheel hub assembly in a vise and pounded the rusted-in ball joint until it fell out. Big hammer. Hard hits. Then, the new one didn’t fit. Too much rust inside the hole (think of a cork fitting inside a donut). File, brush, test fit. File, brush, test fit. File, file, file, brush, brush, brush, test fit. Hmm still not. Repeat a lot. For a long time. Finally, the new part fit in the formerly rusty hole. Hallelujah. It’s almost time to think about reassembling things. Almost. The old axle has to come out and the replacement go in. That turned out to be pretty easy. I don’t think I’ve ever disassembled a car this far!

Brush, brush, brush
New (left) and old (right). Look how much damage there is to the old one.
The new ball joint is securely in place – with and-sieze in case it ever has to come out in the future.

By this point I’ve long since decided that I’m only going to do one side and will do the other side in a couple weeks. I had about two hours to closing time. Tick tock. Tick tock.

Nothing’s going right trying to reassemble things. The first try was a failure. Ditto for the second and the third. The place is closing soon. I’m dirty, tired, and hungry. I call Melissa to come get me. We eat and go home.

That’s a lot of tools, parts, and other stuff.

This morning at 7:11 I realize I hit “off” on my phone instead of “snooze” when the alarm went off at 6:00. So much for going out for breakfast. We did get to church on time, then Melissa dropped me off at the Auto Craft Shop. Three hours later the car was back together.

What went wrong? A couple of things. One important issue was that the ball joint is really, really painful to get out. I ended up doing a couple things in a less-than-efficient order. Reassembly required a lot of grease and a big hammer. I had recalled reading the axle could be changed in four hours. Last night I read that seven hours is typical for a first timer like me. Remember, I didn’t just change an axle, I also did the (ever so painful) ball joint, strut, control arm, and thrust arm – all in ten hours including cleanup. That’s actually pretty good work.

I am actually very happy, just look serious trying to take a picture with dirty hands.

I’m confident when I do the left side it will be much more efficiently done, faster, and easier. Plus, no axle to replace on that side.

I still have to decide how to get the right ball joint out. Should I try one of the online tricks, or just pull the hub off even though the axle won’t be replaced?

I have plans to video the left side. Now that I know what to do, I might look pretty competent!

Just in case you ever wondered what the inside of a Constant Velocity (CV) joint looked like. A CV joint is what lets the wheels move at different speeds in a turn.