My windshield wipers didn’t work right. Everything was OK except the interval setting didn’t do anything unless I moved the moved the little wheel. Then, it only wiped once until I m over the wheel again. I lived with this for well over a year before I got around to googling for a solution. The likely culprit was the wiper relay. That’s a $100-part!
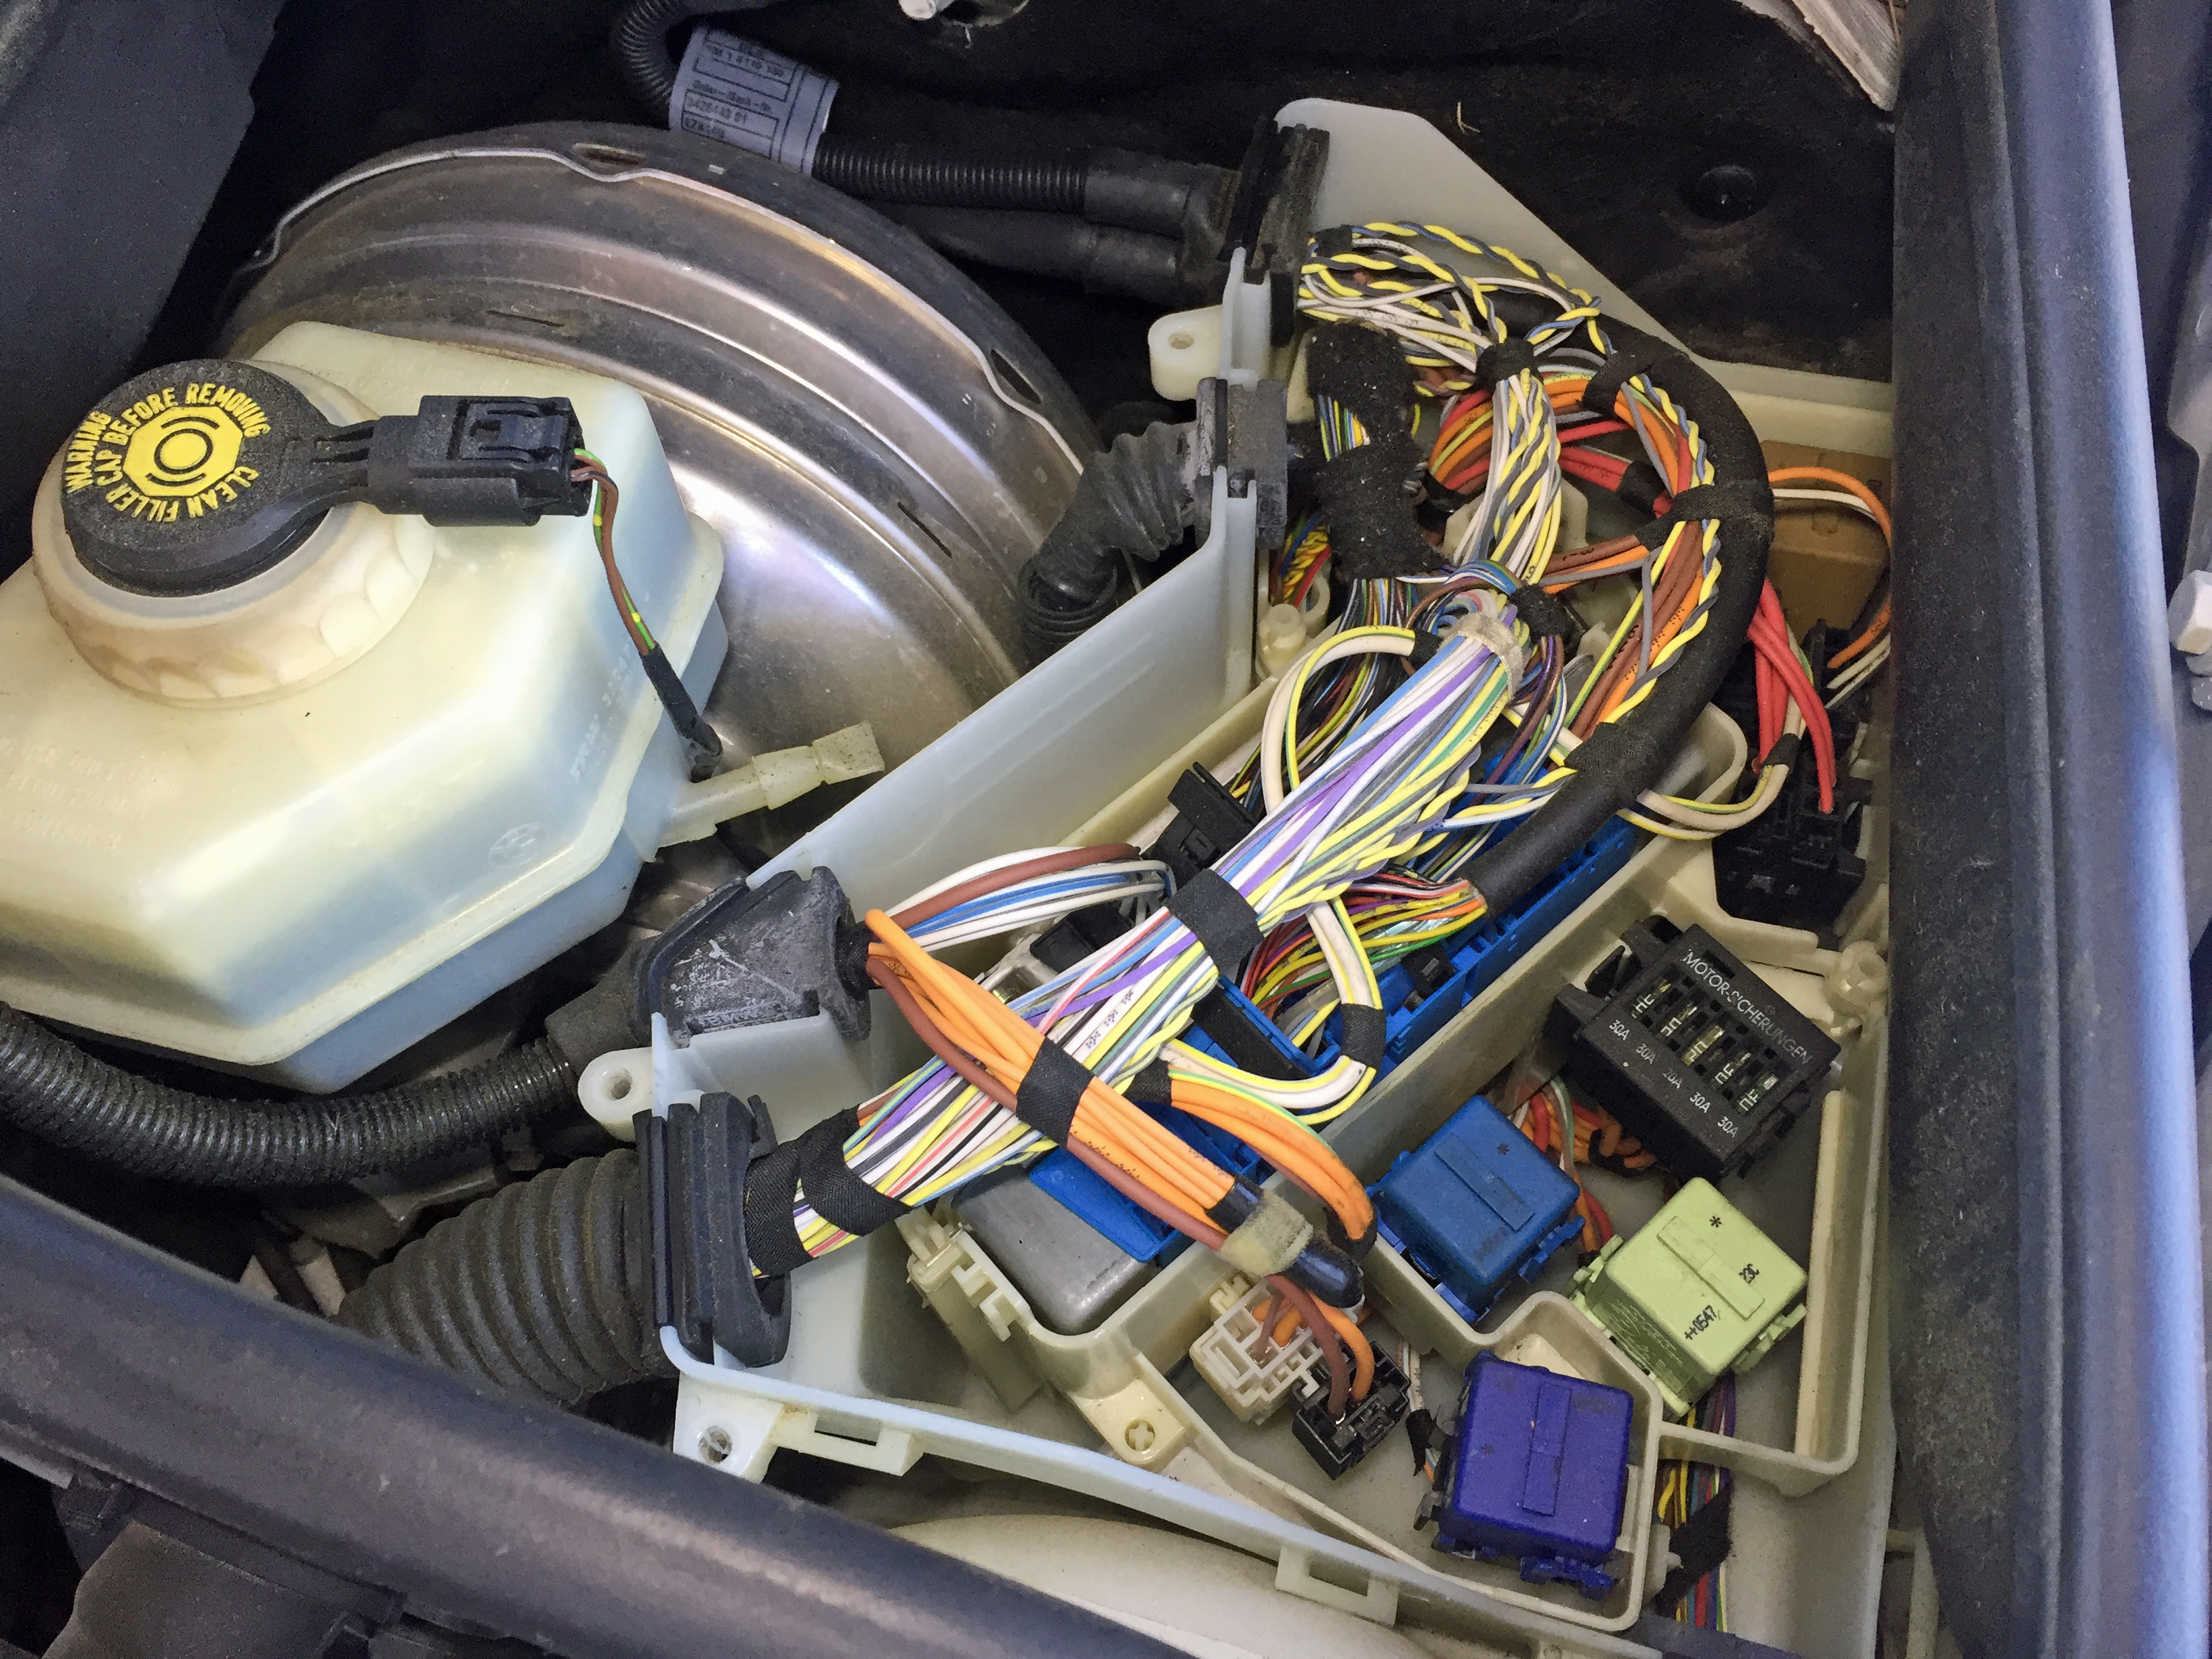
The relay is in the back right corner – brown box.
I was able to push, pull, rotate, lift, yell, and adjust enough to get my fingers on it.
A week ago today, I found where the relay is hidden under the hood. I took it out. It’s big and can be disassembled. I slipped two thin knives into the relay where I could see two locking tabs that hold the inside in the outer shell and easily pulled it apart. It’s a completely mechanical relay. The contacts get a carbon build up and stop working.
I cut a very thin piece of 1000 grit sandpaper and gently cleaned each of the two contact faces. I put it all back together, hoping for the best. The best was not to be…
The relay lives in a very awkward corner. I dropped it. It landed about three inches (75mm) below its socket. My fingers did not fit well. I accidently pushed it deeper. Frustrating!
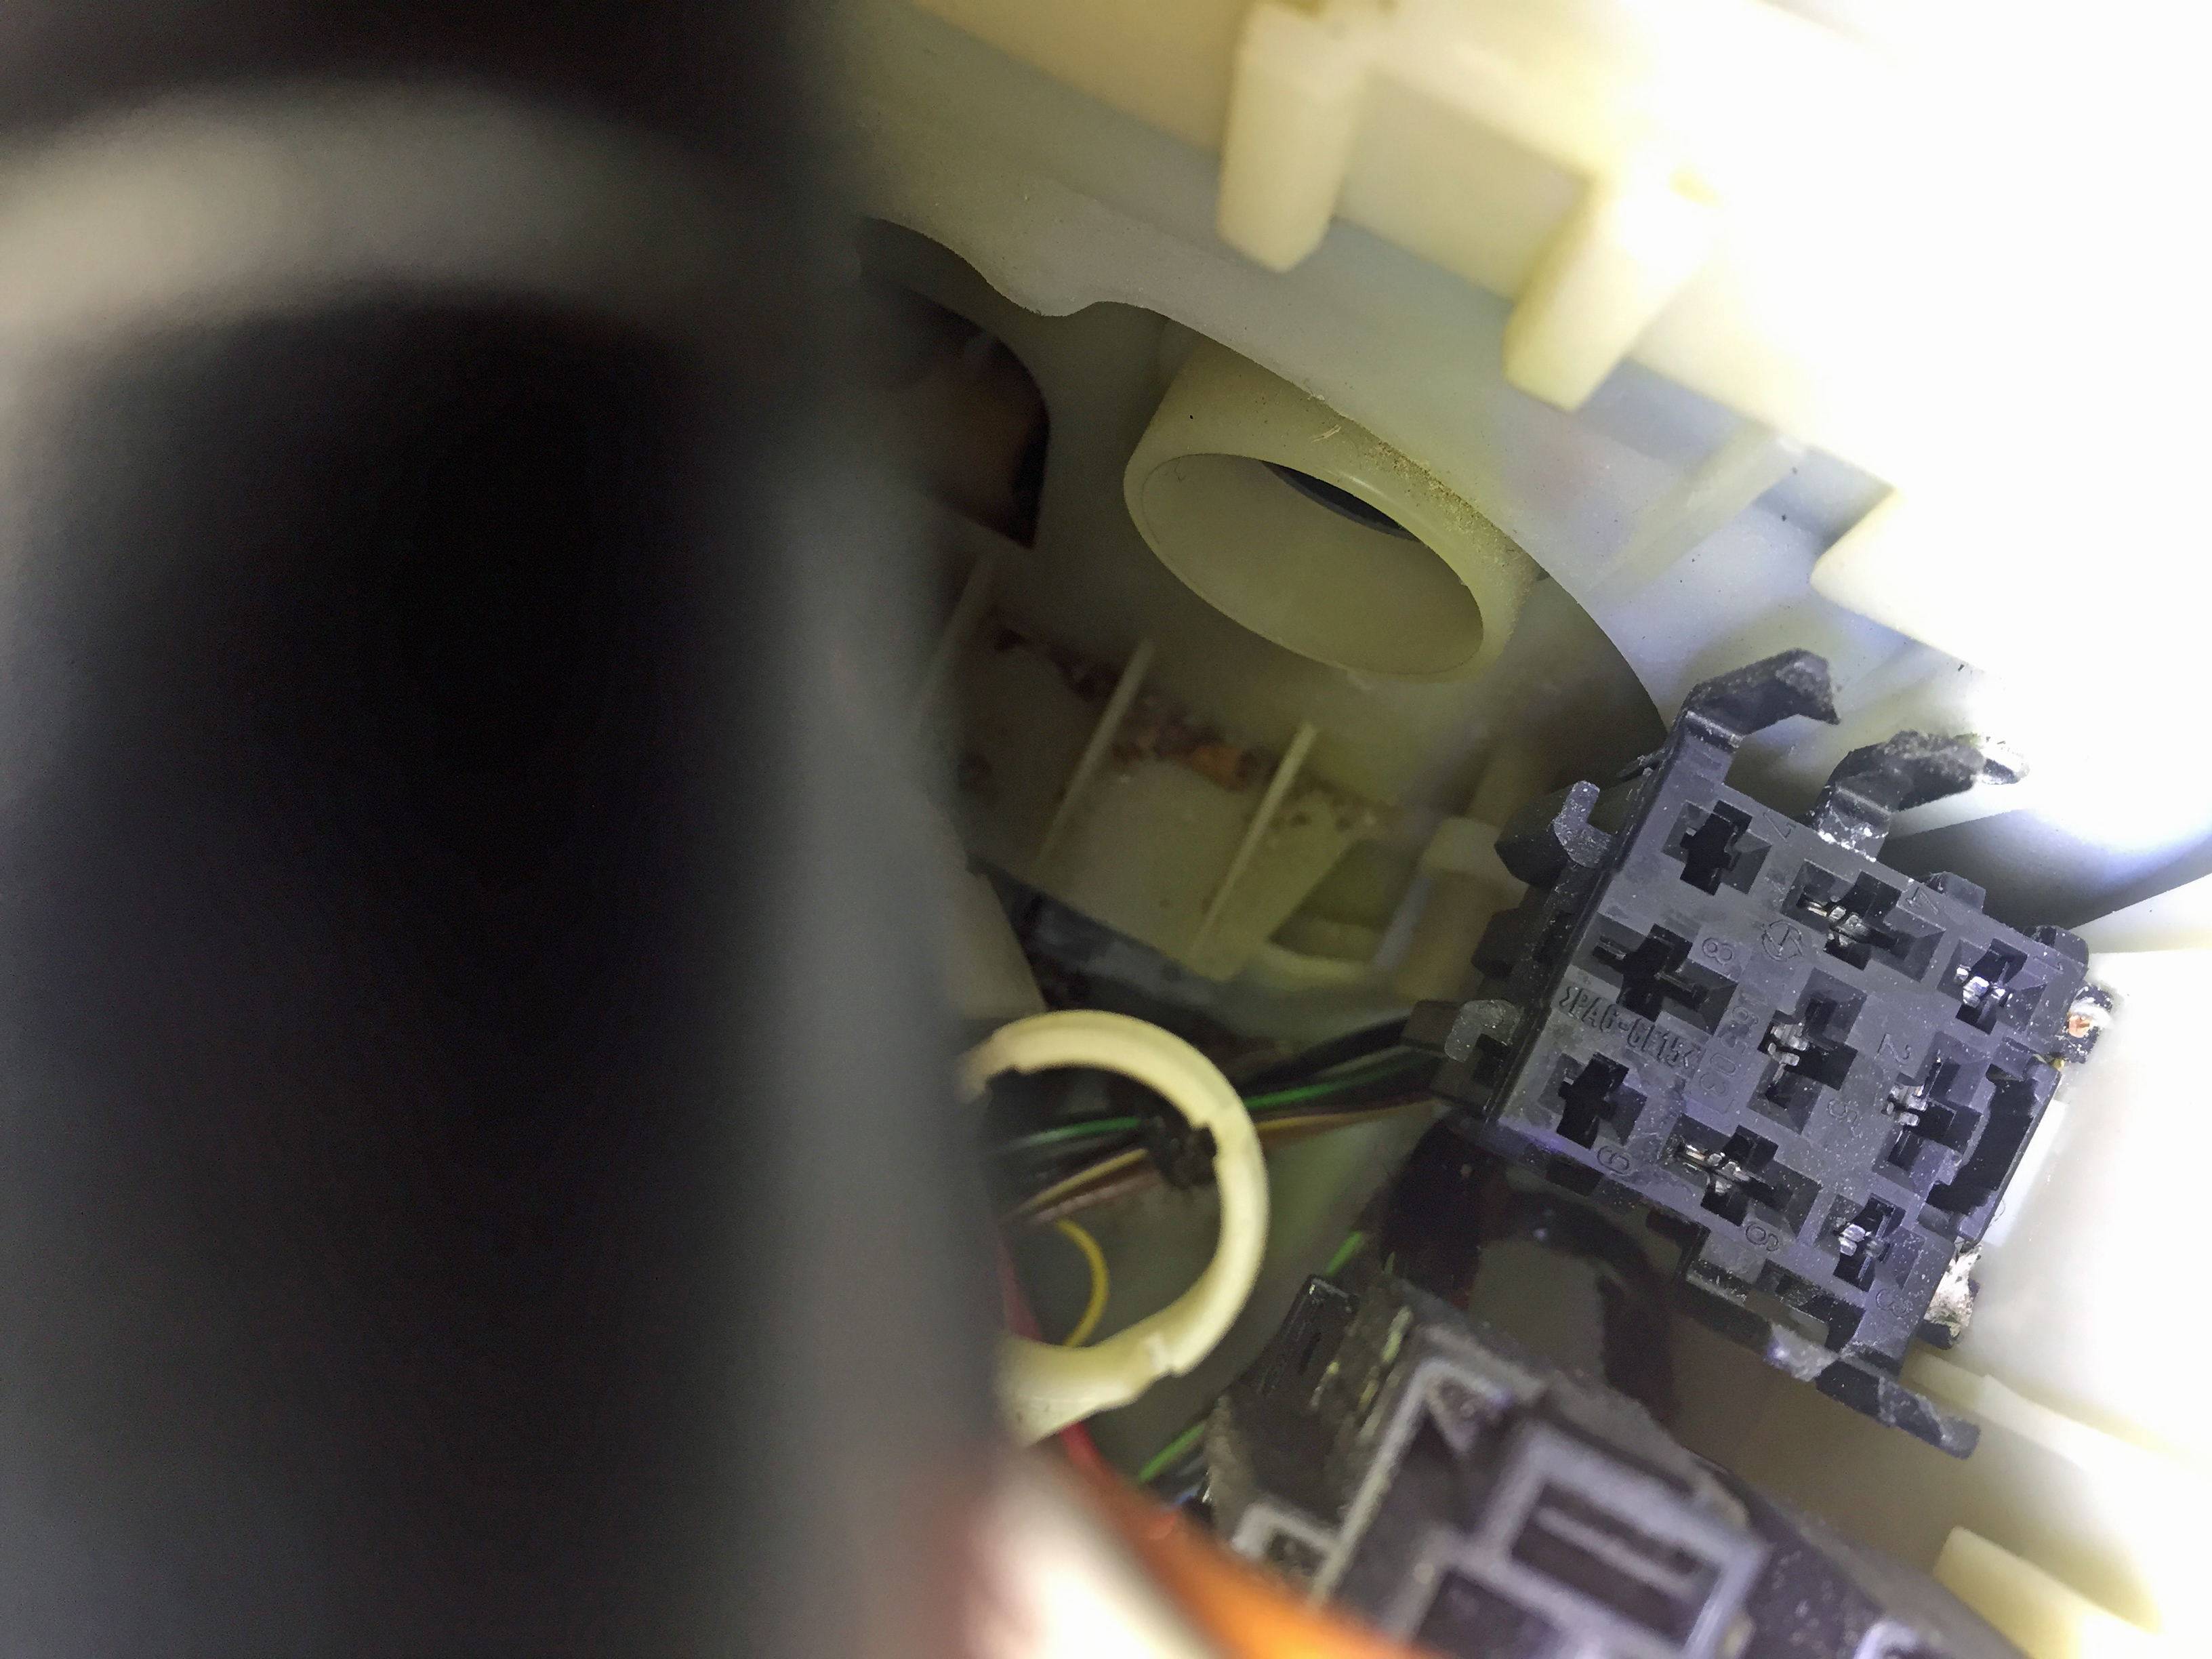
The empty socket is on the right. Note the orientation of the slots. The open space in the middle with where the relay fell.
Two days later I tried to get it out again. I used duct tape wrapped around the end of a ruler. I tried to tie a loop of dental floss around it. Finally, with a hacksaw blade I was able to push, pull, rotate, lift, yell, and adjust enough to get my fingers on it. All this only after removing two other wire bundles. This took two unhappy hours. But, I got it in the right place. The wipers worked.
I had to wait from Sunday until today (Thursday) to test everything in the rain. It worked. Yay! I saved $100!
NOT EVEN SURE where to start. Do I claim victory or admit defeat? Let’s go with “an intermediate success and a victory to come.” Here’s why:
I started this job about three weeks ago. I quickly realized it wasn’t going to be as easy at the online DIY pages and YouTube videos indicated. I put everything I had taken apart back together and went home! When I googled further I found lots of people who gave up and took their car to the dealer (often referred to as the “stealer” in online BMW circles). I’m not going to give up easily.
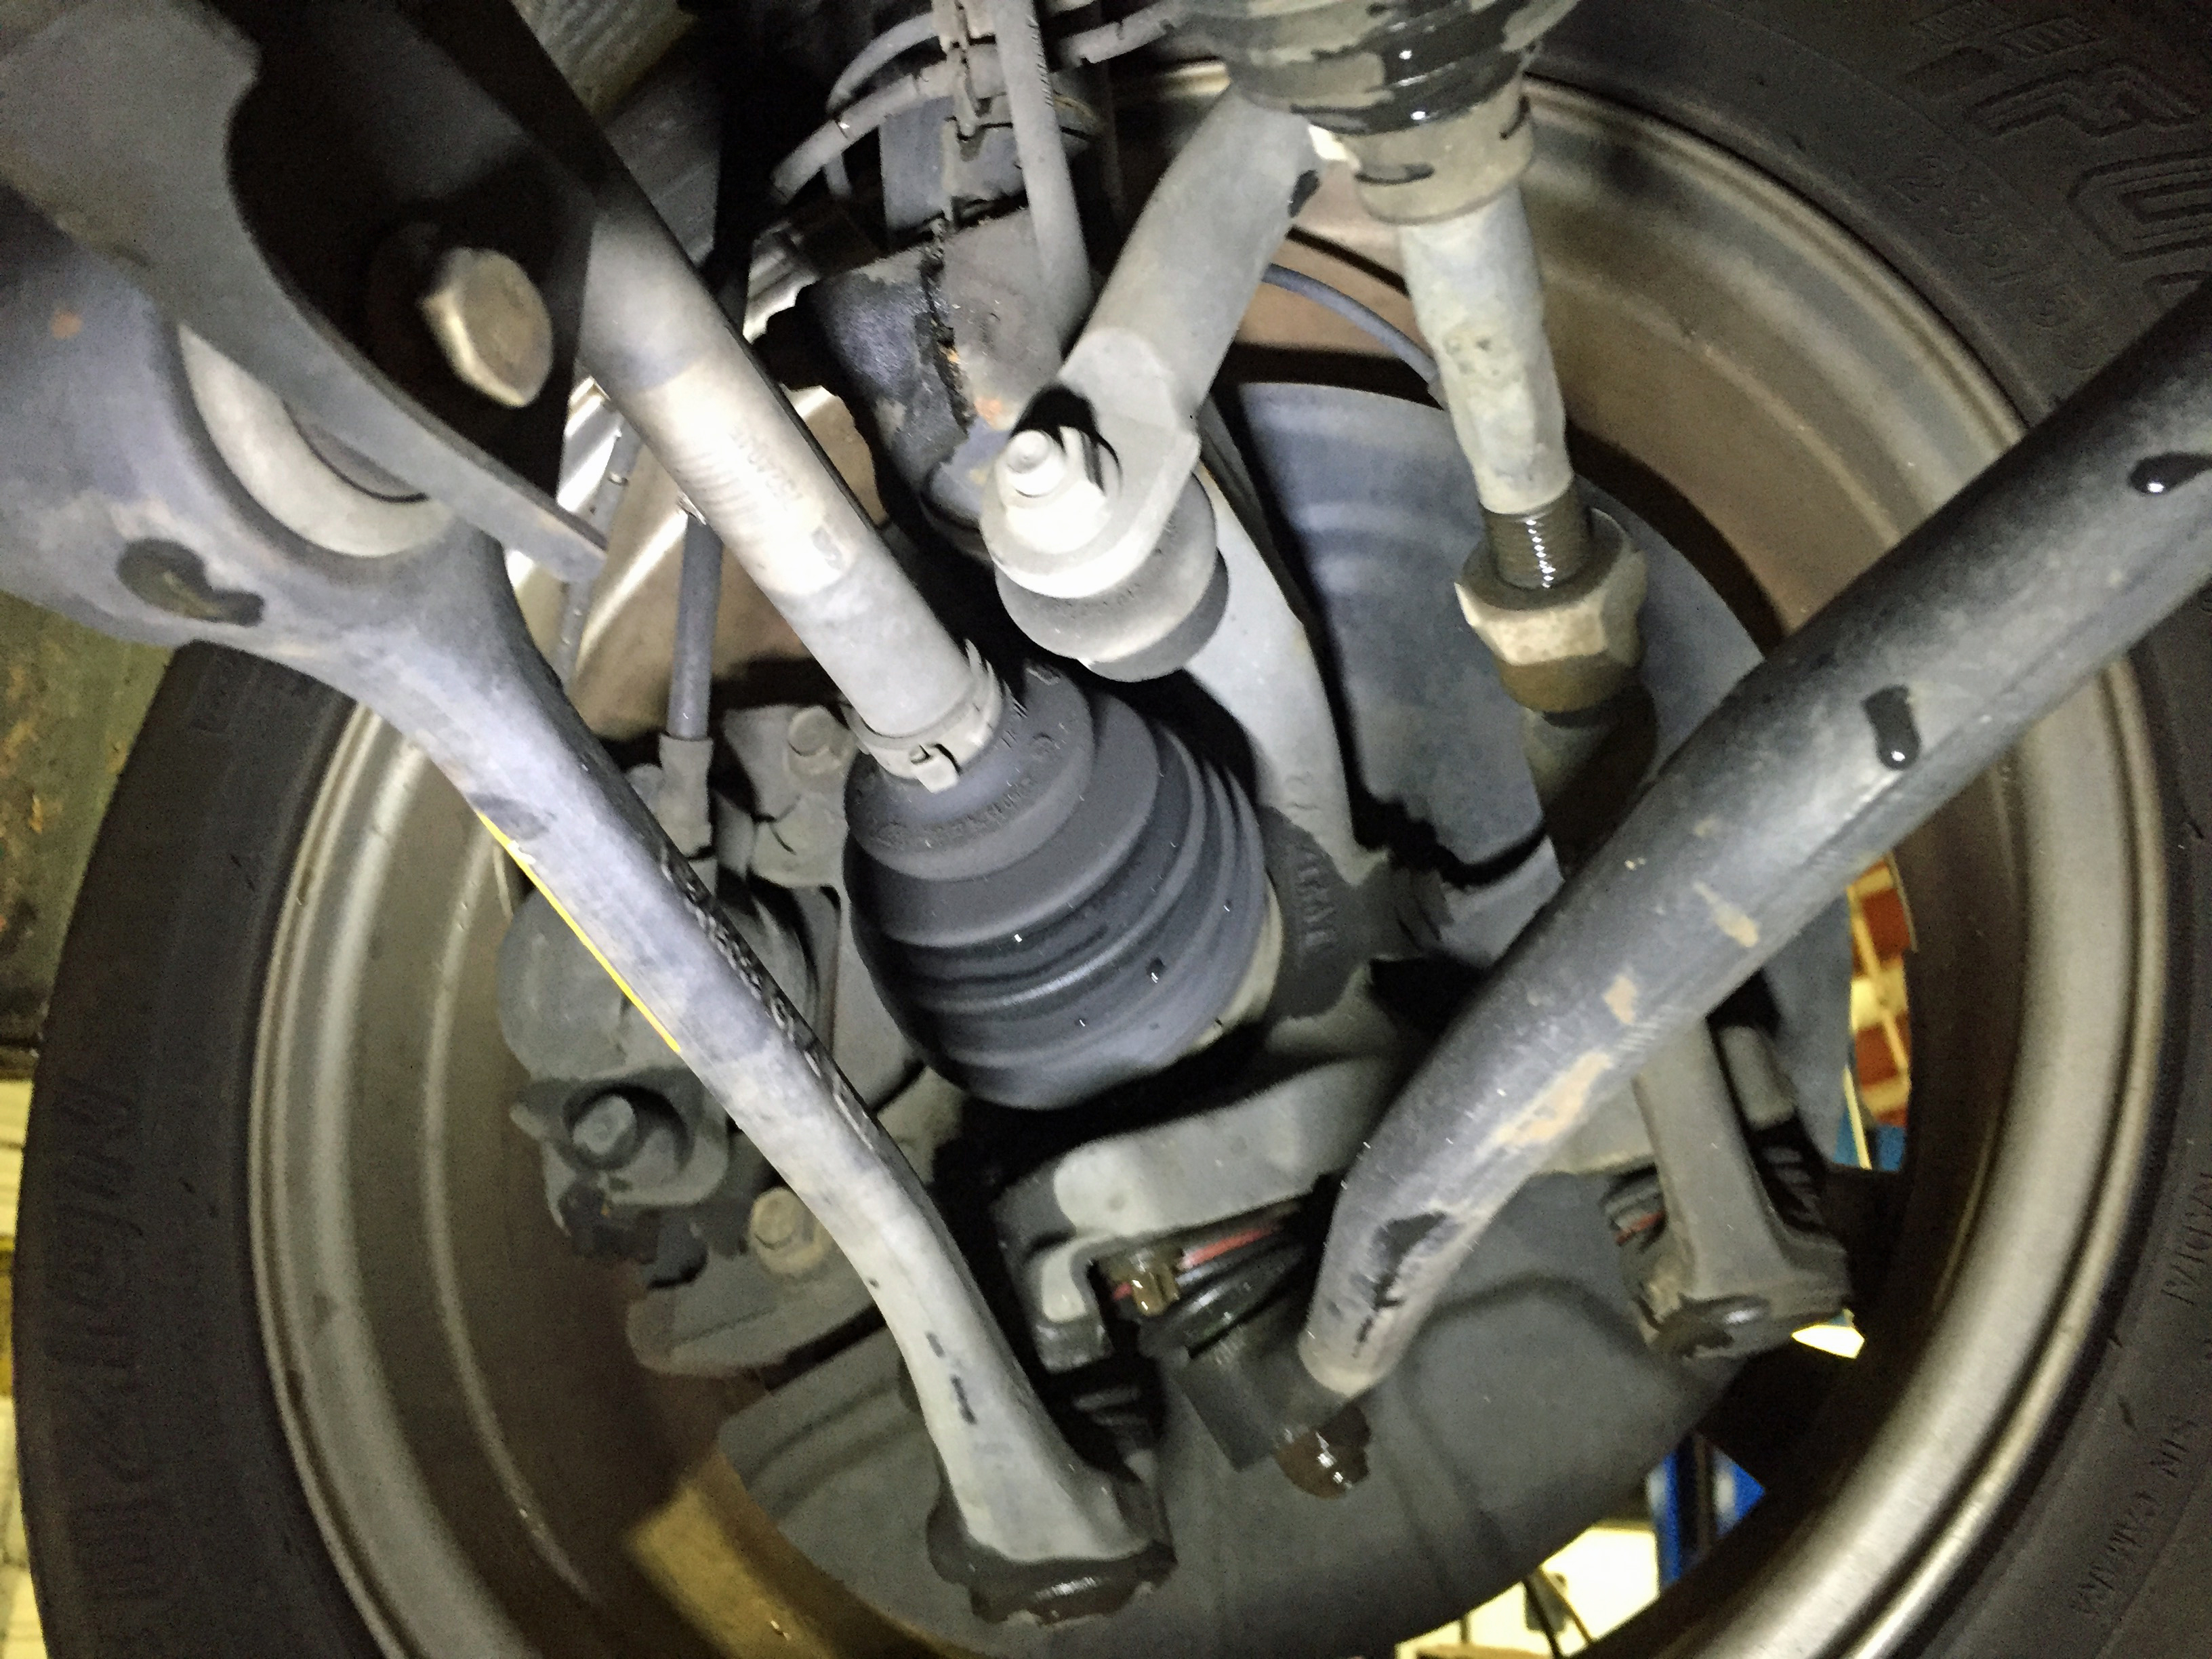
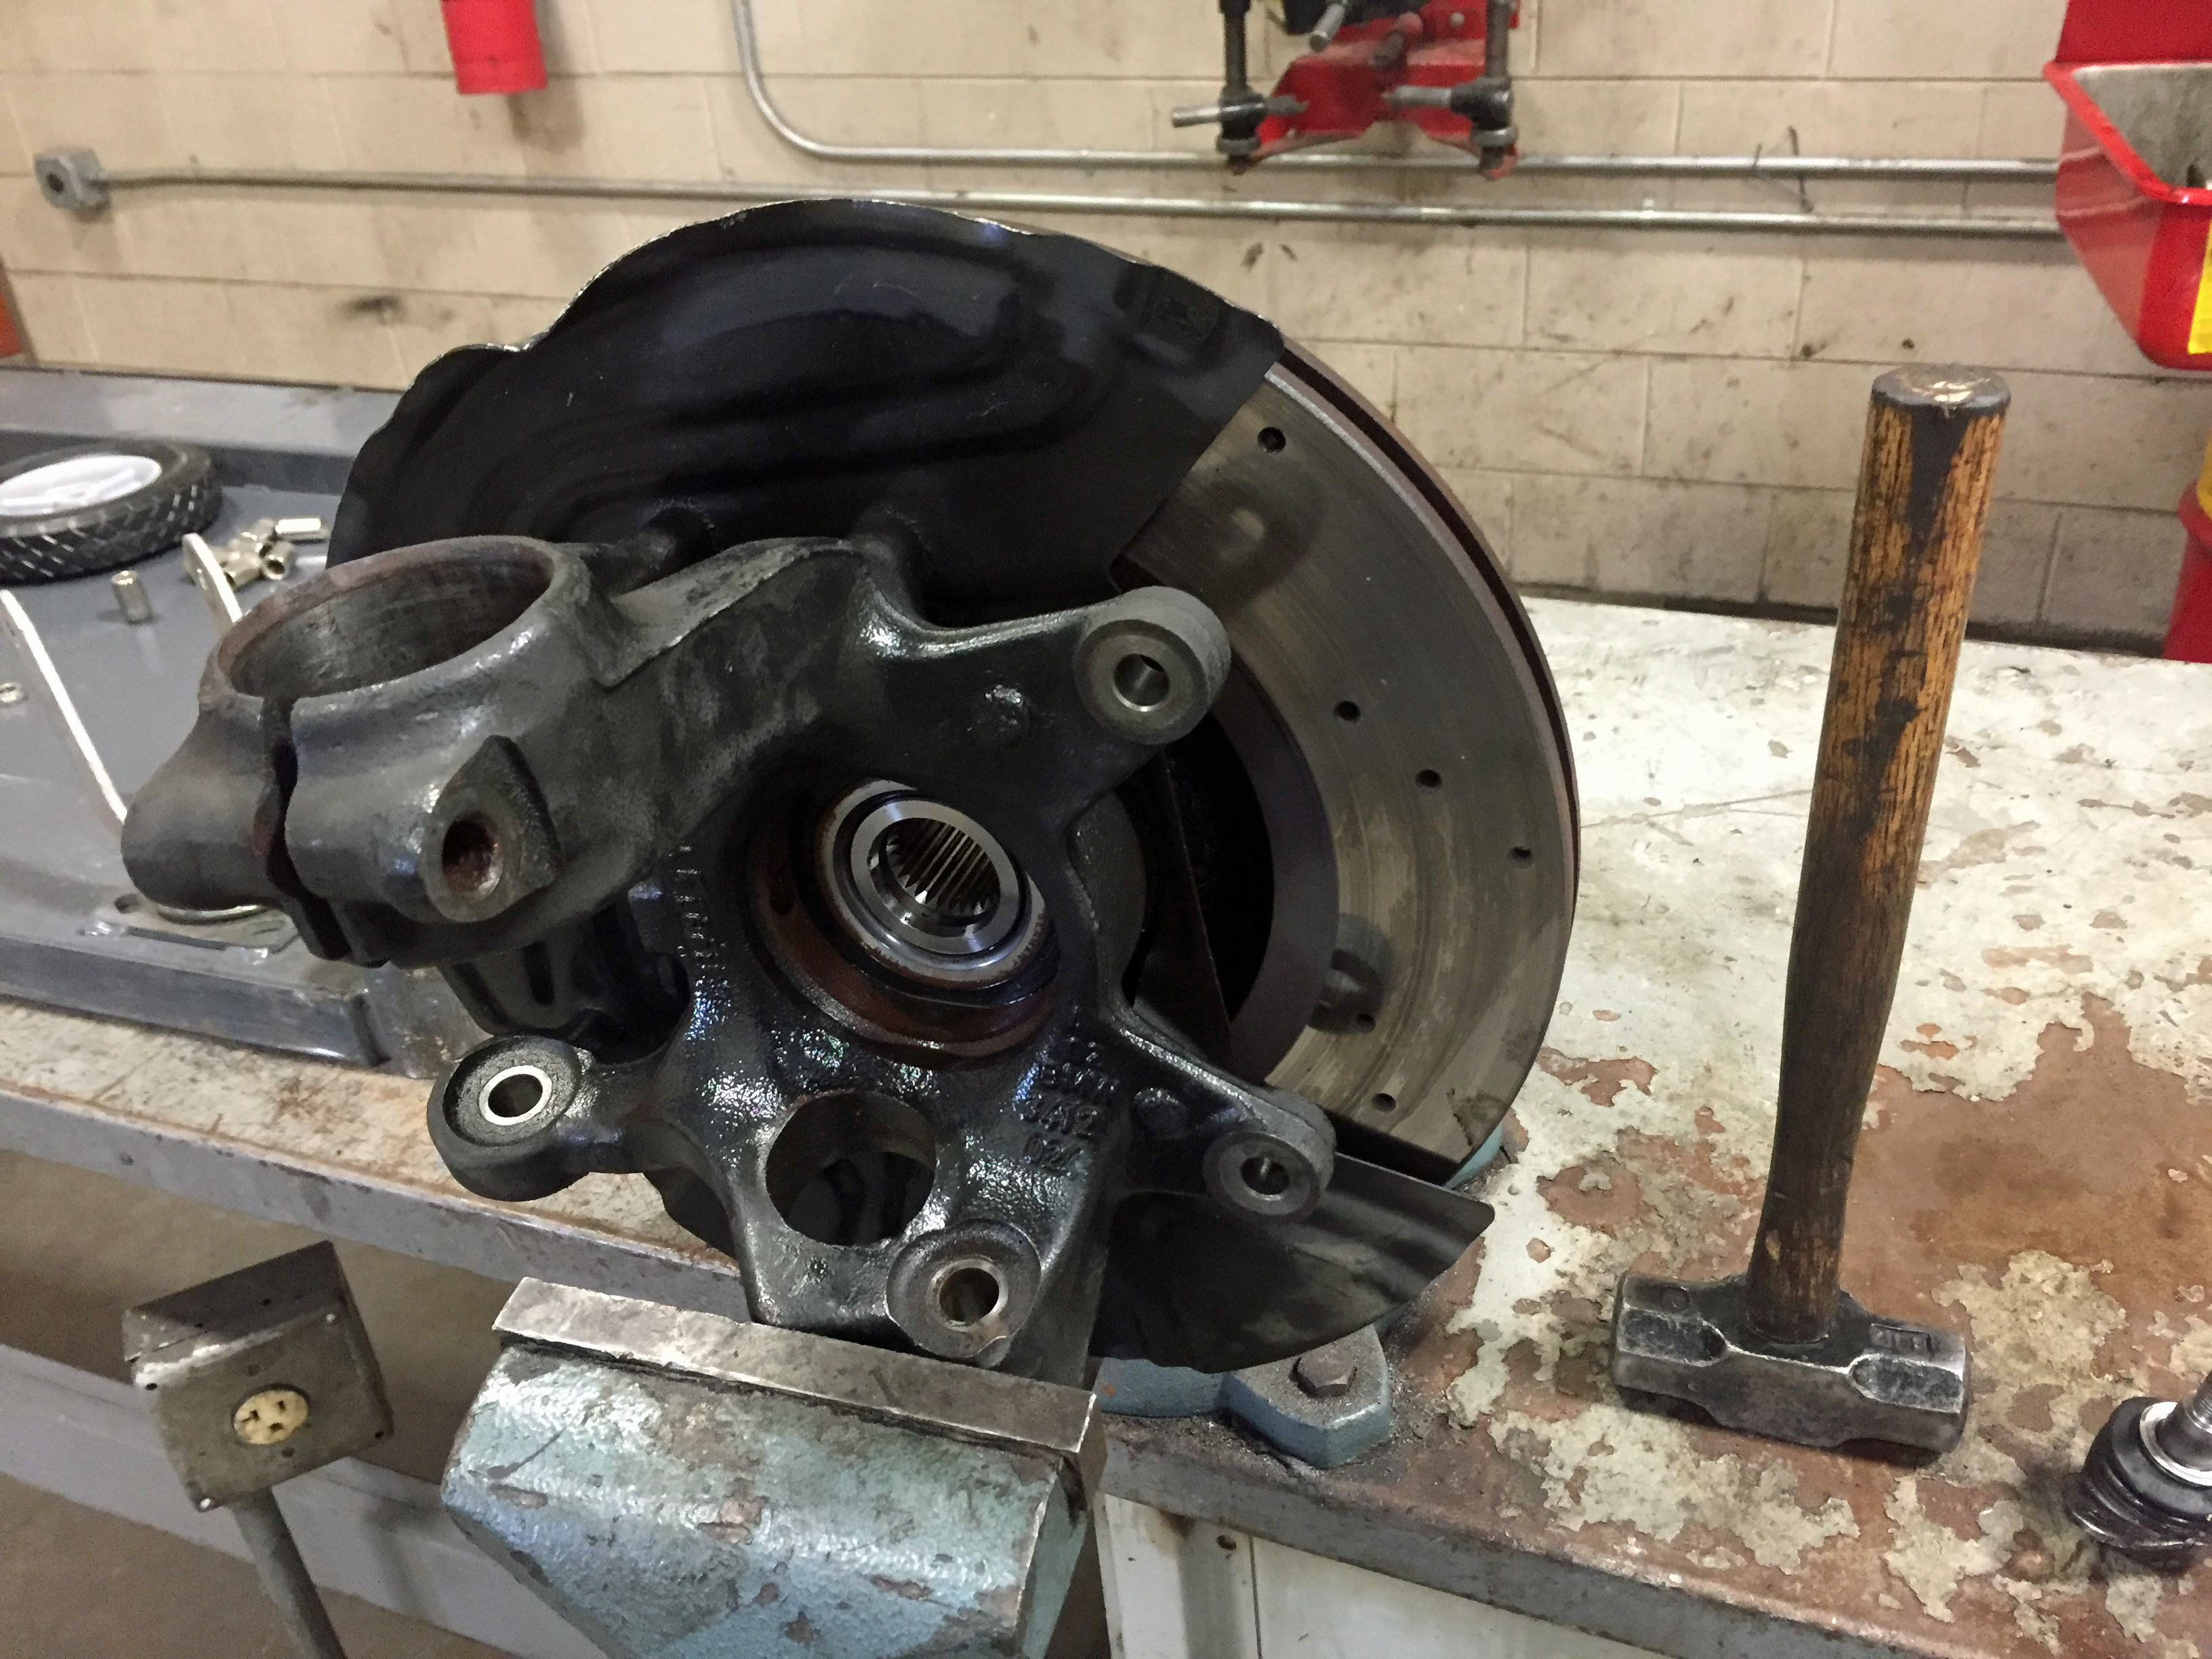
From behind the wheel: the rear of the left front wheel. You can see the control arm (left), thrust arm (right), ball joint, and the rubber accordion boot on the CV joint. All this has to come out.
What was this daunting task, you might ask? I wanted to replace the control arms, thrust arms, and ball joints on the X3. I’ve not worked on four-wheel drive, so this was different than the two cars I’d done suspension work on before.
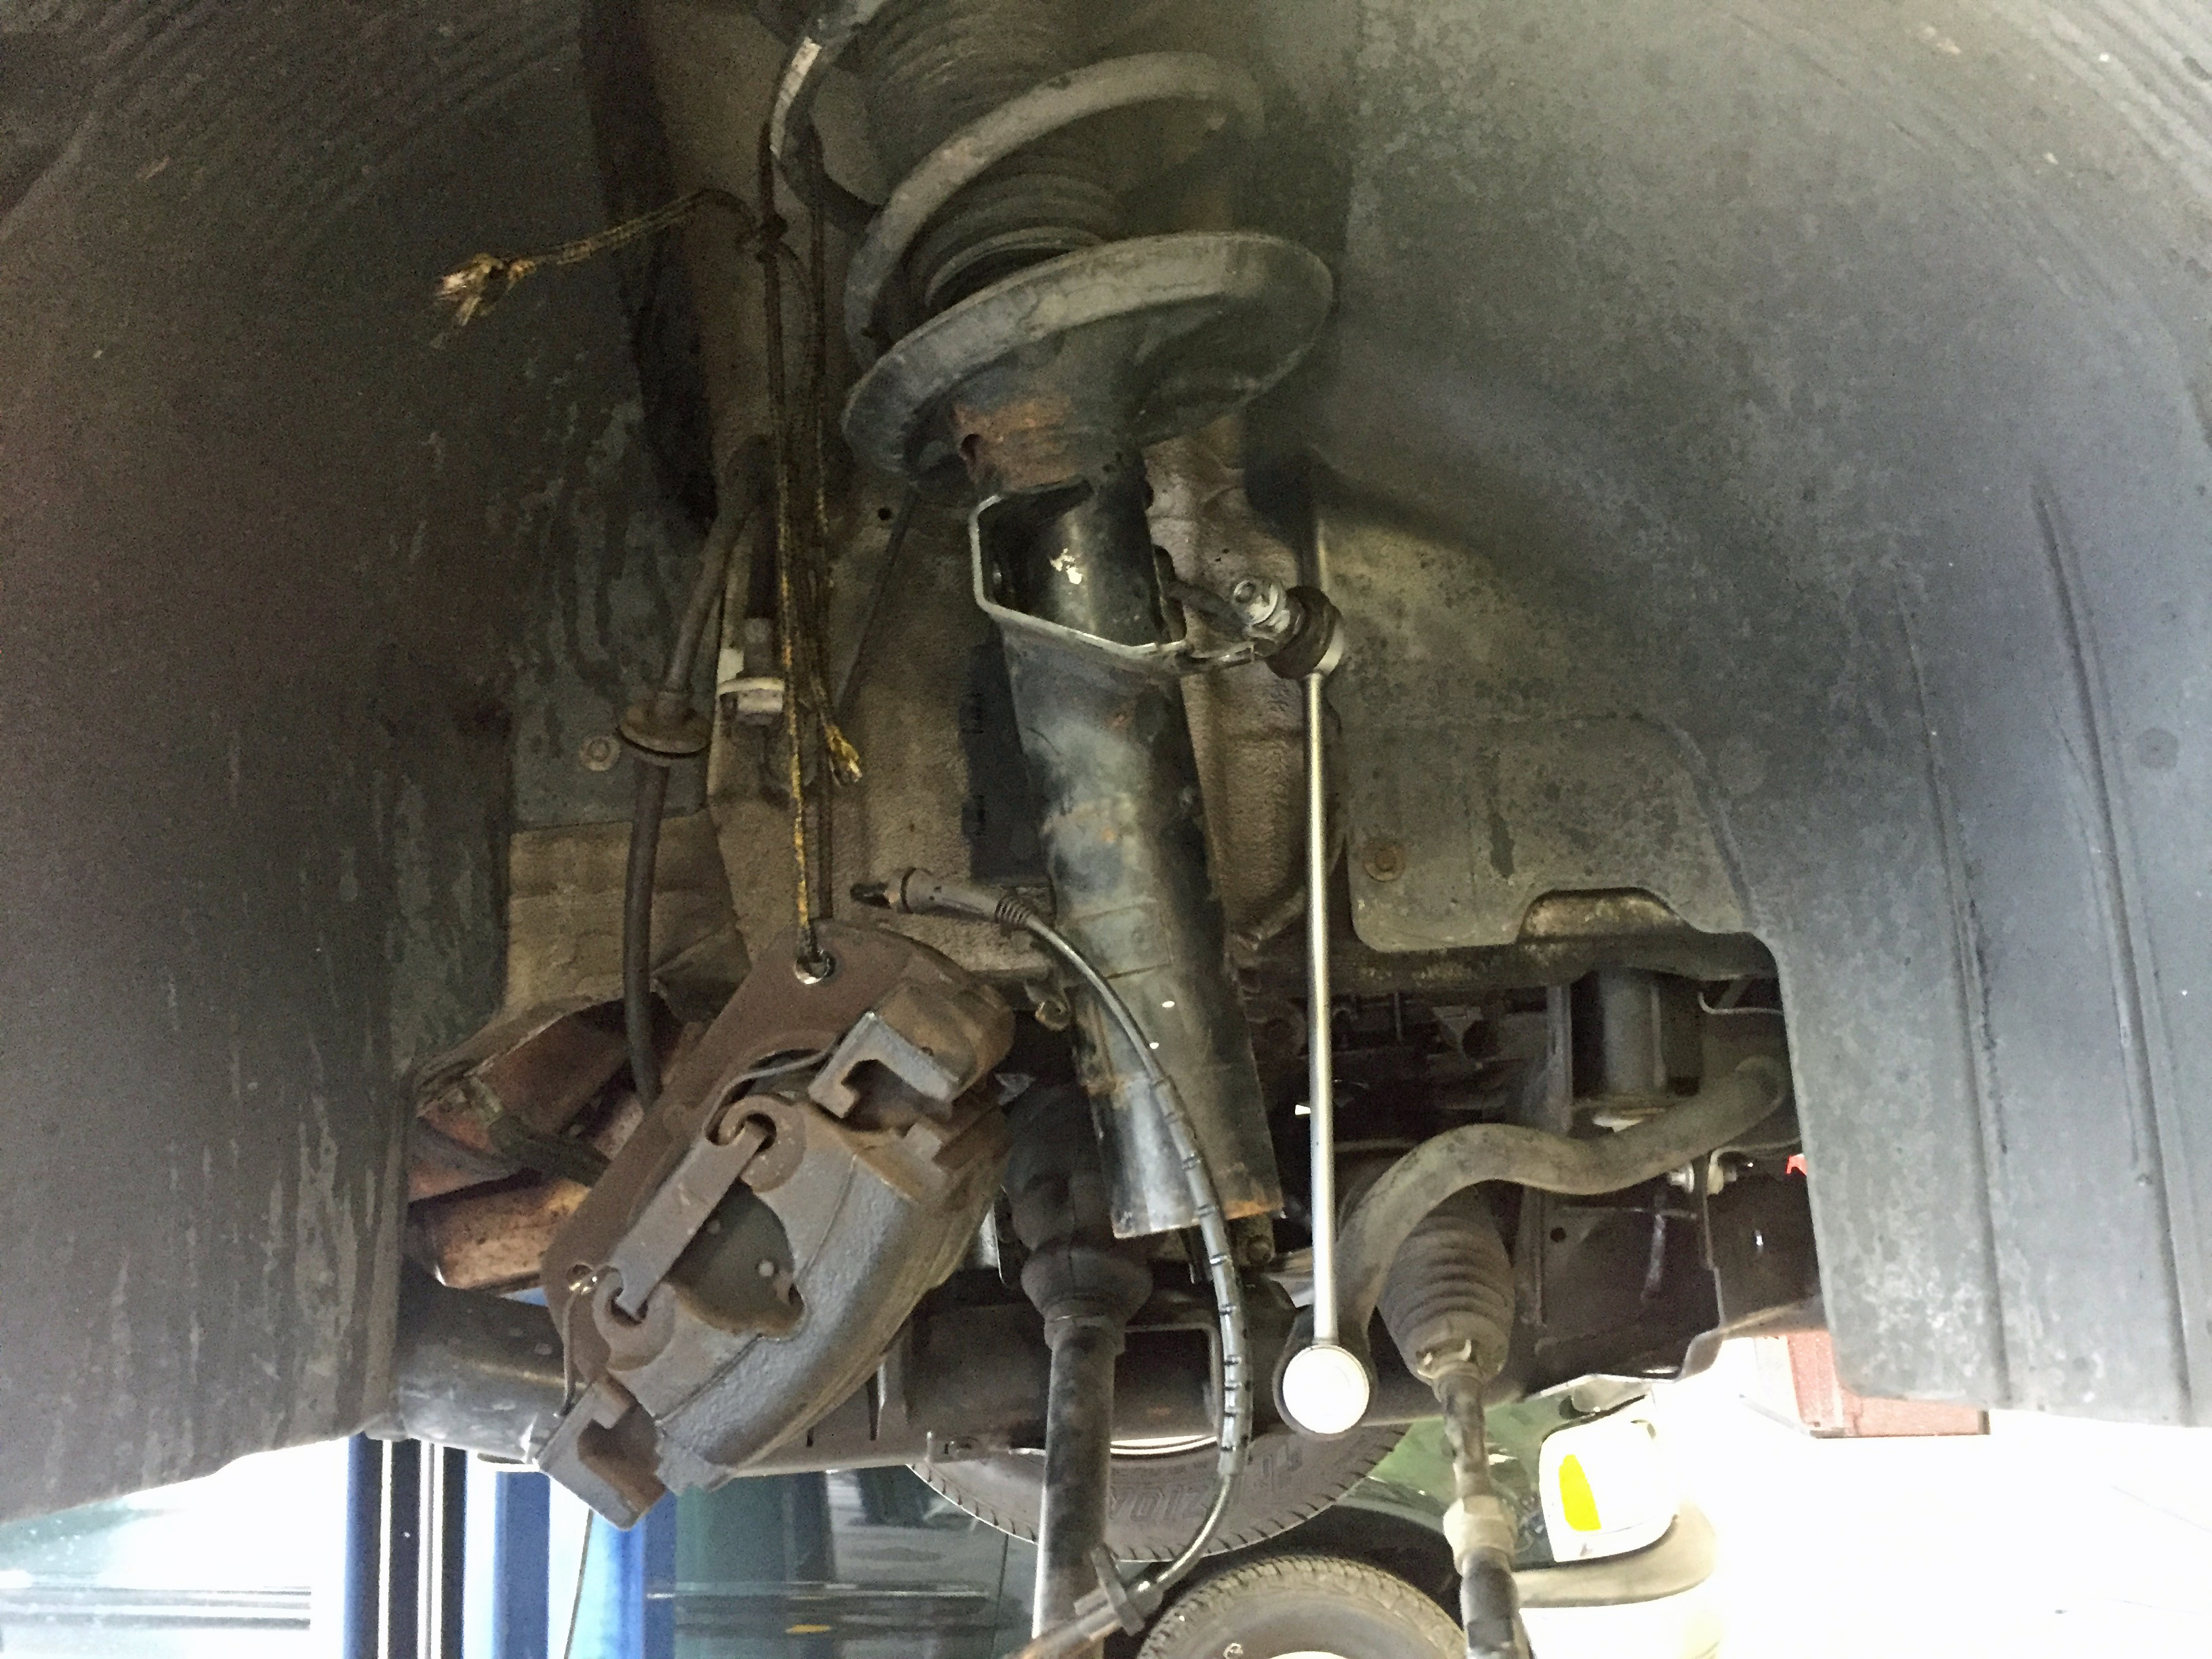
From outside: “everything” has been removed. That’s the brake caliper hanging from the string on the left. The thing in the middle is the McPherson strut (aka front shock).
On rear wheel drive BMWs the boomerang-shaped control arm has two ball joints and one bushing. The four-wheel drive cars are different – of course. There is a control arm with a bushing on one end and a ball joint on the other. There is a thrust arm that attaches to a ball joint that is attached as a separate part to the back of the wheel hub (behind the brake). Confused yet? I was; the stuff online isn’t even consistent with the names of parts!
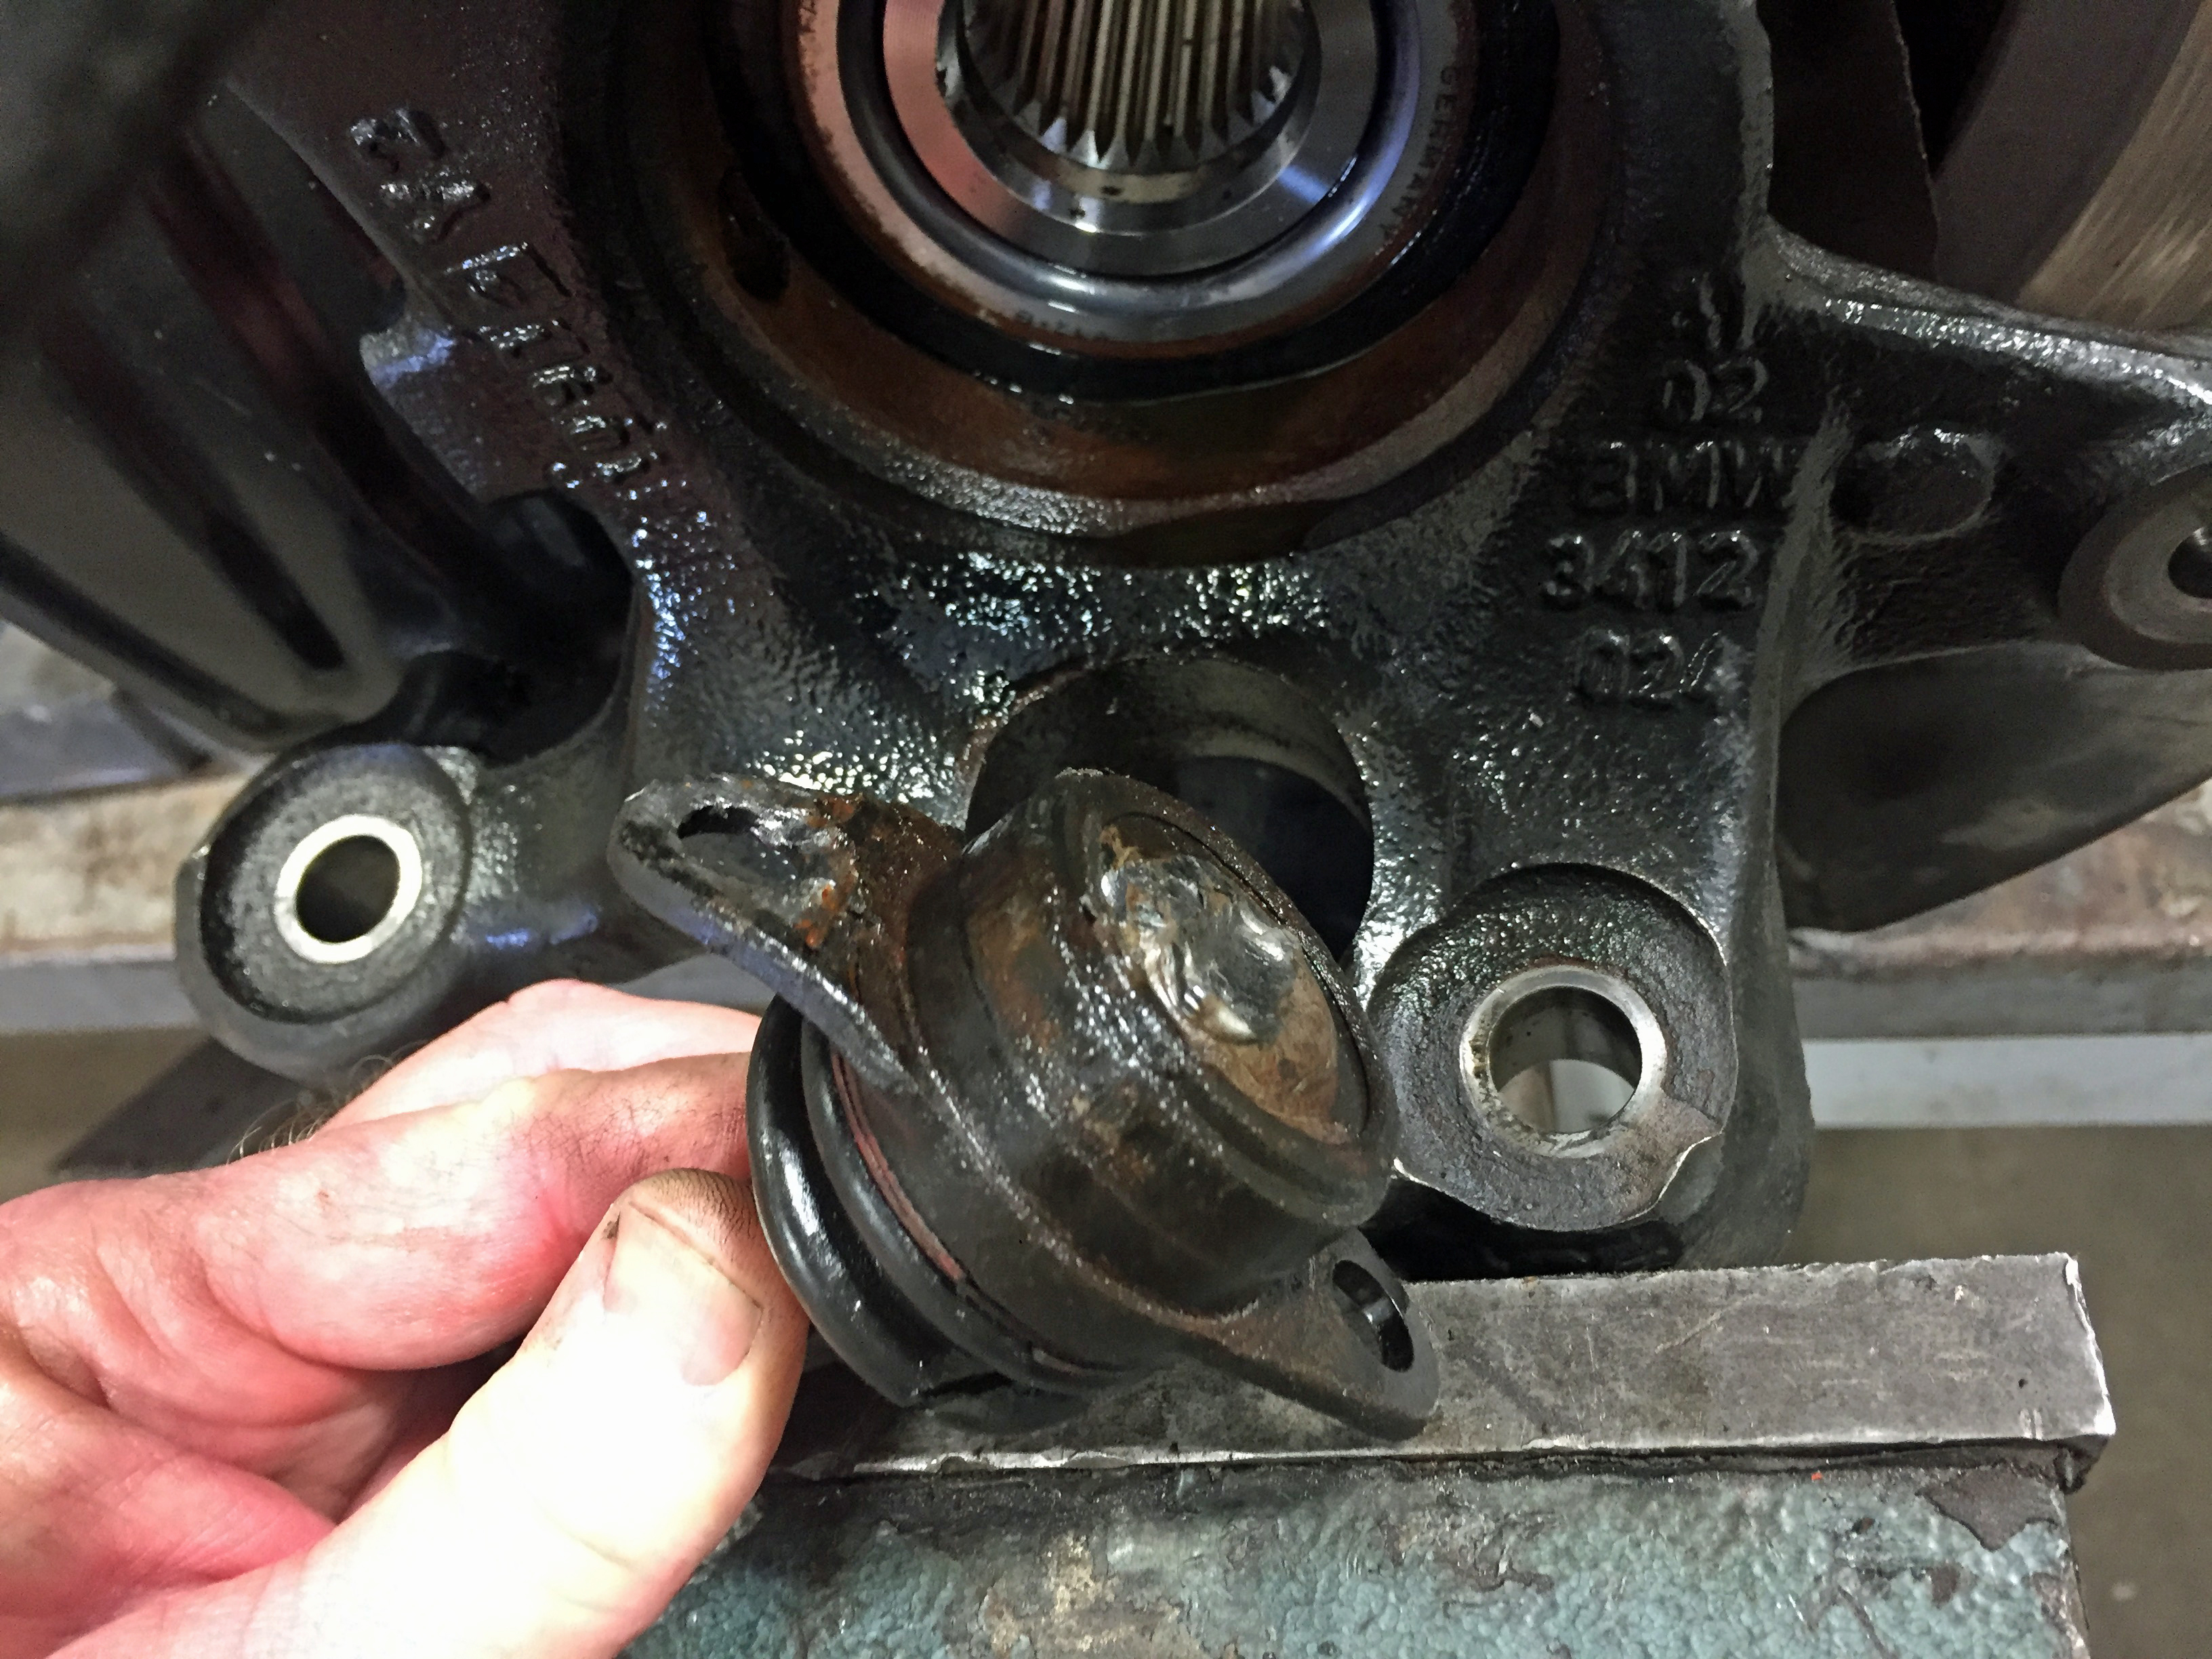
Supposedly you can remove two little bolts and the ball joint drops right out. Right. The ball joint is exposed to the environment with 12 years of rust holding it in place. There was no way to get good leverage. I accidently tore the CV joint boot. I hate creating my own expensive problems. Greasy, messy problems.
I recently helped my daughter’s boyfriend work on his car. We discovered that it’s difficult to change the struts (front shocks) with new control arms in place. So, I delayed my project long enough to order new struts.
Remember, I split the right side CV joint boot trying to get the ball joint out a few weeks ago. What to do about that? A new boot is $20. There’s an outer boot (the one I damaged) and an inner one(“only” $10). I thought it made sense to replace both boots if I had to go to the trouble of taking the whole axle out to fix my mistake. The tool you need is $32. We’re now at $62, plus shipping. I found a new axle with new joints and new boots for $79. Easy math!
I read several different ways people have removed the rusted-in-place ball joint. None looked really good/easy. The damaged CV joint boot led me to my own solution – for the right side of the car. Still have to figure out how to manage the other side.
Yesterday morning I had breakfast with Melissa then went to the base Auto Craft Shop. I thought I could change left and right shocks, control arms, ball joints and thrust arms and the front right half axle in one seven-hour day. Most people know I’m pretty optimistic.
Time for the power tools. Wheel off. Tie rod end loose. Control arm loose. Thrust arm loose. Brake caliper off. All pretty easy. Next came a big hammer to get the strut (front shock) loose. That required a lot of hits. And more. Hard hits. Success. Then I had to use the big hammer to remove the wheel hub. That thing was HEAVY when it came off. All this happened pretty quickly.
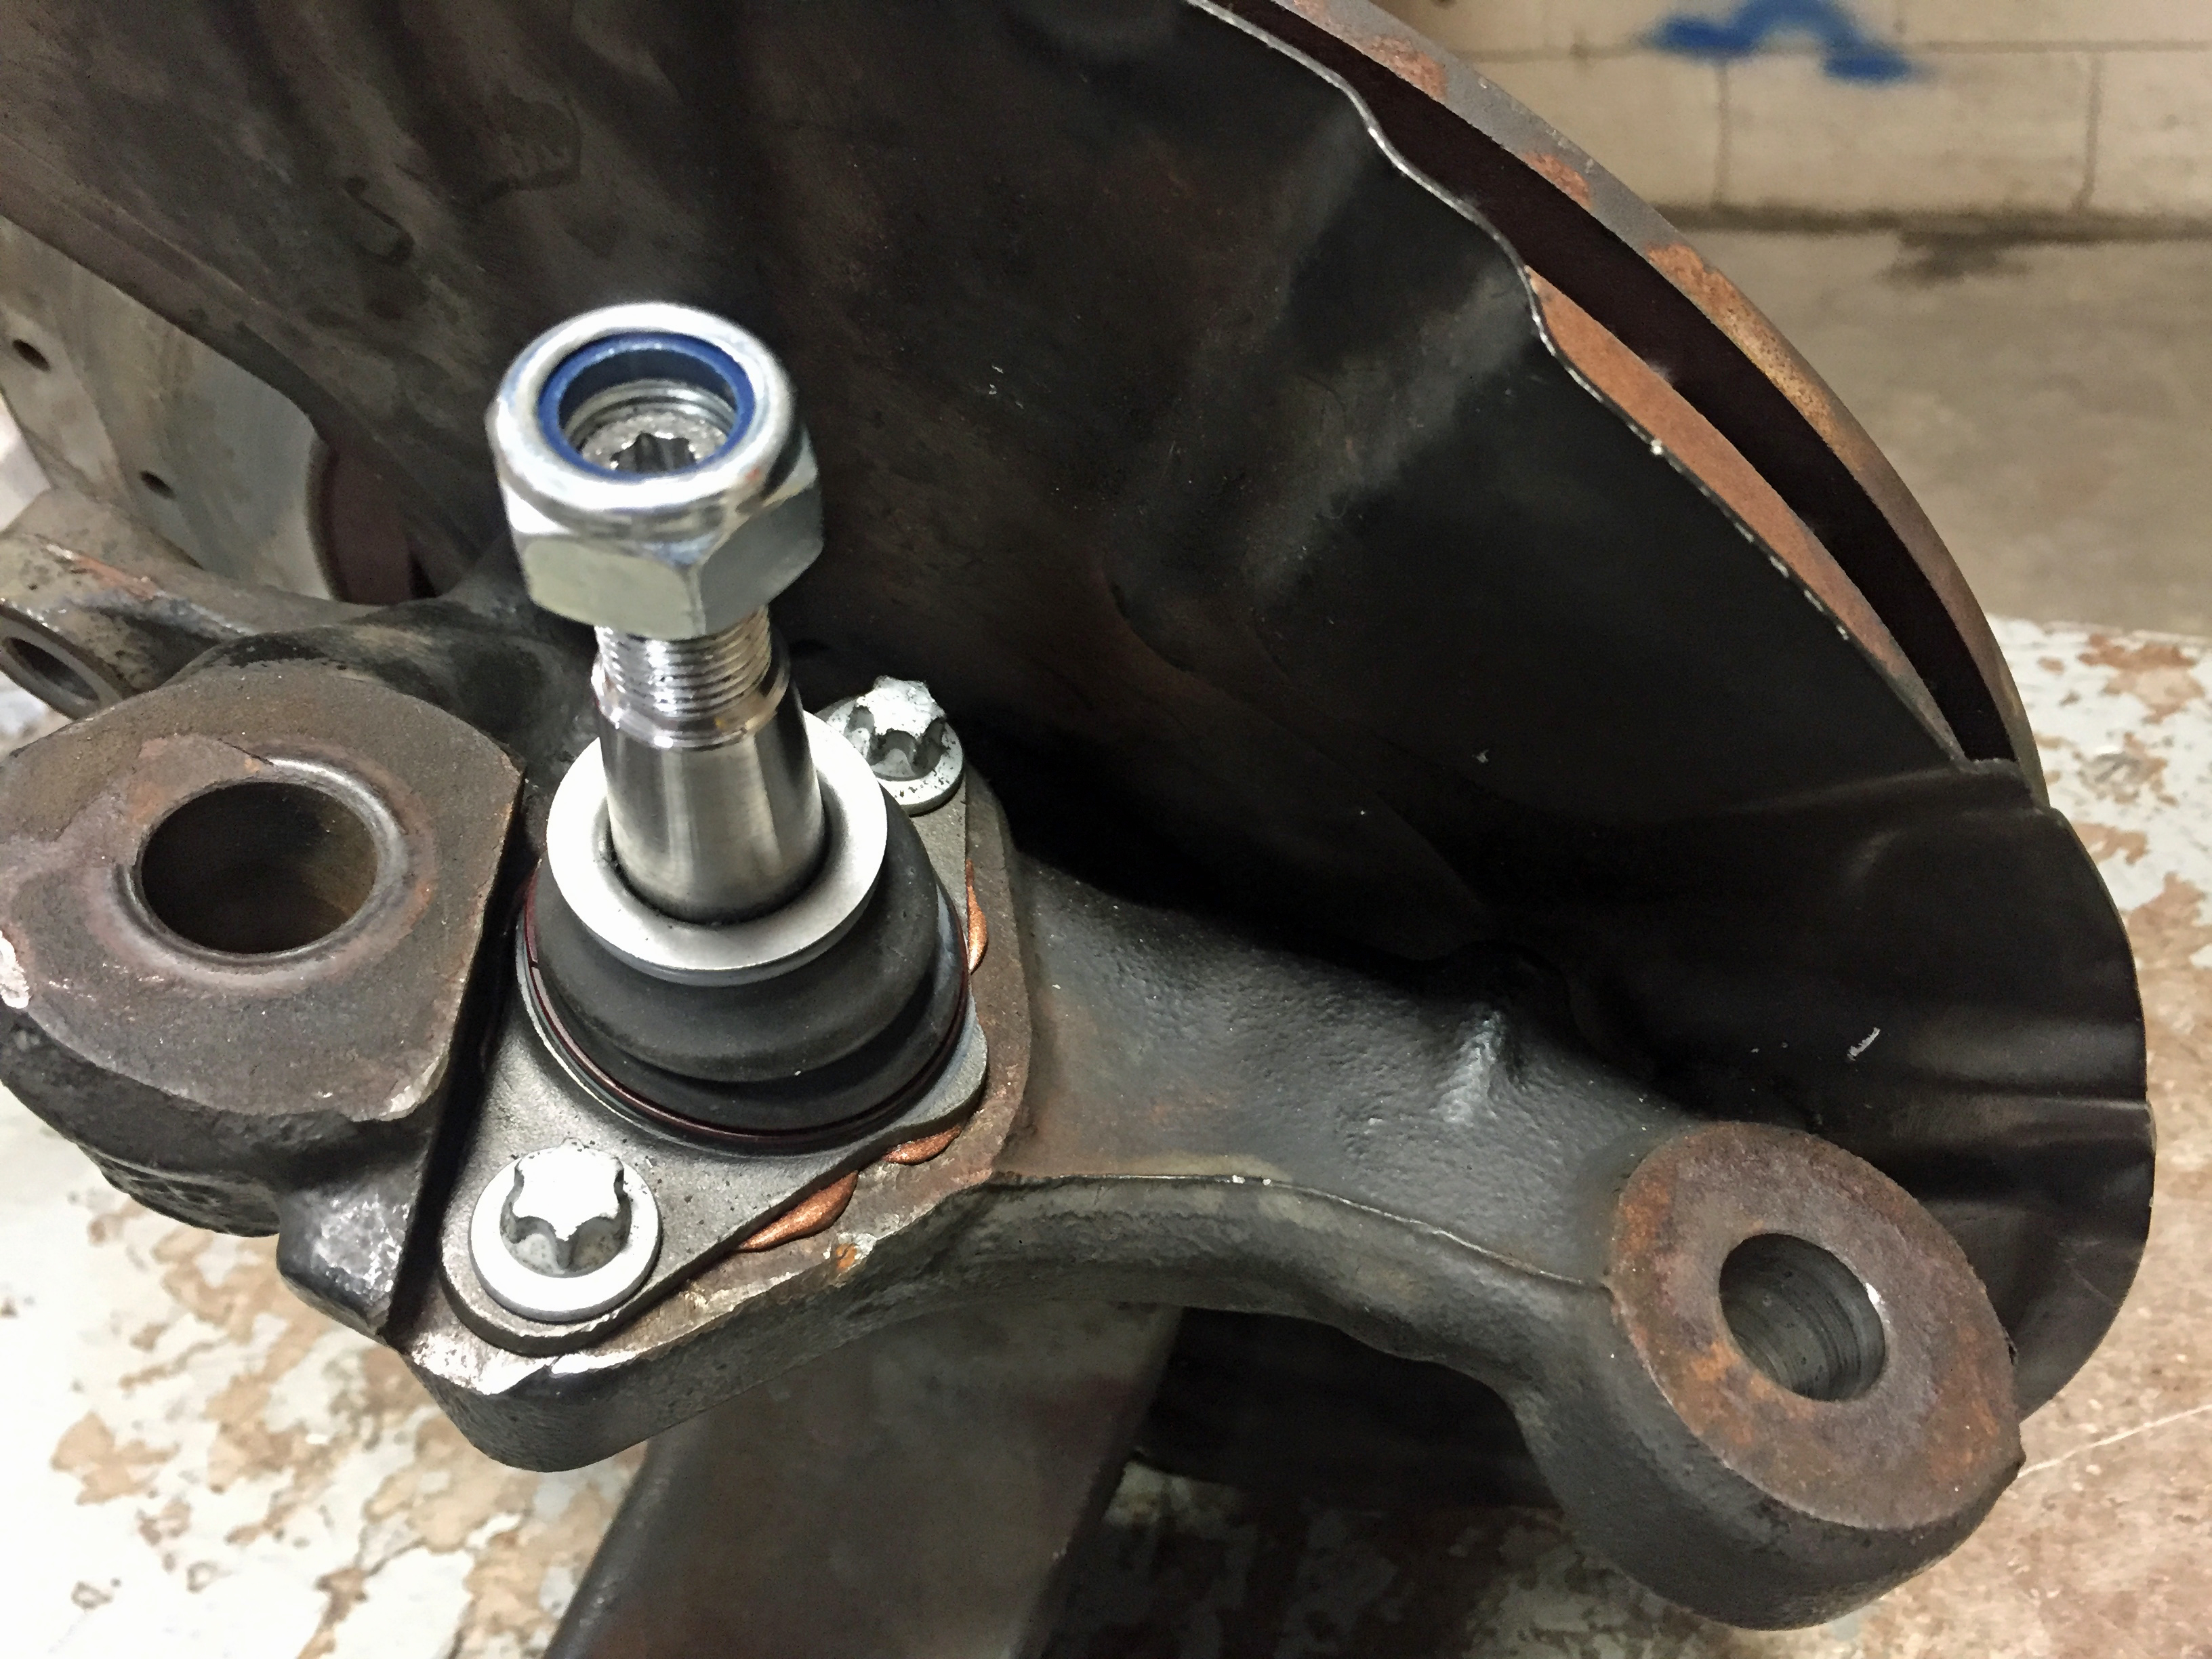
This is the wheel hub from the rear. The strut fits in the large open ring at the upper right. The small hole at the bottom is where the ball joint was (See the big hammer?) The stainless steel part in the middle is for the axle. The brake rotor is visible on the right; the part you see is normally covered by the brake caliper.This is the bad boy – the ball joint after being hammered loose.
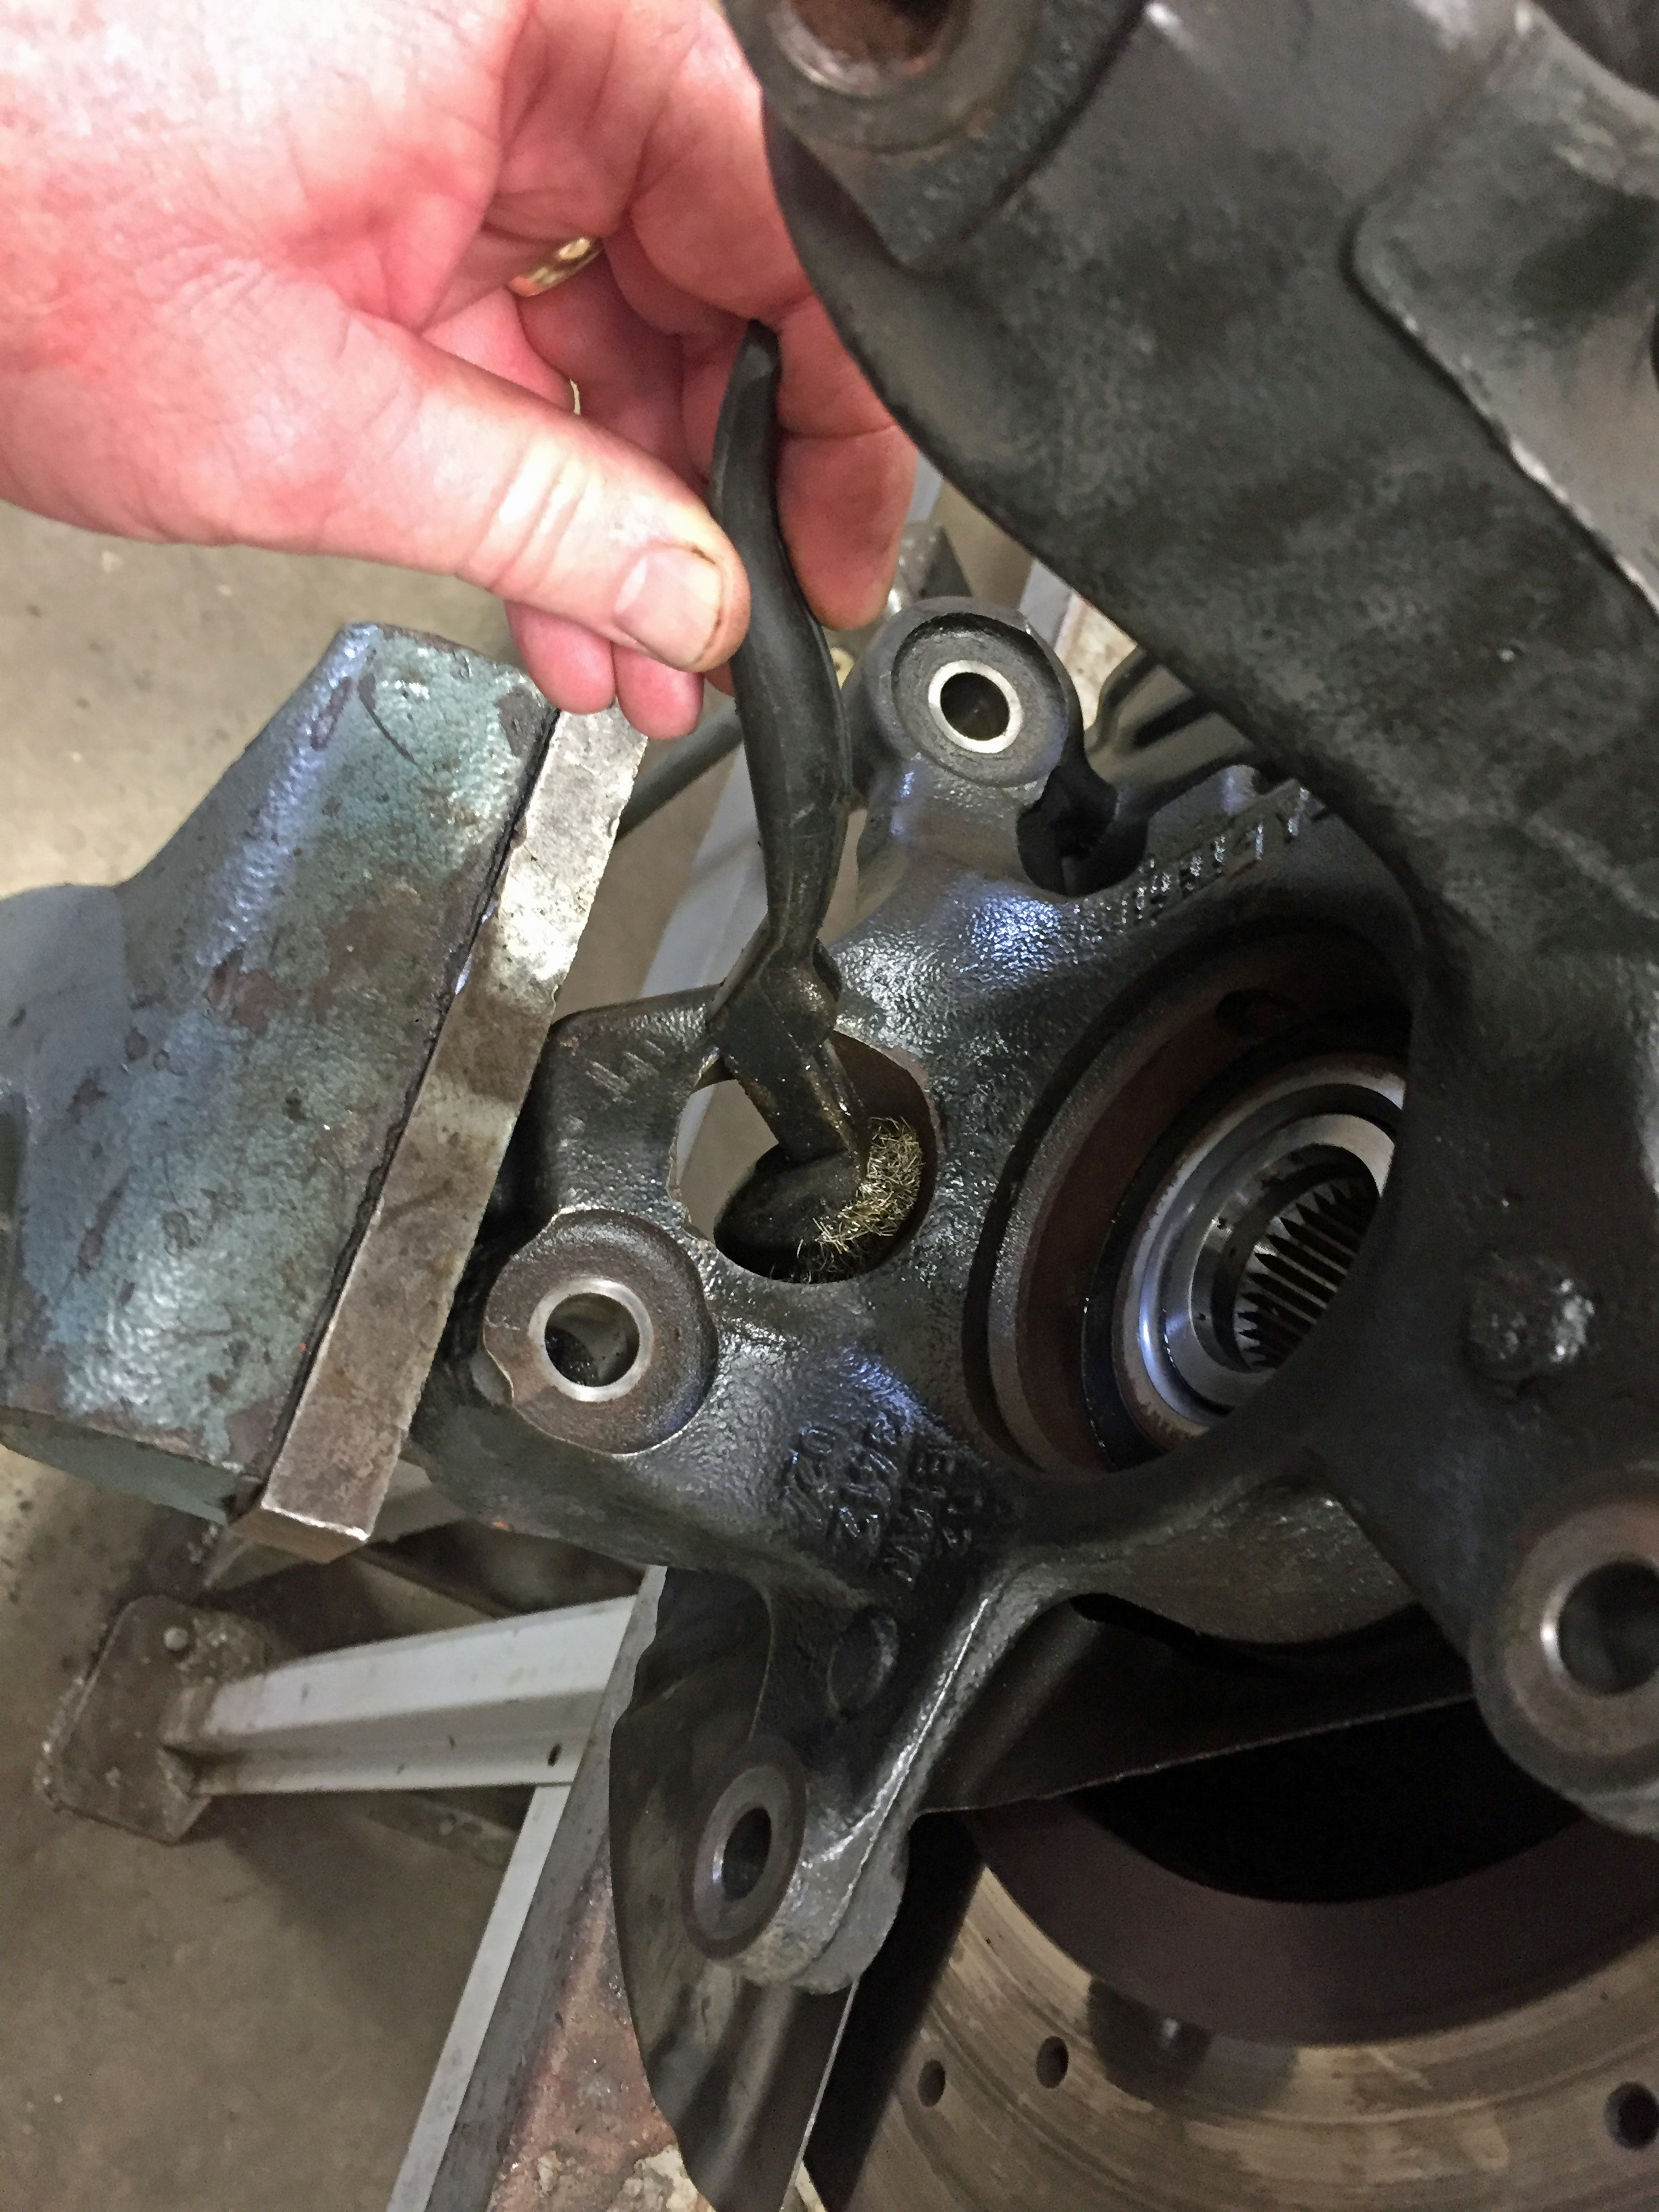
Things slowed down quickly at this point. I put the entire wheel hub assembly in a vise and pounded the rusted-in ball joint until it fell out. Big hammer. Hard hits. Then, the new one didn’t fit. Too much rust inside the hole (think of a cork fitting inside a donut). File, brush, test fit. File, brush, test fit. File, file, file, brush, brush, brush, test fit. Hmm still not. Repeat a lot. For a long time. Finally, the new part fit in the formerly rusty hole. Hallelujah. It’s almost time to think about reassembling things. Almost. The old axle has to come out and the replacement go in. That turned out to be pretty easy. I don’t think I’ve ever disassembled a car this far!
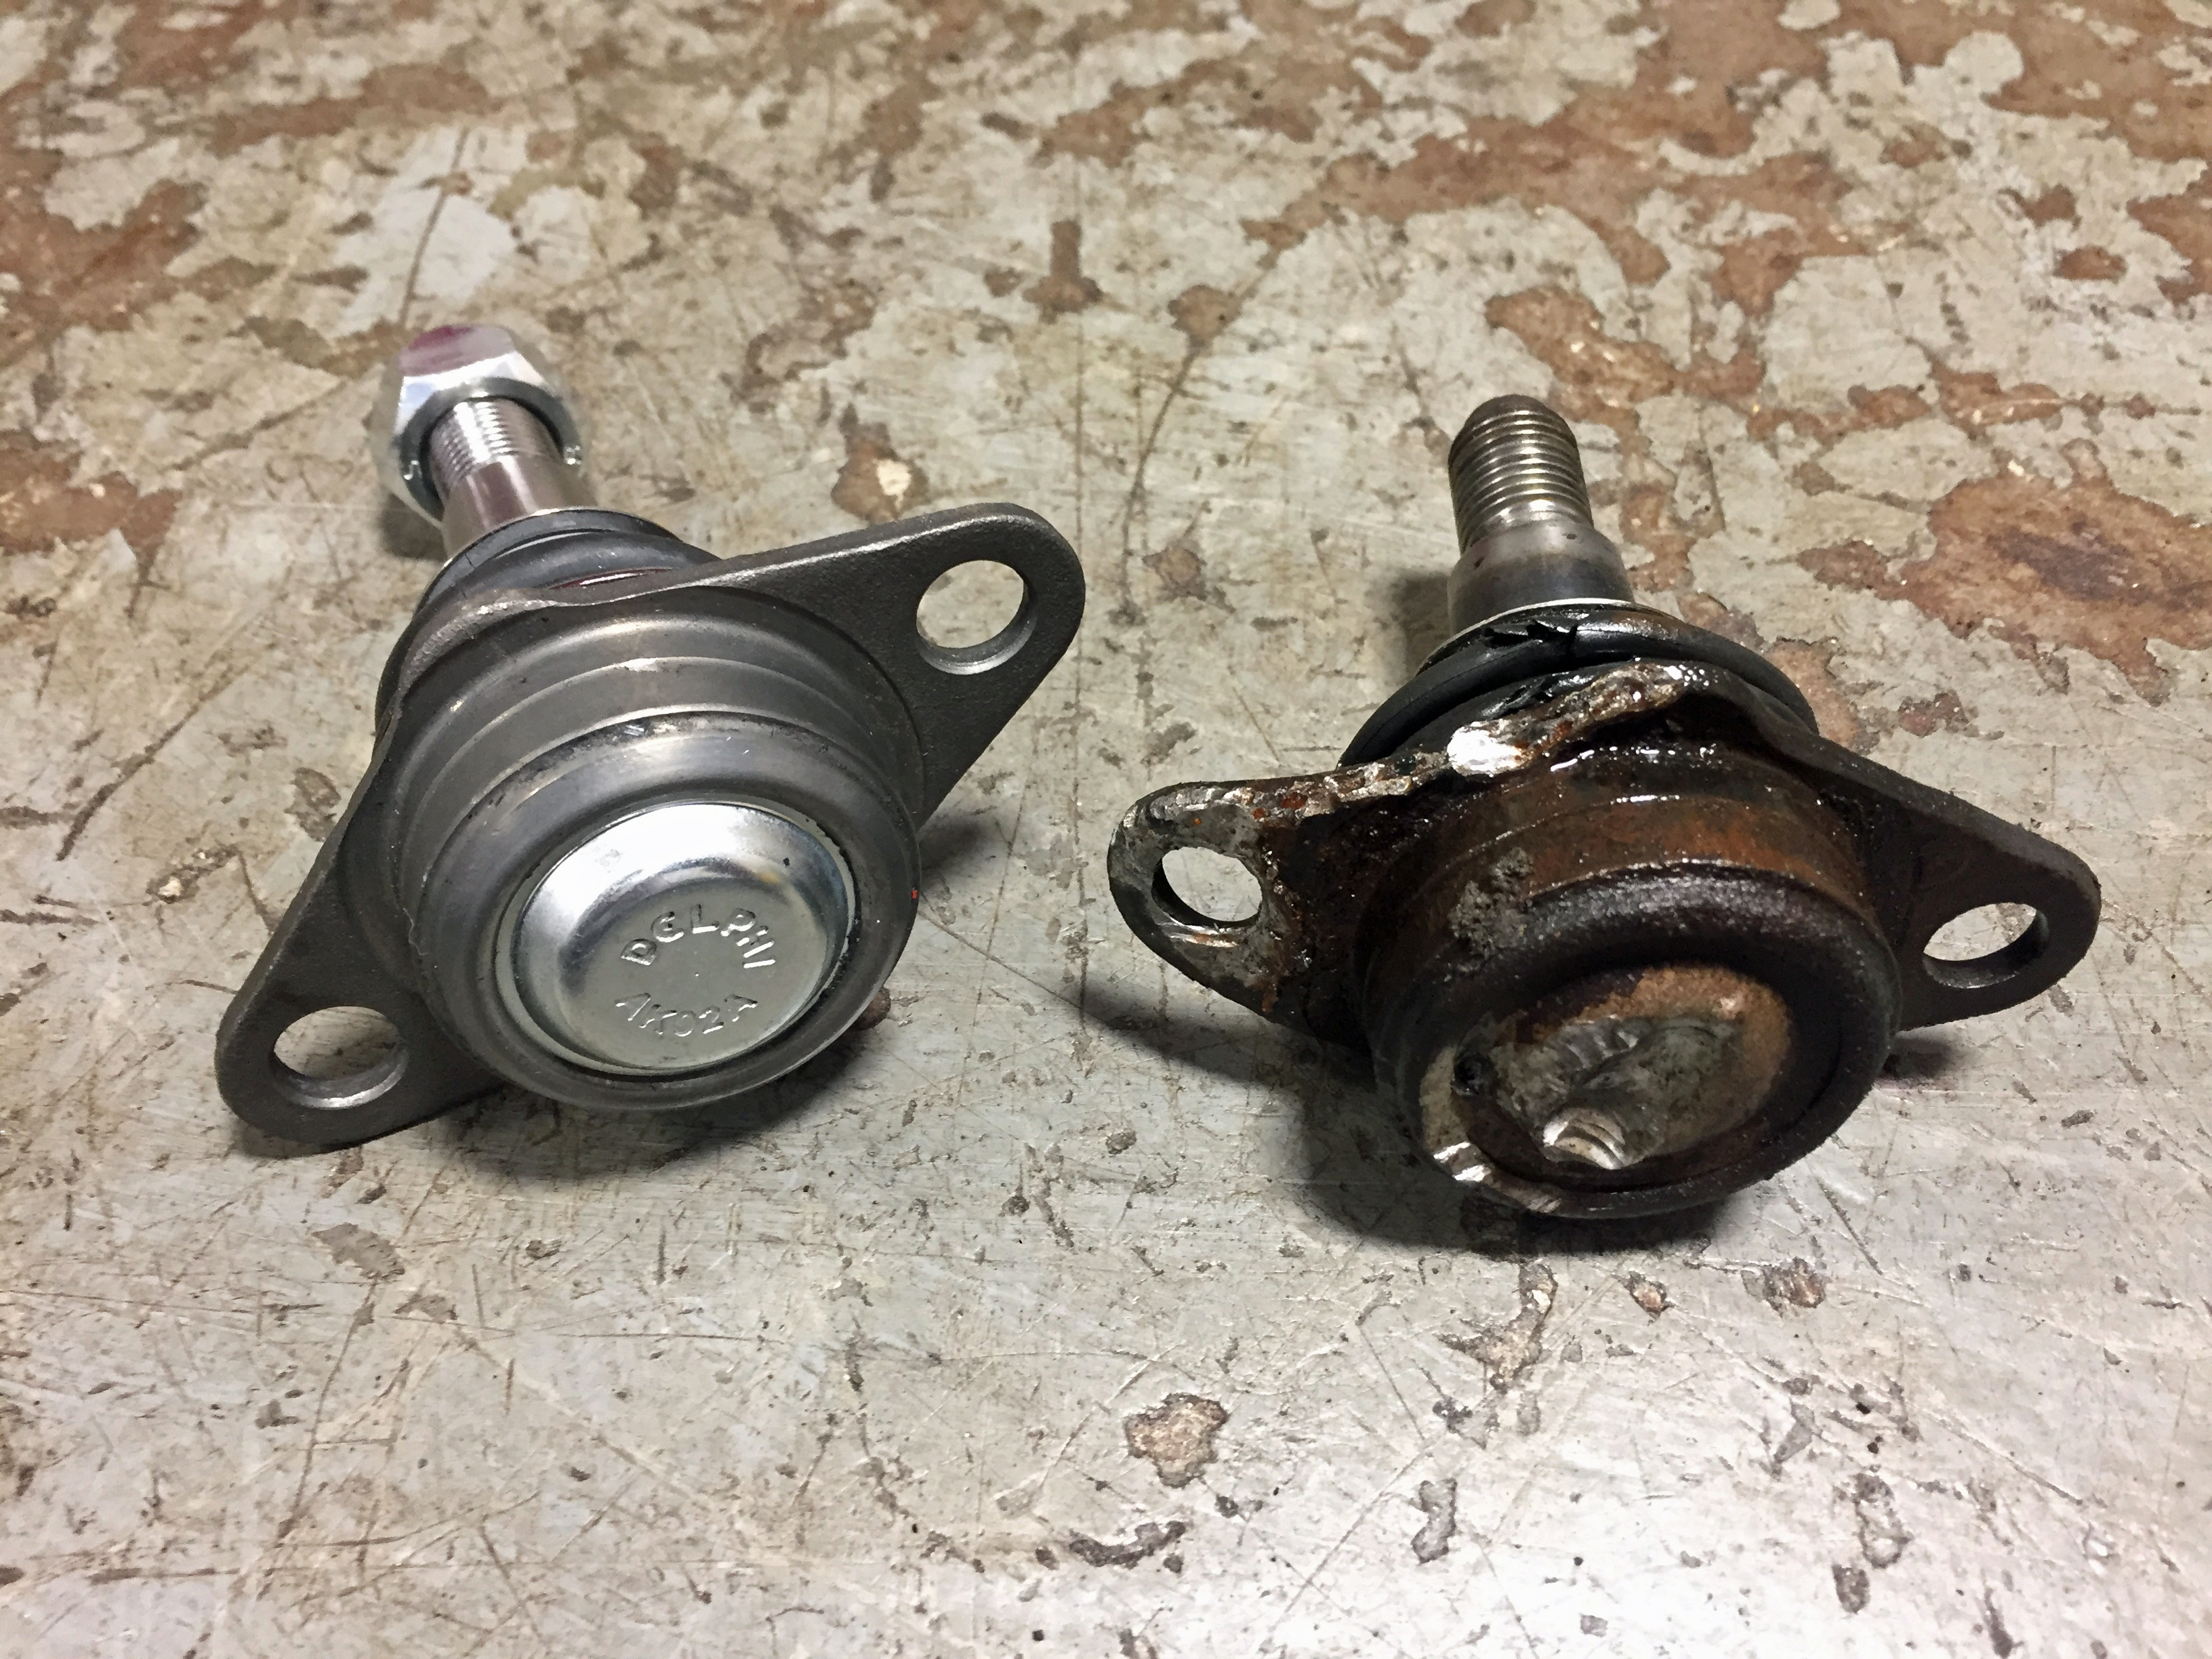
Brush, brush, brushNew (left) and old (right). Look how much damage there is to the old one.The new ball joint is securely in place – with and-sieze in case it ever has to come out in the future.
By this point I’ve long since decided that I’m only going to do one side and will do the other side in a couple weeks. I had about two hours to closing time. Tick tock. Tick tock.
Nothing’s going right trying to reassemble things. The first try was a failure. Ditto for the second and the third. The place is closing soon. I’m dirty, tired, and hungry. I call Melissa to come get me. We eat and go home.
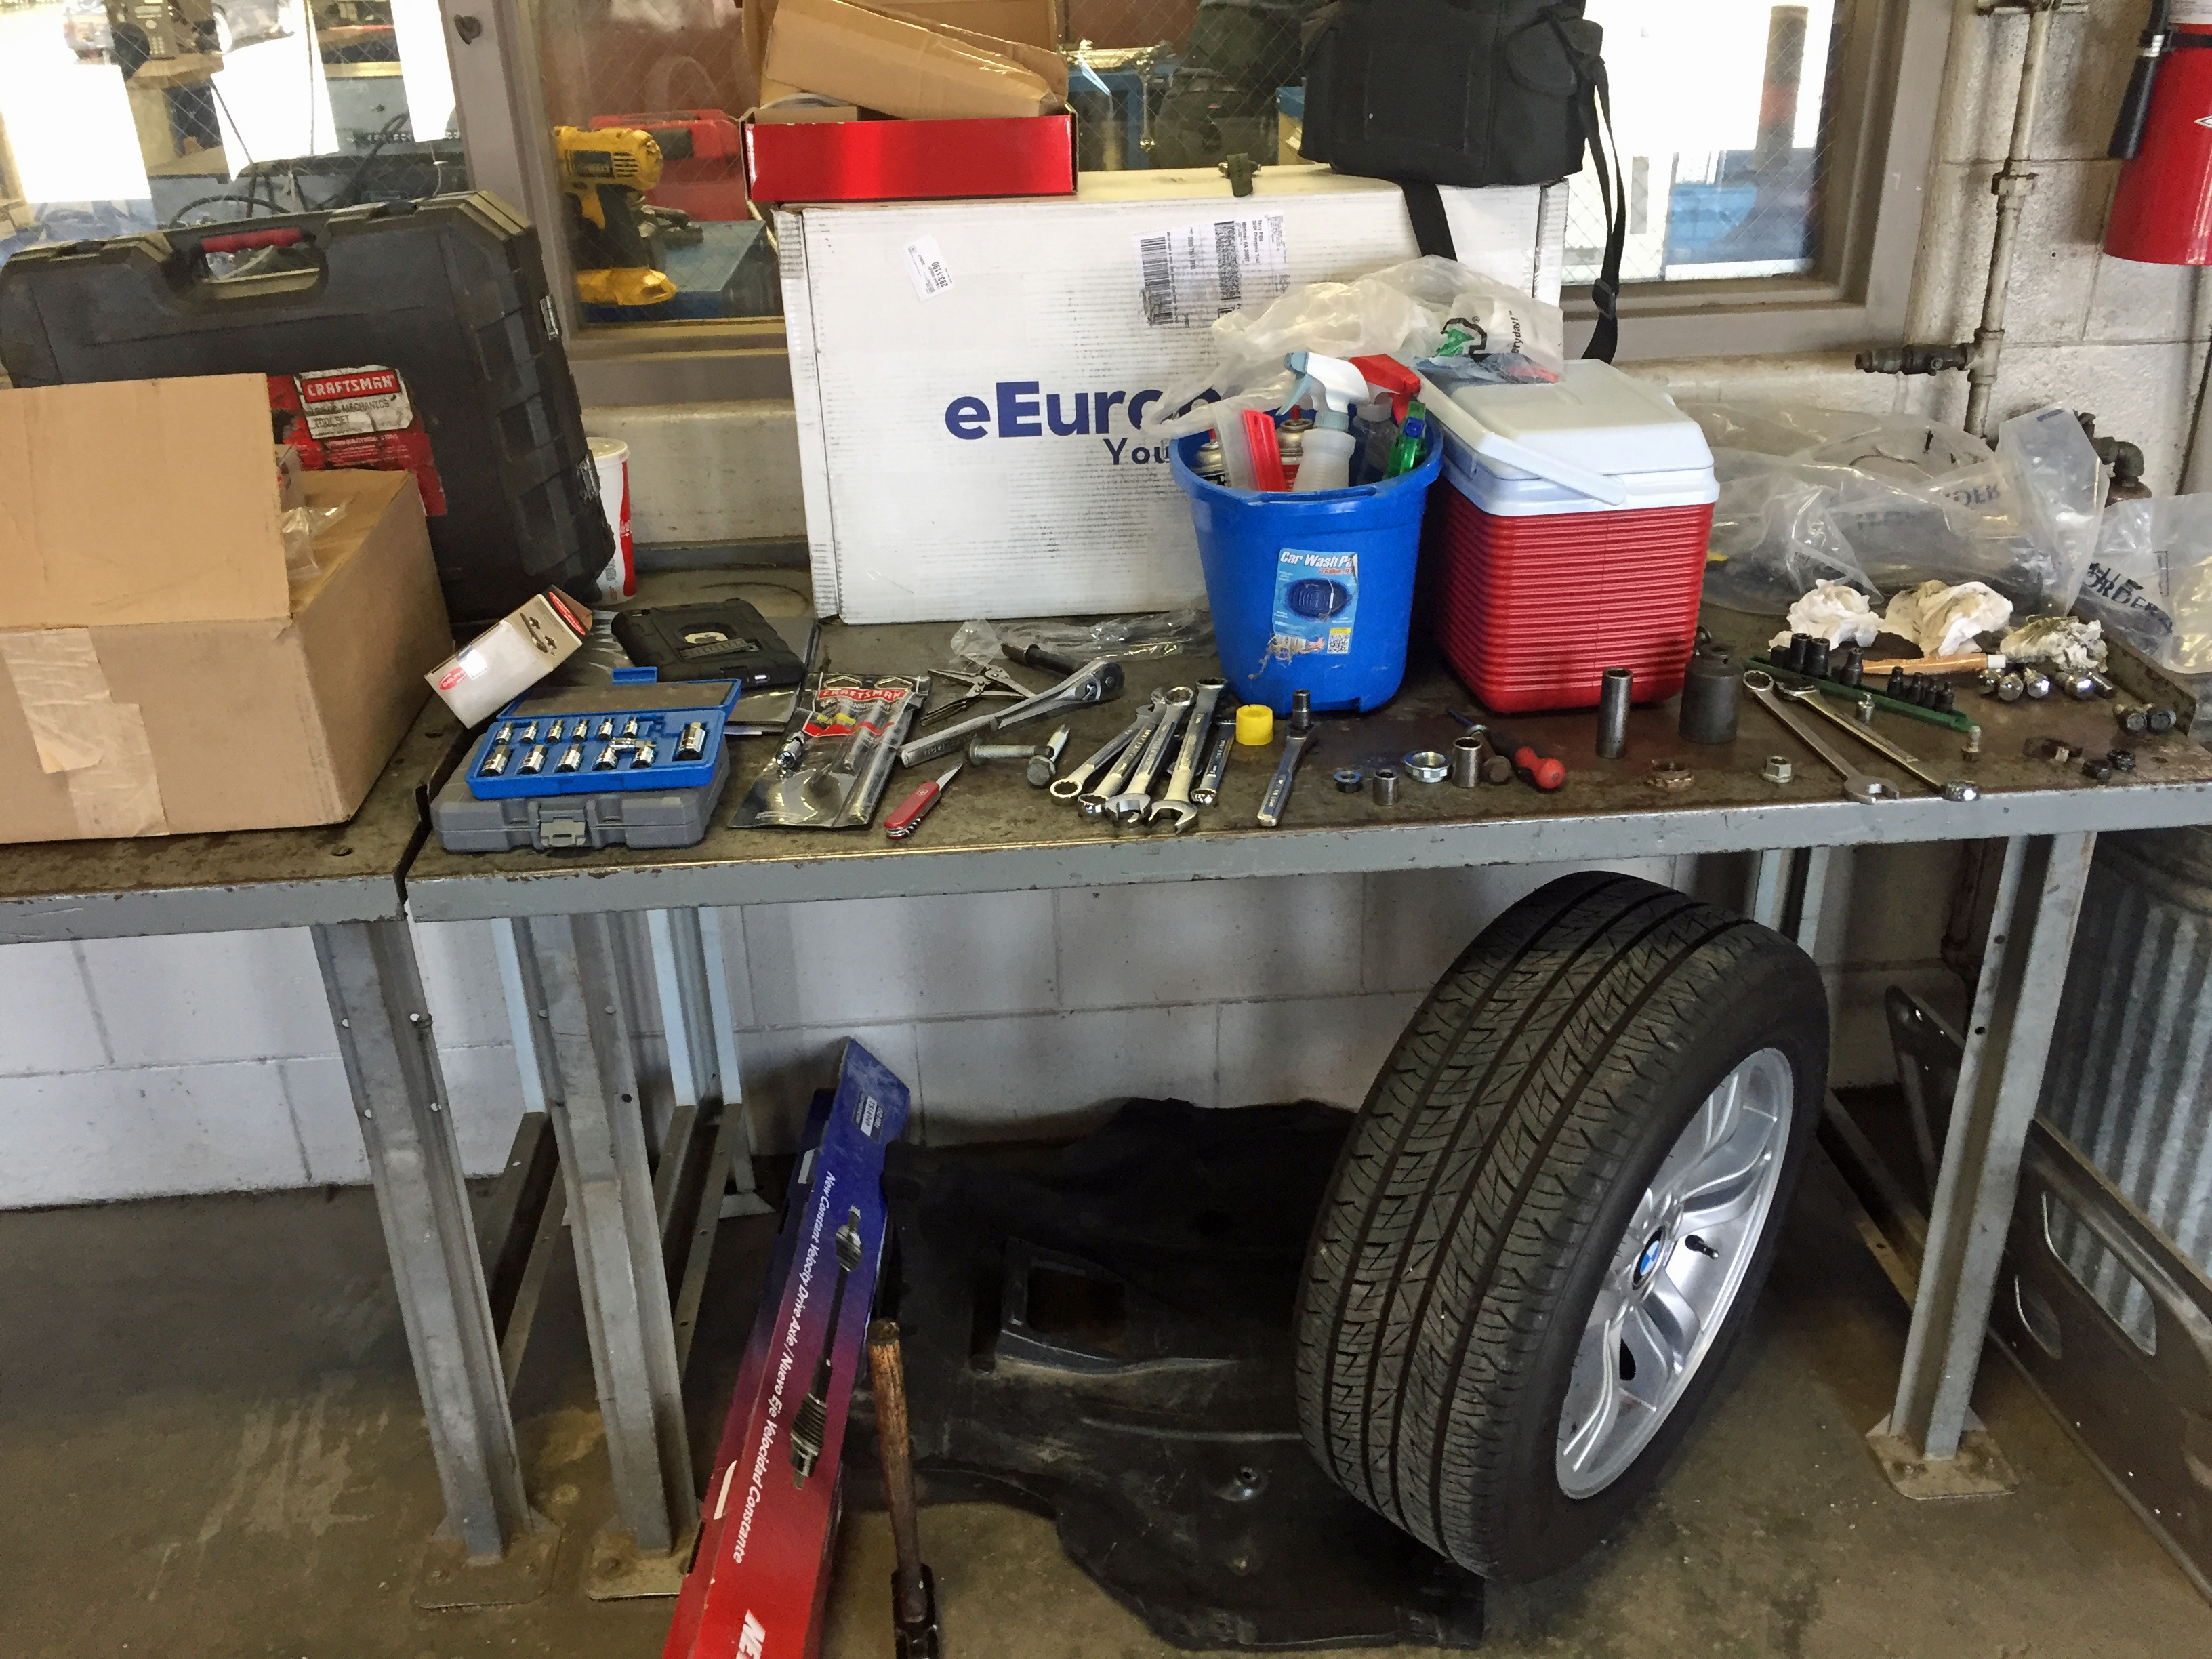
That’s a lot of tools, parts, and other stuff.
This morning at 7:11 I realize I hit “off” on my phone instead of “snooze” when the alarm went off at 6:00. So much for going out for breakfast. We did get to church on time, then Melissa dropped me off at the Auto Craft Shop. Three hours later the car was back together.
What went wrong? A couple of things. One important issue was that the ball joint is really, really painful to get out. I ended up doing a couple things in a less-than-efficient order. Reassembly required a lot of grease and a big hammer. I had recalled reading the axle could be changed in four hours. Last night I read that seven hours is typical for a first timer like me. Remember, I didn’t just change an axle, I also did the (ever so painful) ball joint, strut, control arm, and thrust arm – all in ten hours including cleanup. That’s actually pretty good work.
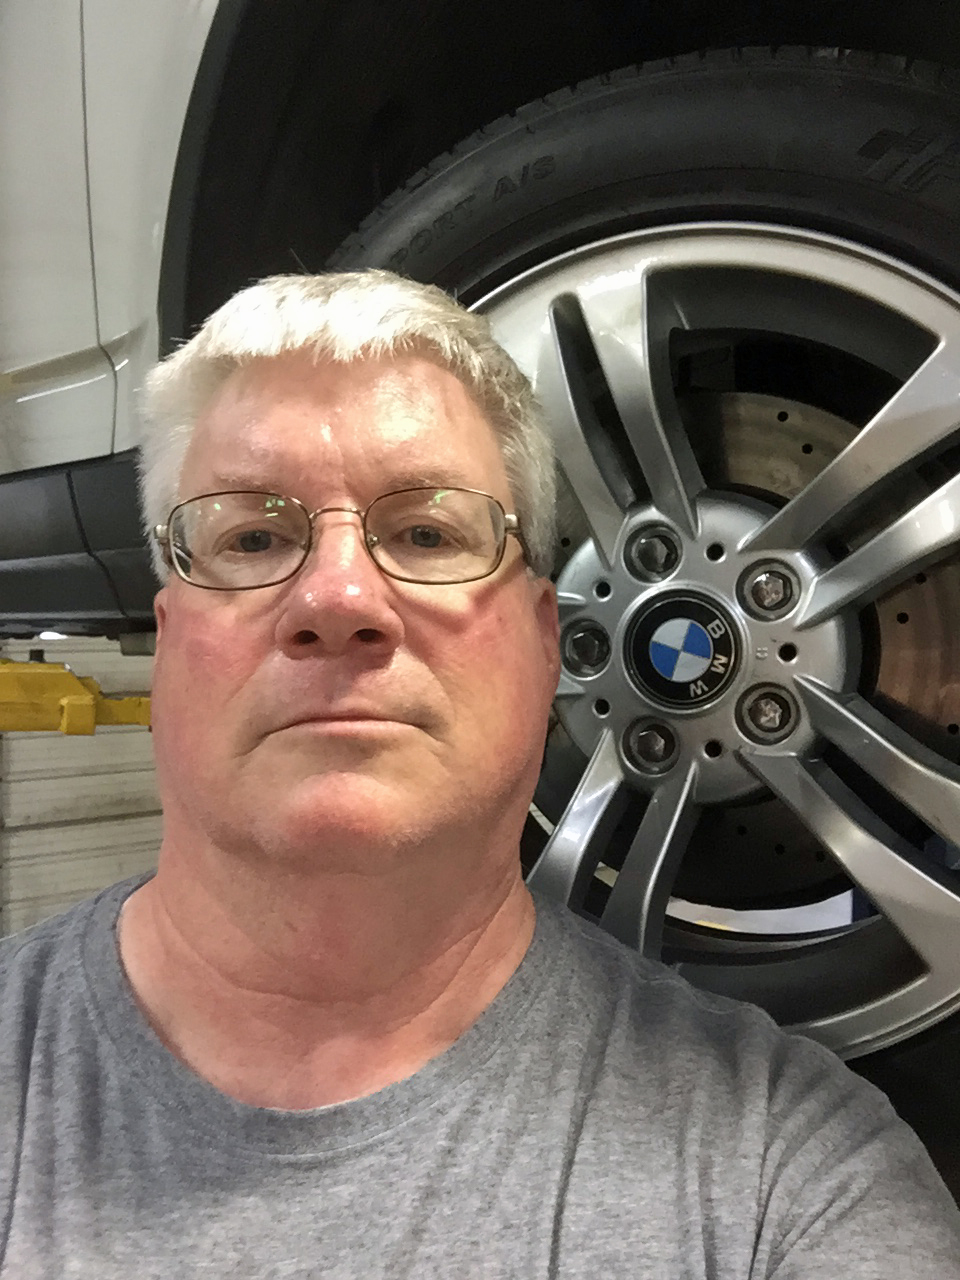
I am actually very happy, just look serious trying to take a picture with dirty hands.
I’m confident when I do the left side it will be much more efficiently done, faster, and easier. Plus, no axle to replace on that side.
I still have to decide how to get the right ball joint out. Should I try one of the online tricks, or just pull the hub off even though the axle won’t be replaced?
I have plans to video the left side. Now that I know what to do, I might look pretty competent!
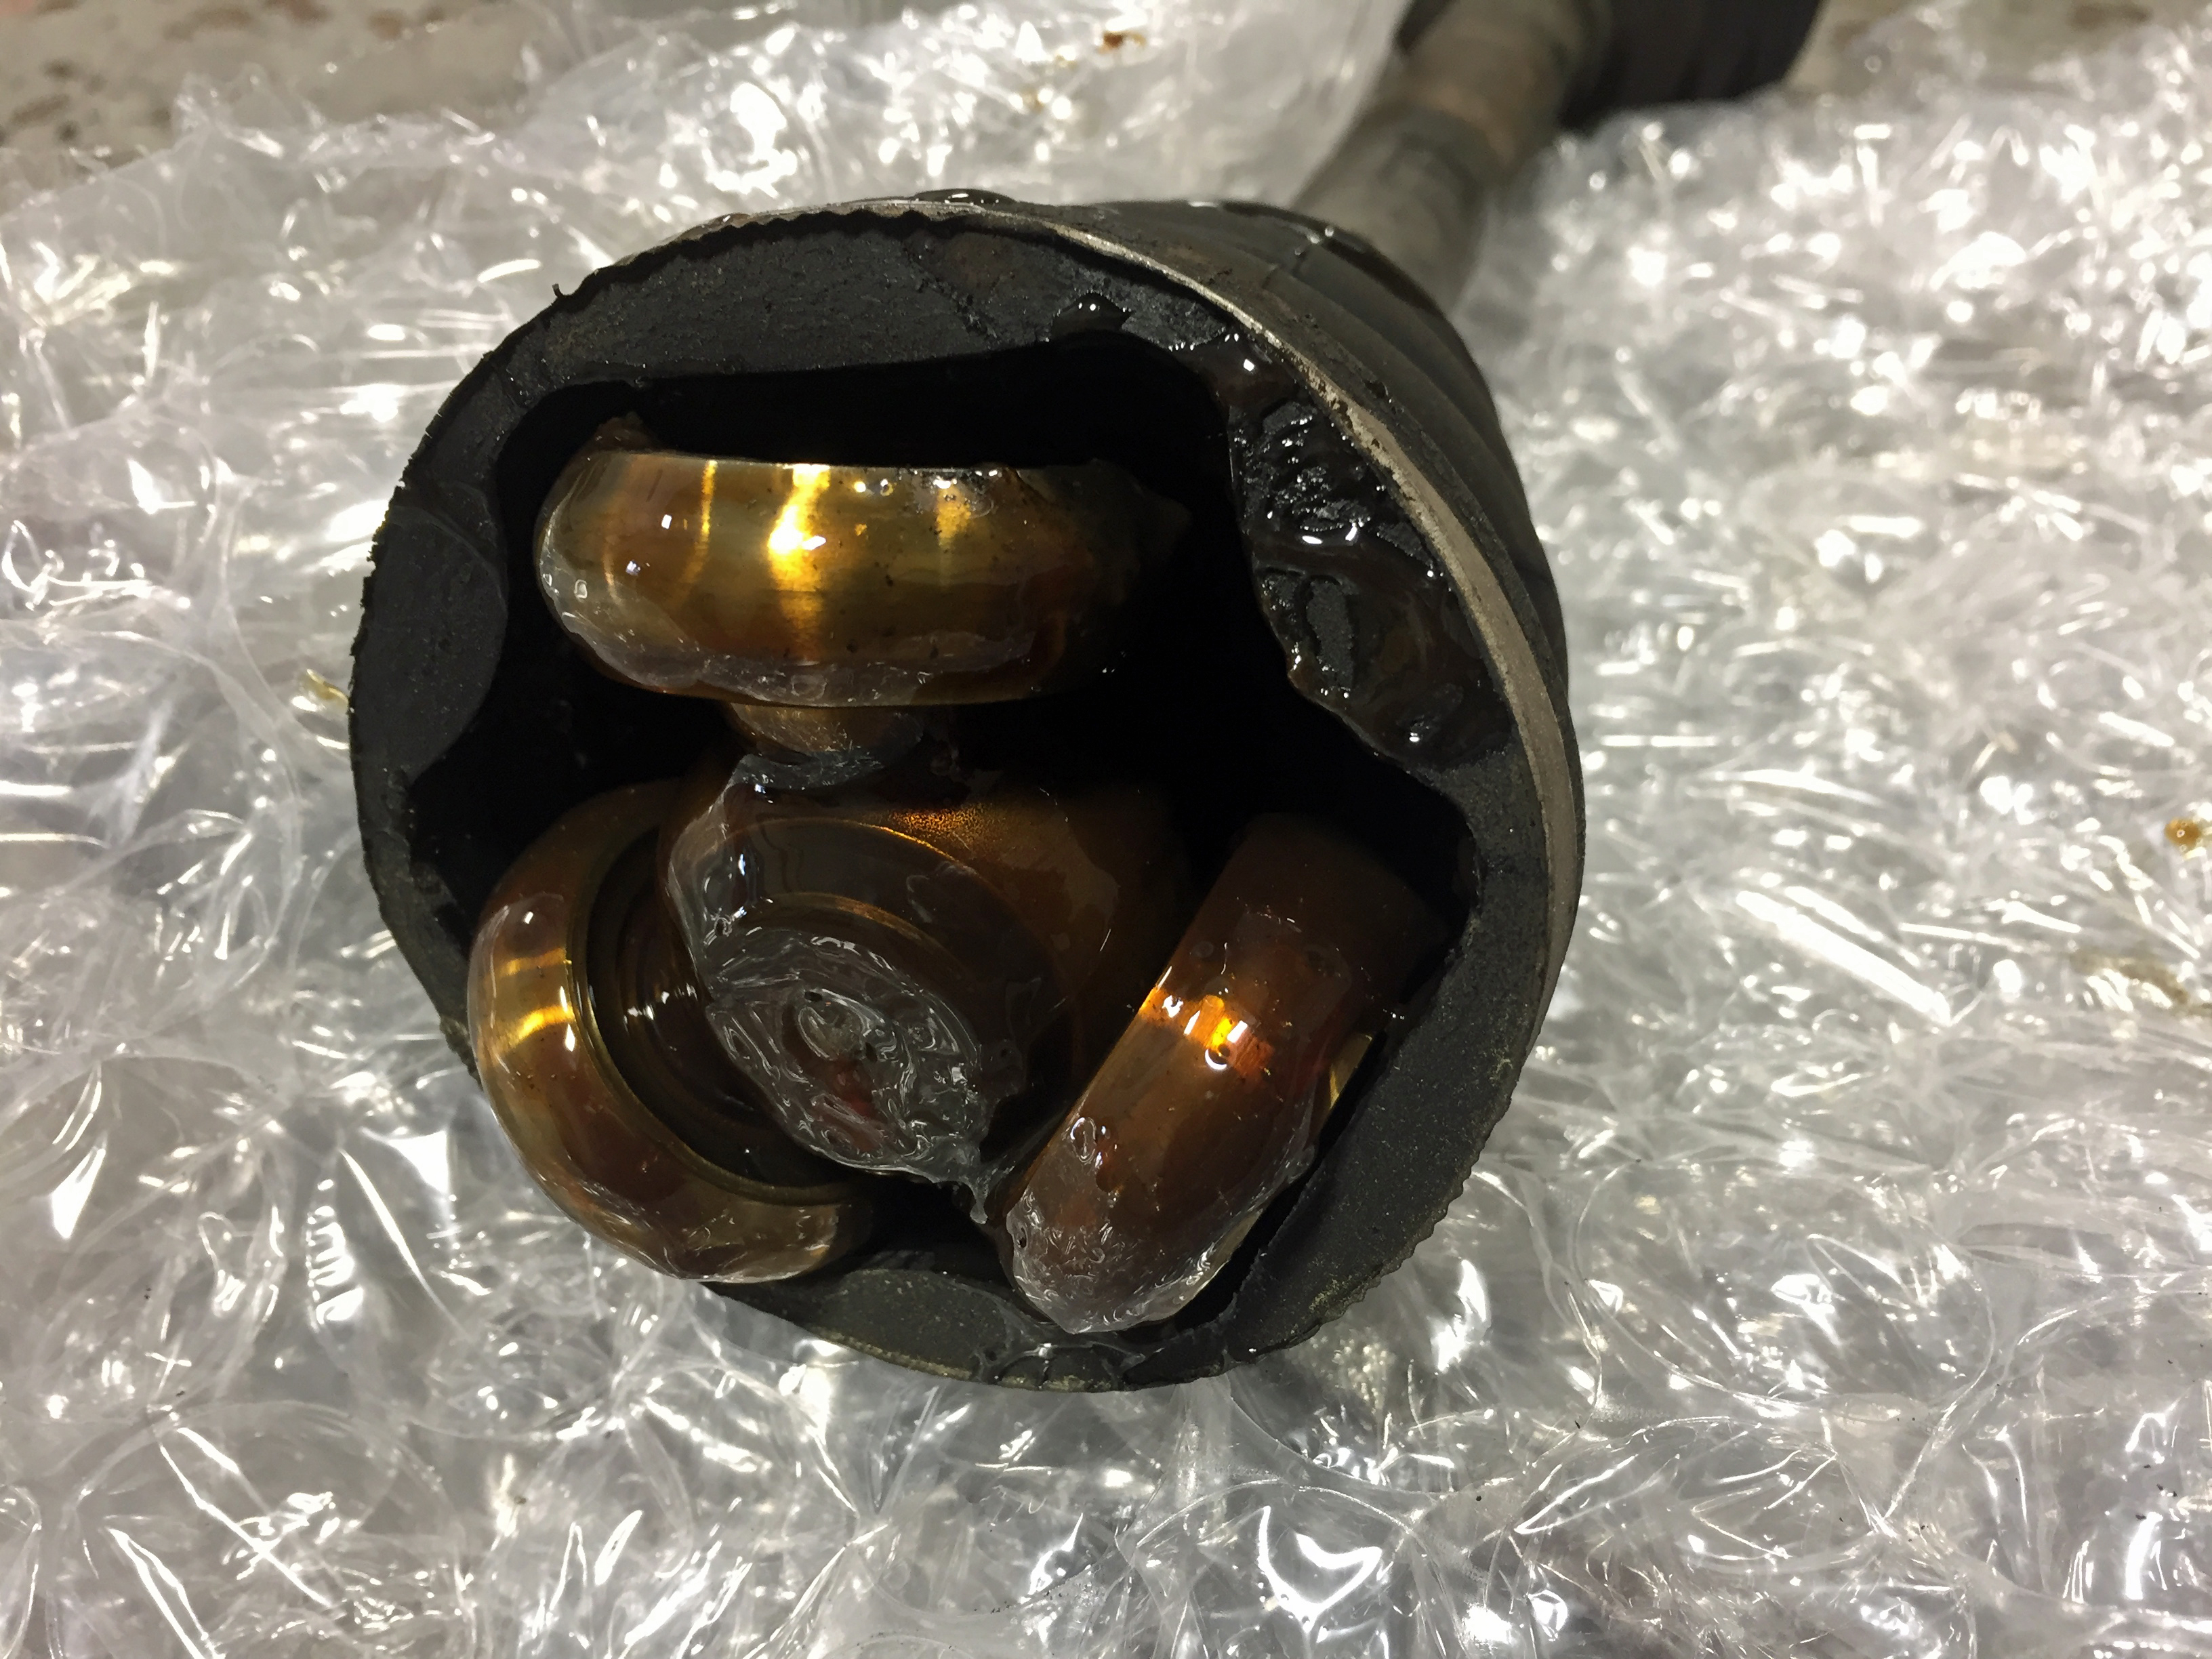
Just in case you ever wondered what the inside of a Constant Velocity (CV) joint looked like. A CV joint is what lets the wheels move at different speeds in a turn.